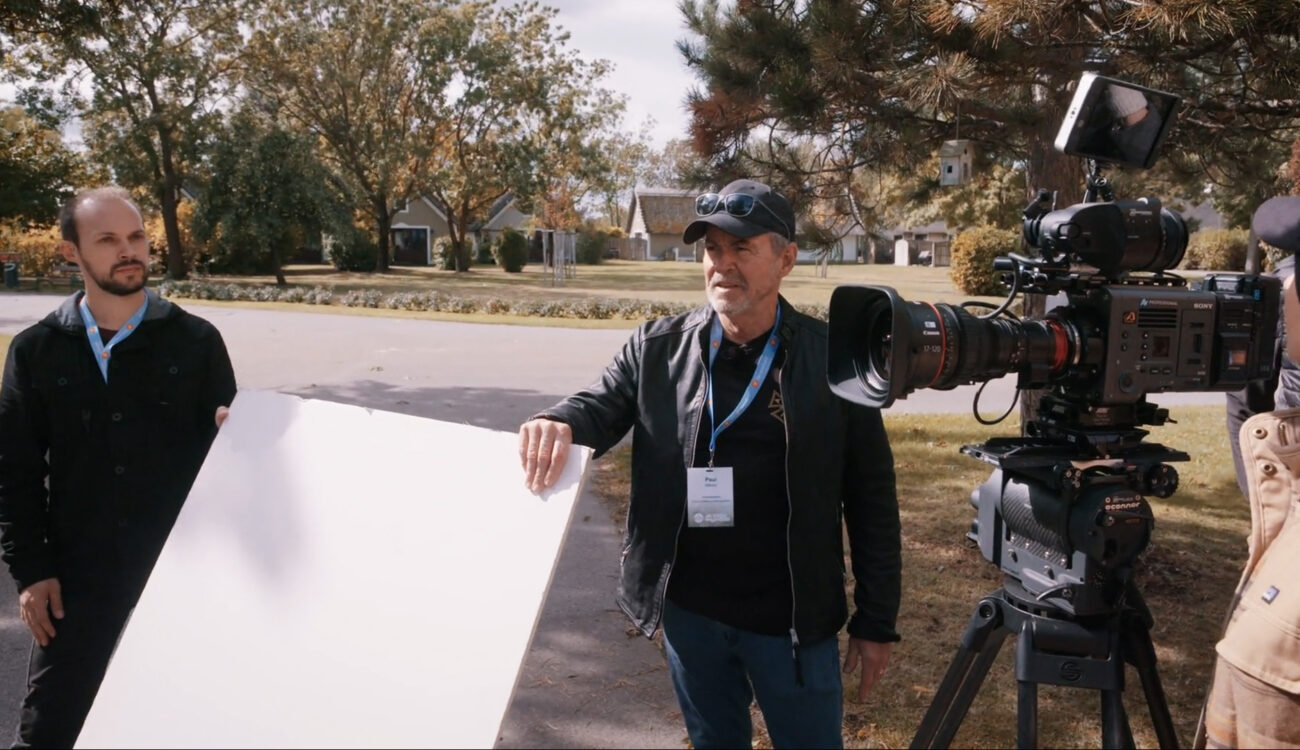
Lighting can be tricky. Especially, lighting the faces of various human beings. More so, when you don’t have the time or means for a thorough set-up, and above all, are filming outside in ever-changing conditions. Luckily, a situation like this doesn’t mean you have to settle for potentially unpleasing visuals. Seasoned wildlife cinematographer Paul Atkins, ASC, offers us a variety of tips on how to light people outdoors and do it quickly, with limited gear, and by using the sun to your advantage.
To learn from Paul Atkins’s experience, we’ll be taking a look at one of the lessons from our freshly added MZed course “Lighting People – On Location”, which you can also read about here. It was filmed in cooperation with the ASC as part of the Jack Wild Summit and includes four hours of distilled practical knowledge from both Atkins and Stephen Lighthill. The Master cinematographers share their on-location lighting workflows both indoors and outdoors, showing various set-ups and how they apply in real-life situations.
You can watch the whole course on MZed.com.
Lighting People – On Location
Choosing the camera direction to light people outdoors
Let’s say, you’re a documentary filmmaker or video creator, and you suddenly find yourself in a situation where you need to shoot a spontaneous interview outdoors. Assuming your background options are similar in any direction you look, which way would you (or better, should you) point the camera? That’s the first question Paul Atkins asks his students and it’s the first and most important decision you have to make in these conditions.
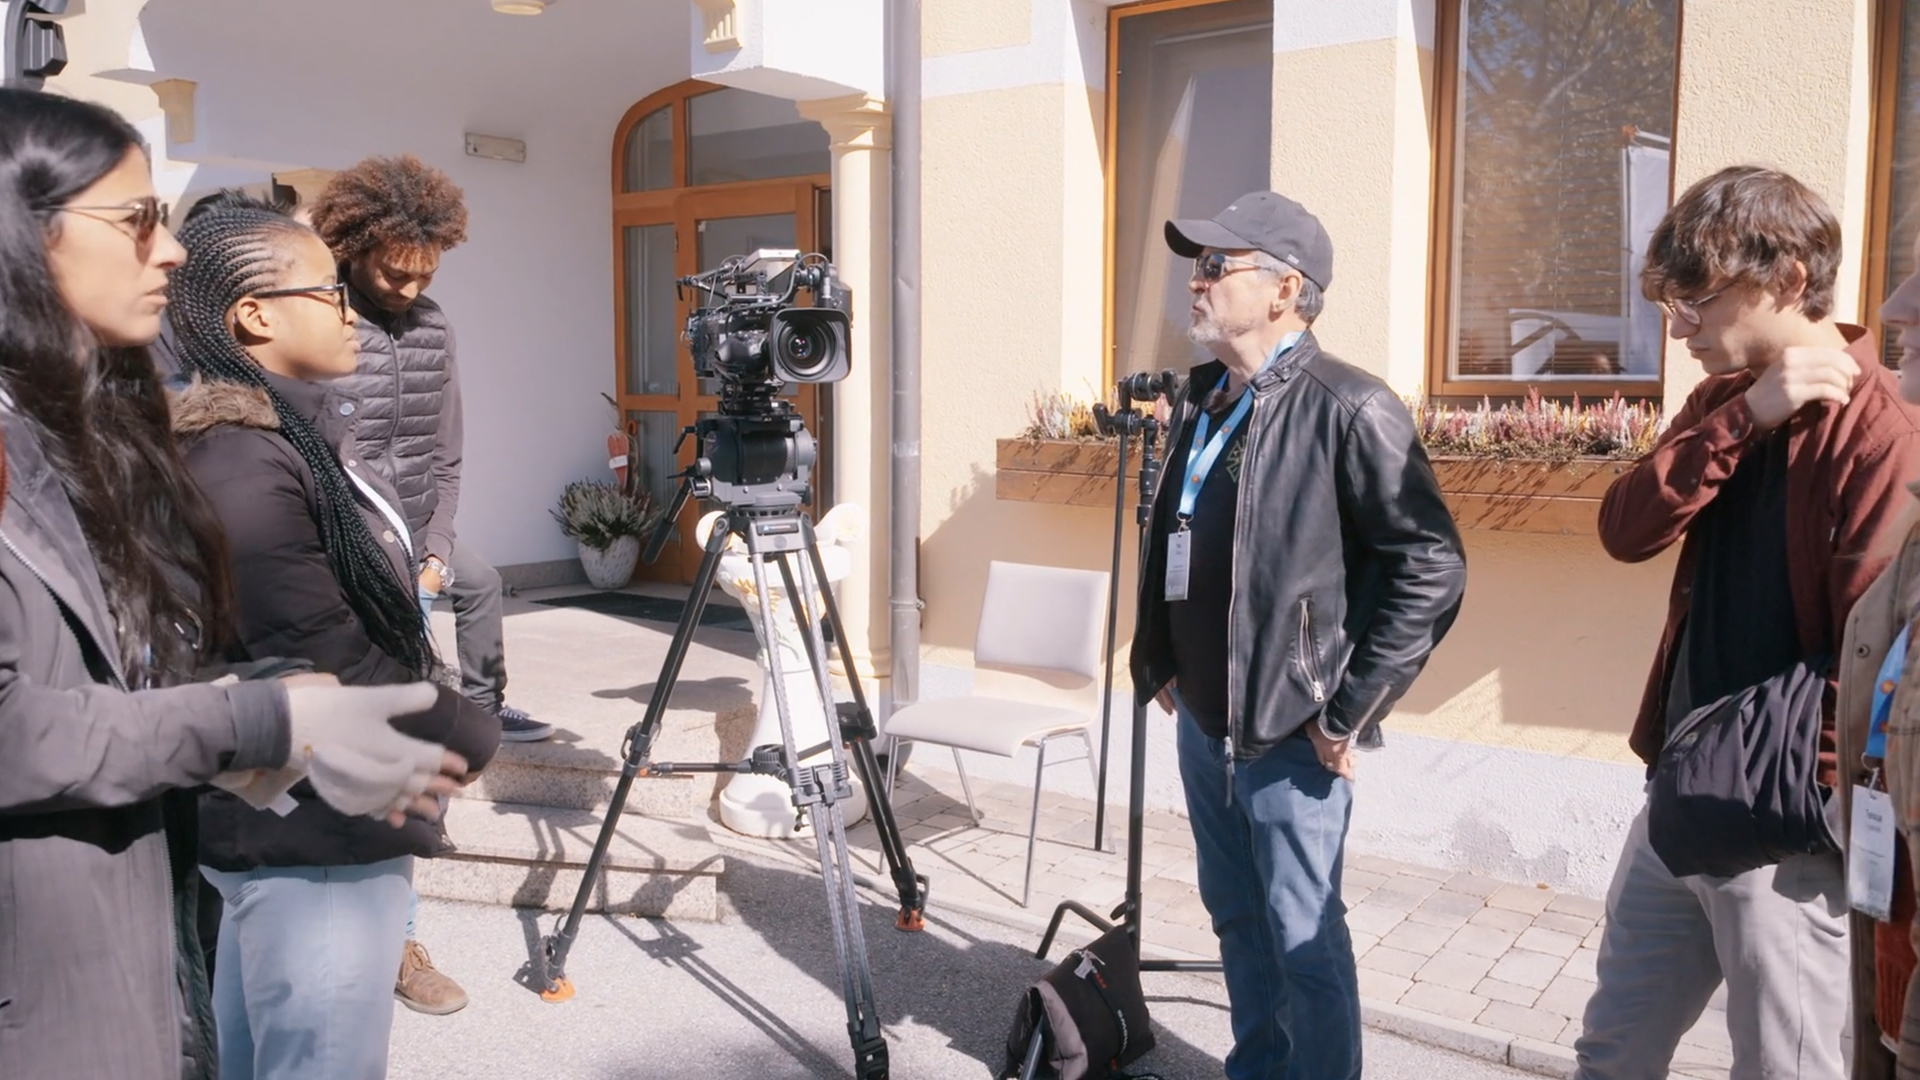
If we want to translate this question into lighting terms, it would sound like this: “Where is the sun?” I guess, most of you know, that the simplest rule to follow is: never shoot with the sun behind you (the cinematographer’s), as it creates a flat and unpleasing front light. Keeping that in mind, Paul will always shoot towards the sun. And here’s why:
- Your interview partner (or presenter, for that matter) won’t have to squint throughout the shoot;
- The sun will create beautiful backlight, especially on the hair;
- Bouncing from the surfaces around you, it will also cast a soft light on the face.
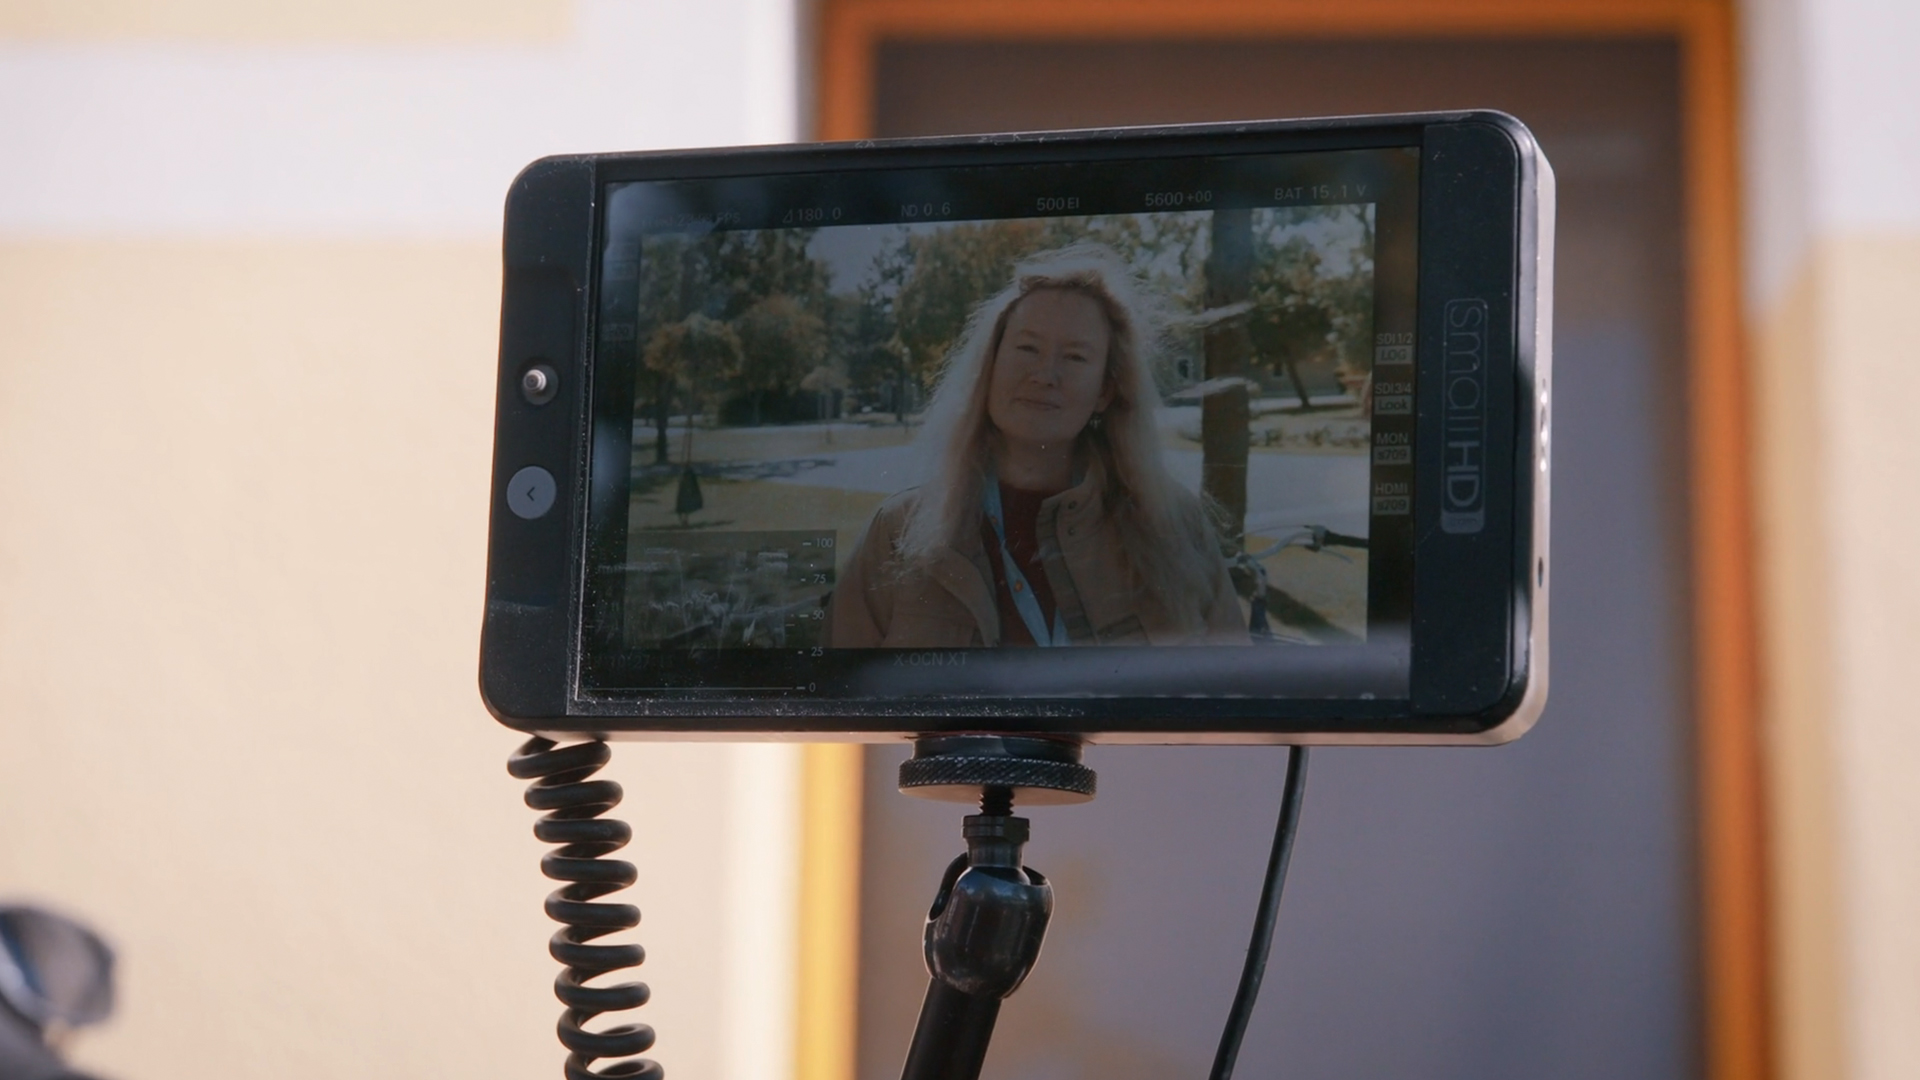
Thus, if you only have a short time to set up for an interview outdoors, choosing the right direction your camera points to relative to the sun will already help you achieve a decent-looking picture.
Scheduling your interviews correctly is crucial
Of course, in reality, it’s not always that simple. Nature doesn’t always play along. Sometimes, the sun will stand way too high, other times, you will come to the location only to find a heavily overcast sky. It can even happen, that you are forced to shoot into front light because the director or producer needs a particular background.
In that case – when possible – suggest shooting at another time of the day. Paul Atkins reminds us, that’s what location scouting is for. If you’re shooting eastward, then you’ll get the best interview light early morning. Westward? Late afternoon. (Not sunset, because in case the interview drags on, the light is going to change in a matter of minutes).
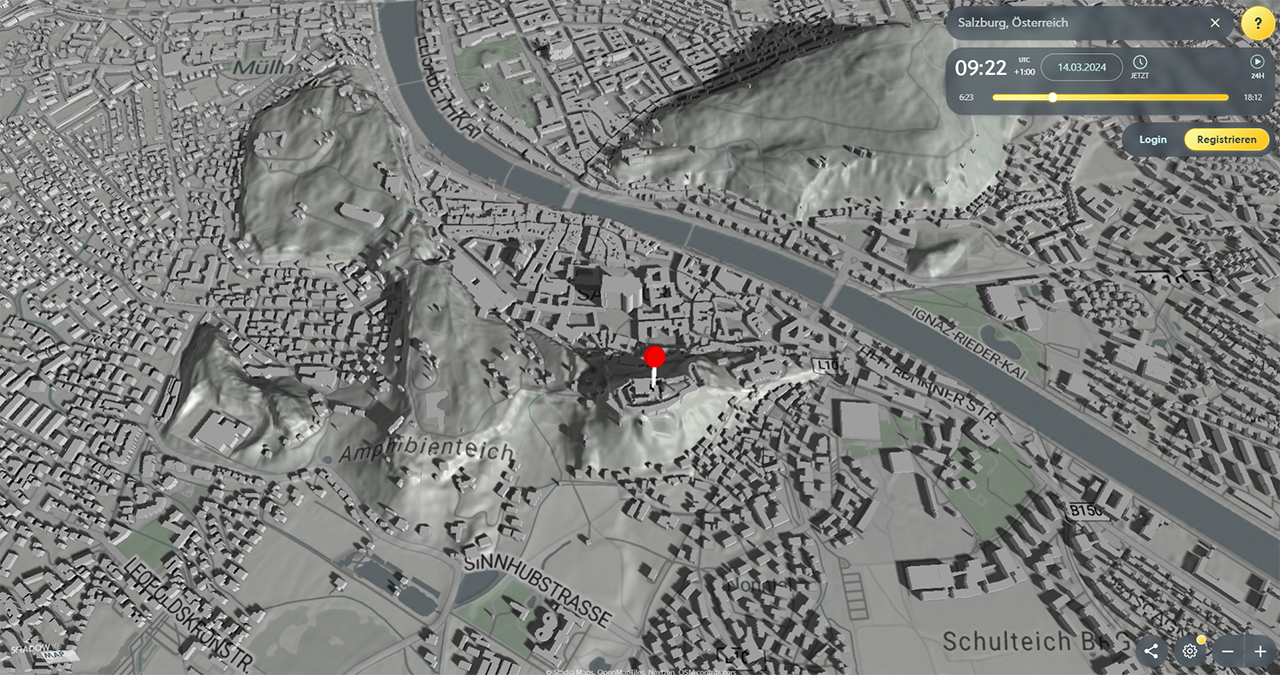
At times, you won’t have the possibility for a proper location scouting to check the sun’s direction. The least you can do then is study your shoot spots beforehand, for example on Google Maps. Also, there are specialized apps, that will show you detailed shadows and lights at the chosen time and address, using 3D models. For example, I use Shadowmap, which is browser-based and has a free plan without registration.
We talk a lot about other tips for location scouting outdoors here. Remember, that as a cinematographer, you should also be able to control the shooting plan. Scheduling the interviews correctly is crucial when you’re dealing with exterior lighting.
In case you have some time to model your light
Okay, now imagine, that you picked the right time, the weather is good, and you can film with the sun as your backlight. The shot is 90% ready. What you can do now is bring some more contrast to the face of your interview partner or presenter. Paul Atkins recommends taking a simple bounce (a reflector, a white card) and placing it on one side. On the other side, you may use a black flag, to add a bit of negative fill. This set-up, when applied outdoors, will make a very sublime change, yet it’s significant for shaping light and shadow on the face:
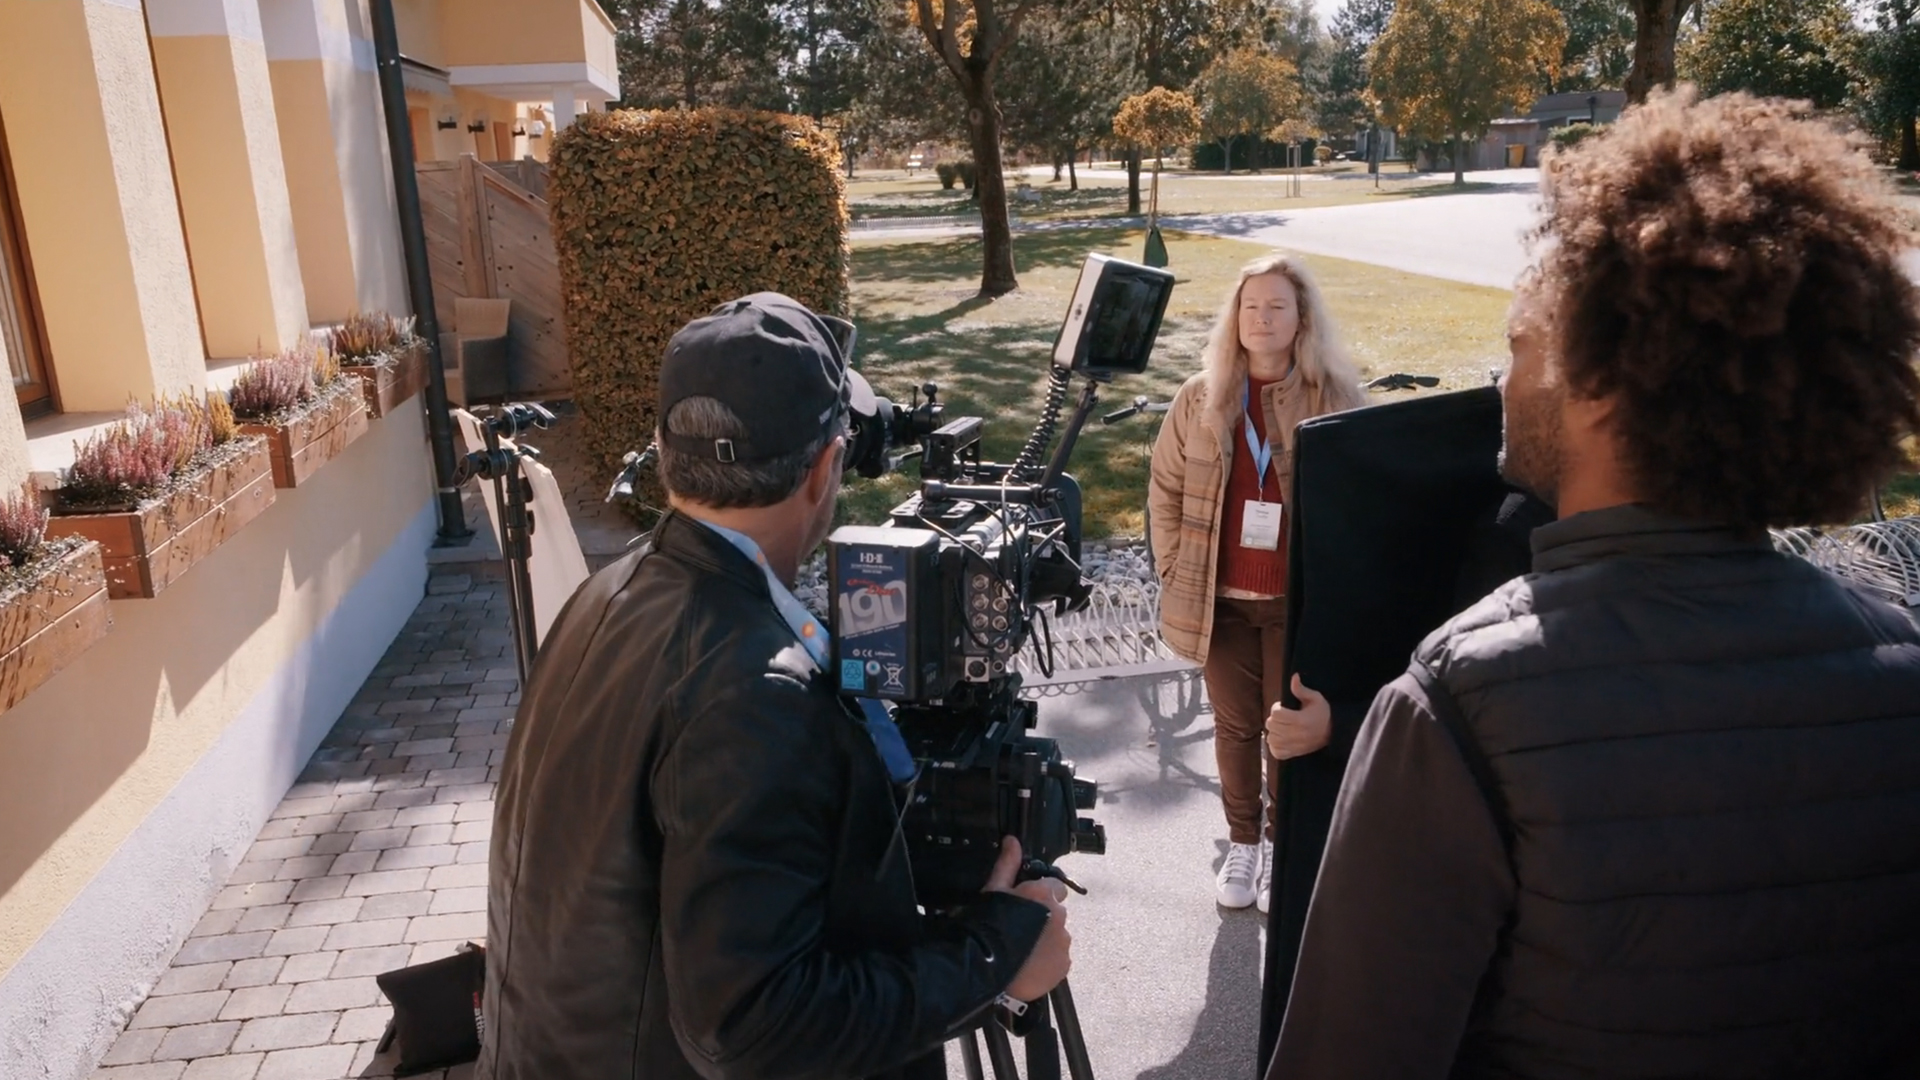
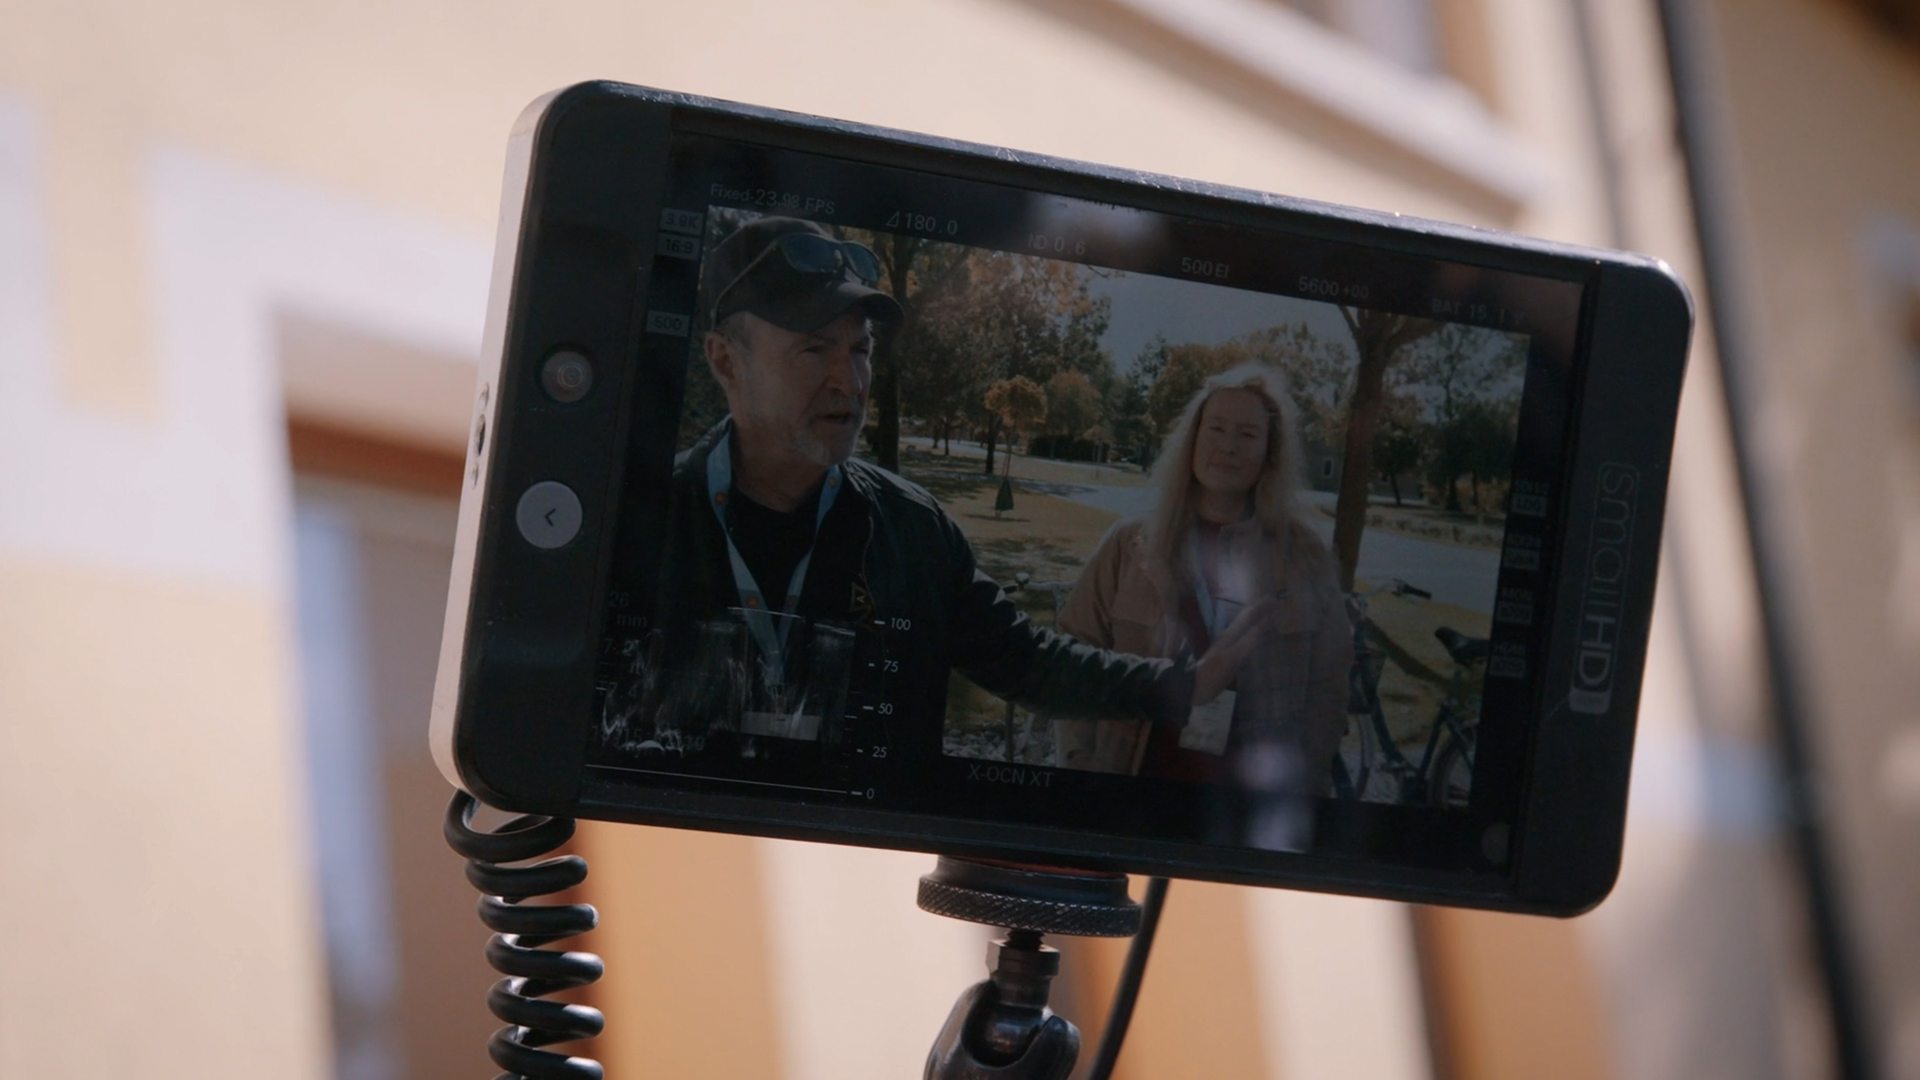
The great thing about backlight is, that even if you have five people in shot, you can put a huge 6” white bounce card, set it up on the side, so that the sun is hitting it, and voilà! Your shot is lit.
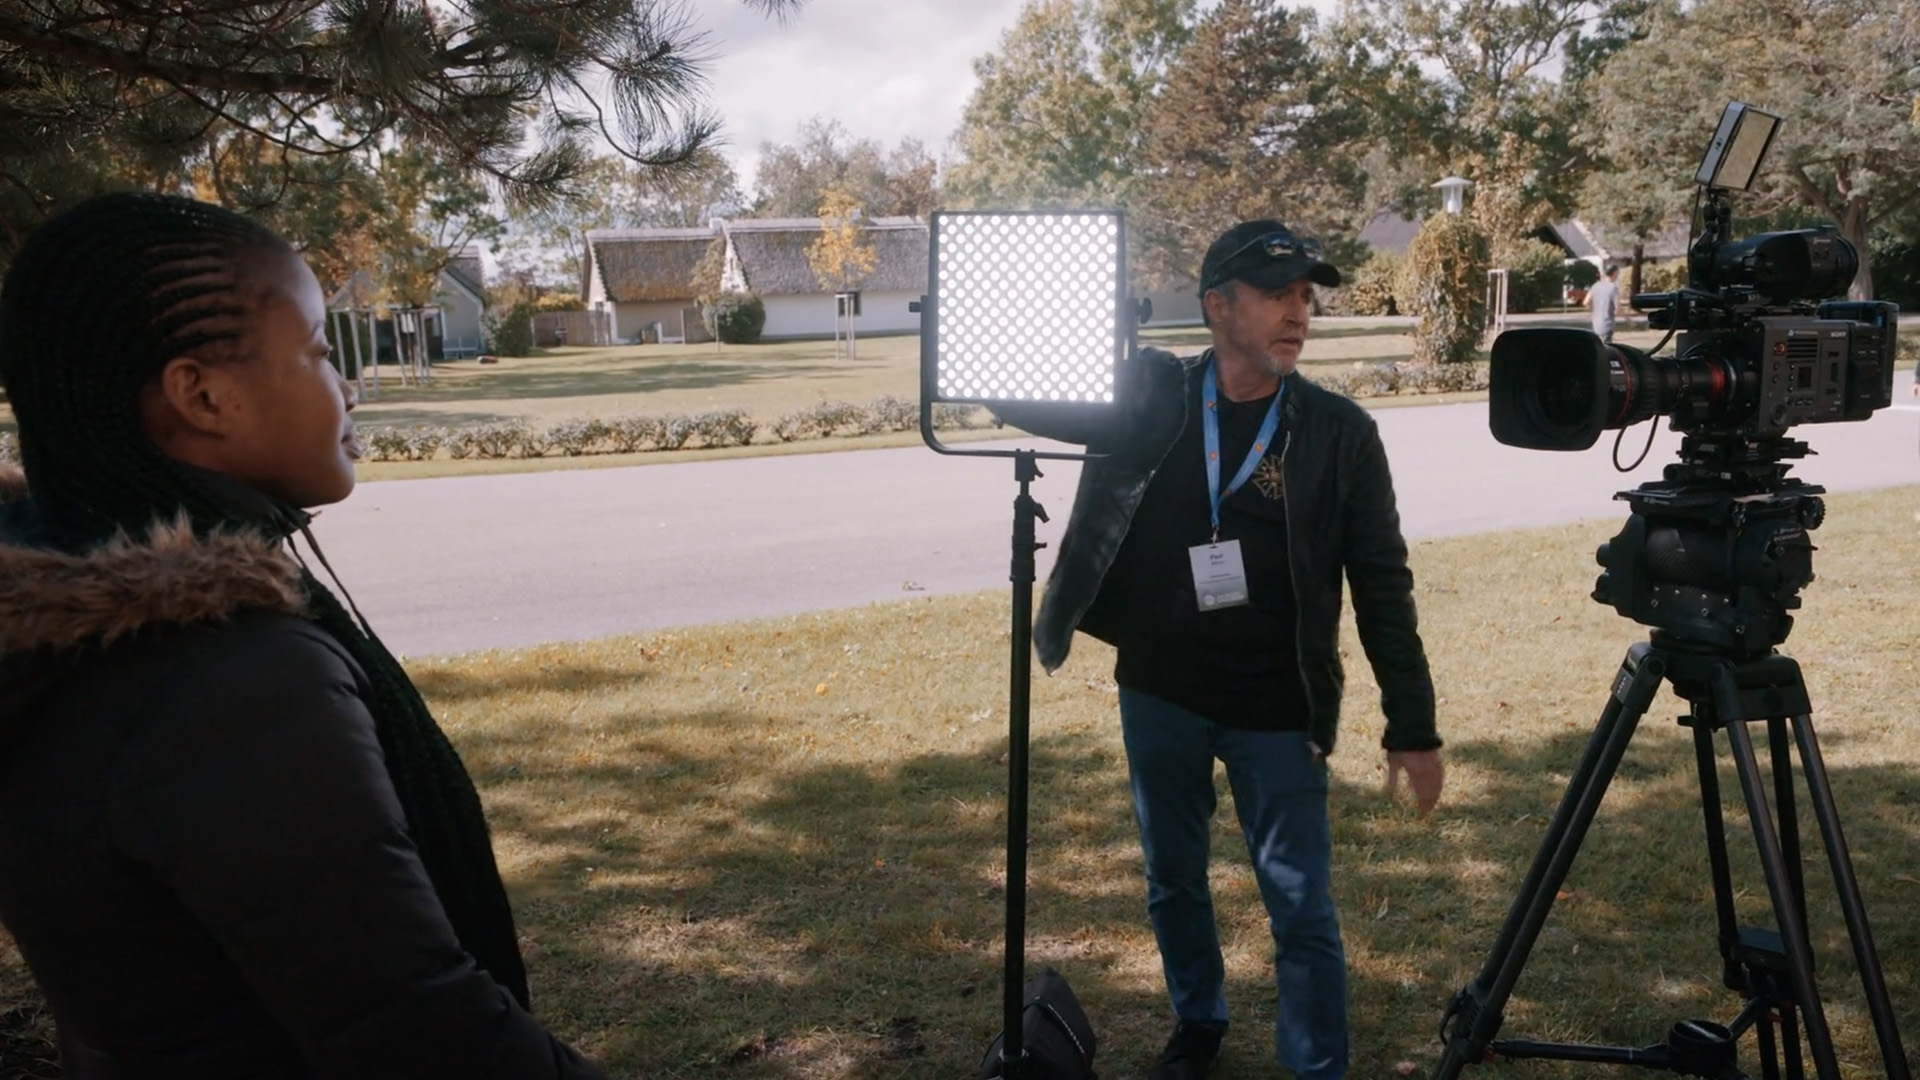
In case it’s cloudy outside, Paul Atkins mentions, that there is still a difference, in where you point your camera towards. In this event, he would also place the invisible sun behind the subject but also add an LED panel as a key light on the side (because the bounce won’t have anything to reflect).
Working with the eyelines
The next tip might be obvious to the most, but it’s an important one to mention. Whenever you set up an interview (and this applies to interior shoots as well), always make sure that the person looks into the light side. In the case we described above, it will be the direction, where we put the white bounce card. Not only does this eyeline look better, but it makes sure, that your interviewee’s eyes catch some light and seem alive. If they don’t, they will look weird, almost “dead inside”. Normally, that’s something you want to avoid as a filmmaker.
Attention to color spill while lighting people outdoors
Another brief note from Paul Atkins: whenever you shoot with backlight, pay close attention to where it bounces off. Why? Because you may get some unintended color spill on the face. A yellow wall of a nearby building, for example, can give the shot a warm undertone, which is okay. However, what if the wall is bright pink or even green? (This is also the reason, why the camera crew normally dresses in all black).
That being said, if you are shooting in the rainforest, you won’t be able to defeat the green spill completely (making it the task for the colorist). One of the tricks to reduce it is by covering the ground with black material (or putting your black flag there). In case you use artificial LED lighting in your set-up, you can also try to counter green by tweaking your light source into a red or magenta direction.
What you can do if you’re stuck with frontal lighting
What if it’s the worst-case scenario, and you are forced to film with the harsh sunlight shining directly into the face of your interviewee?
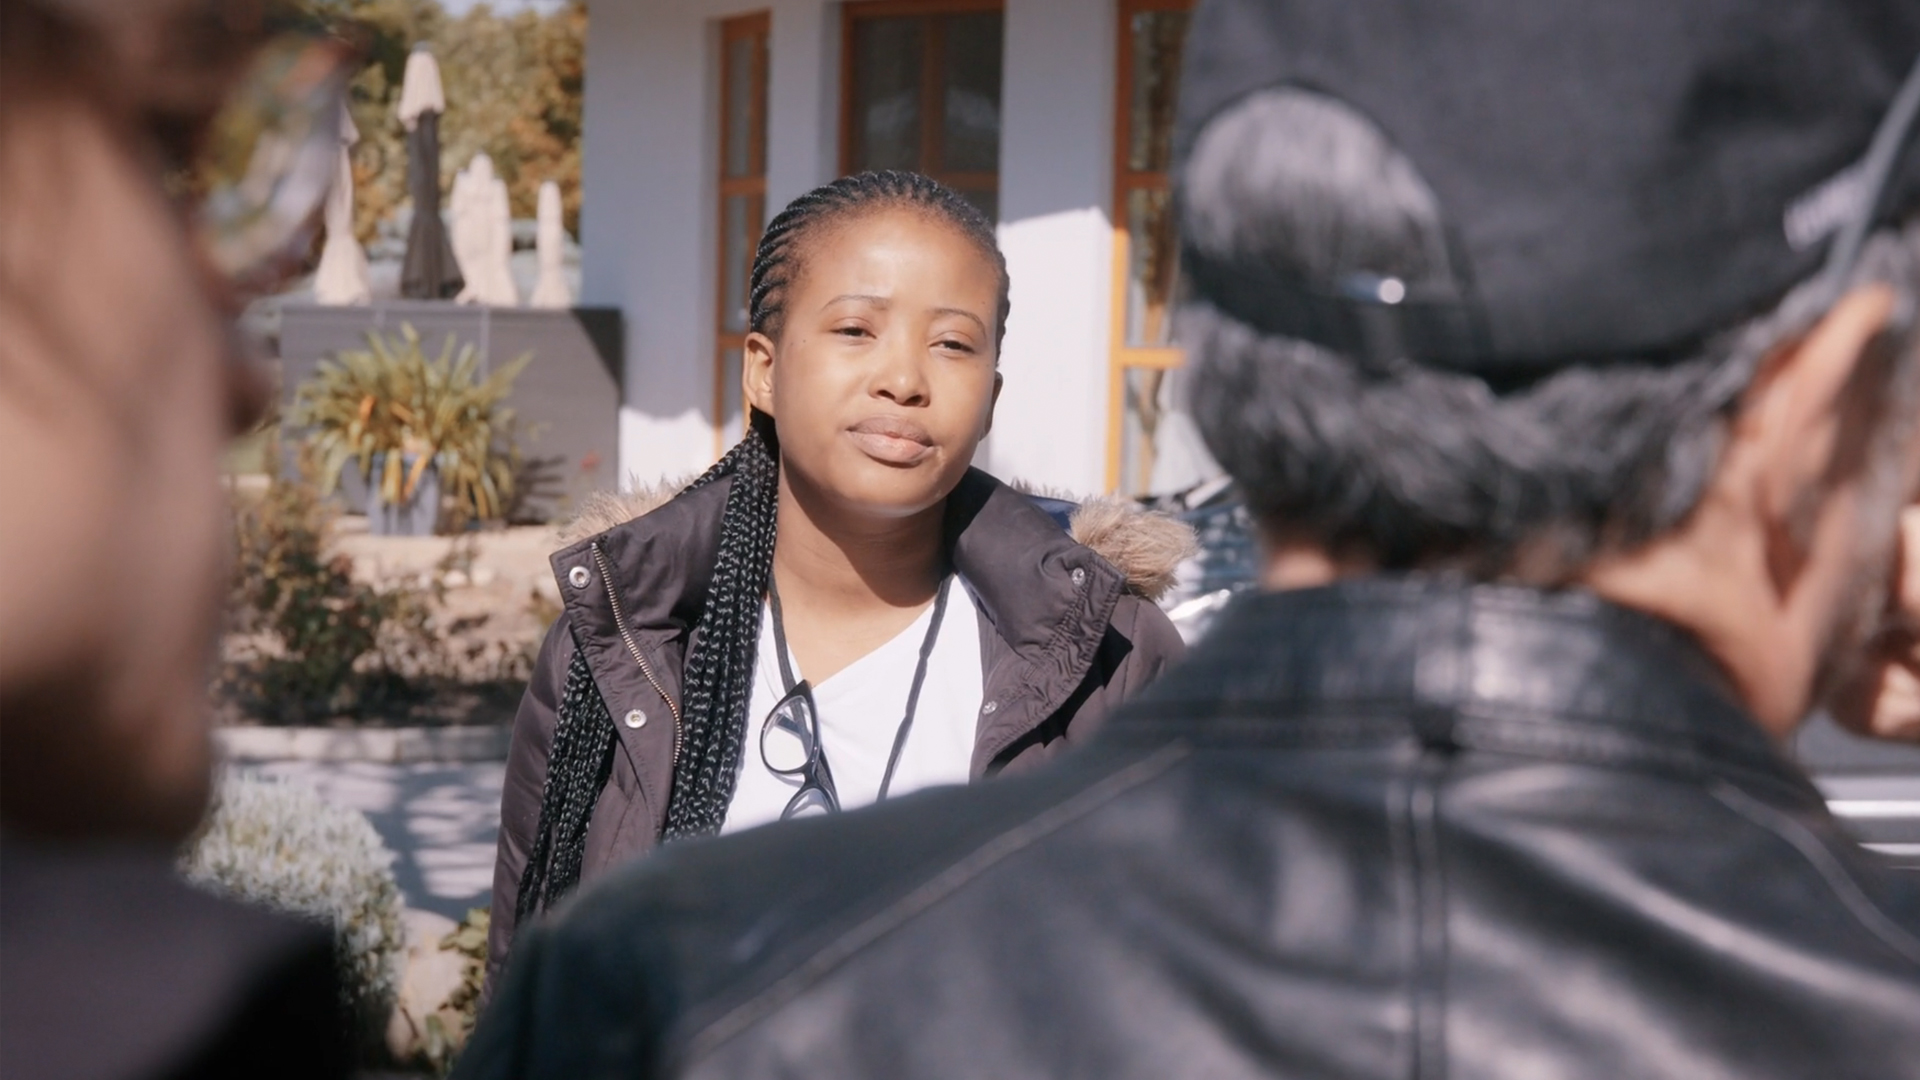
In this scenario, Paul Atkins would at least try to soften it. Everybody uses something different to do so, but Paul’s go-to is a quarter-grid cloth. However, any type of diffusion will suffice.
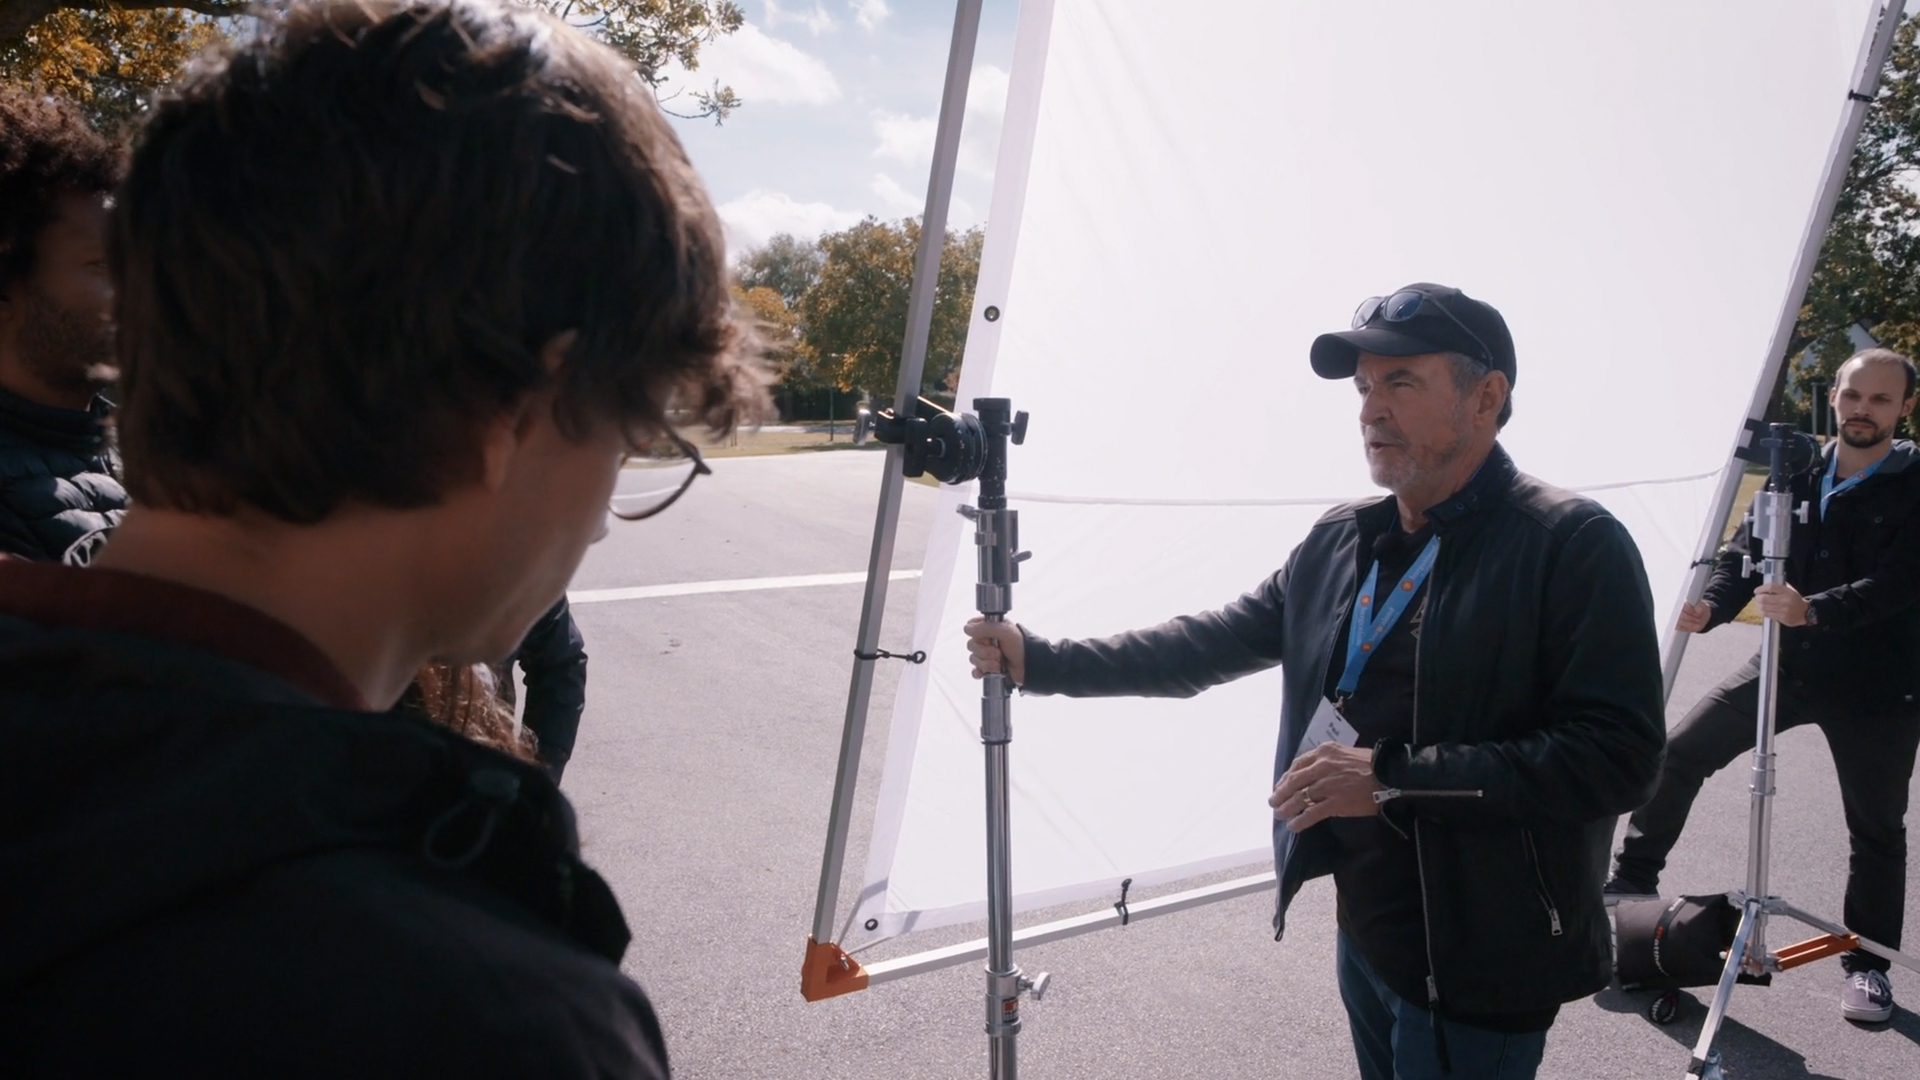
Images source: MZed / The ASC 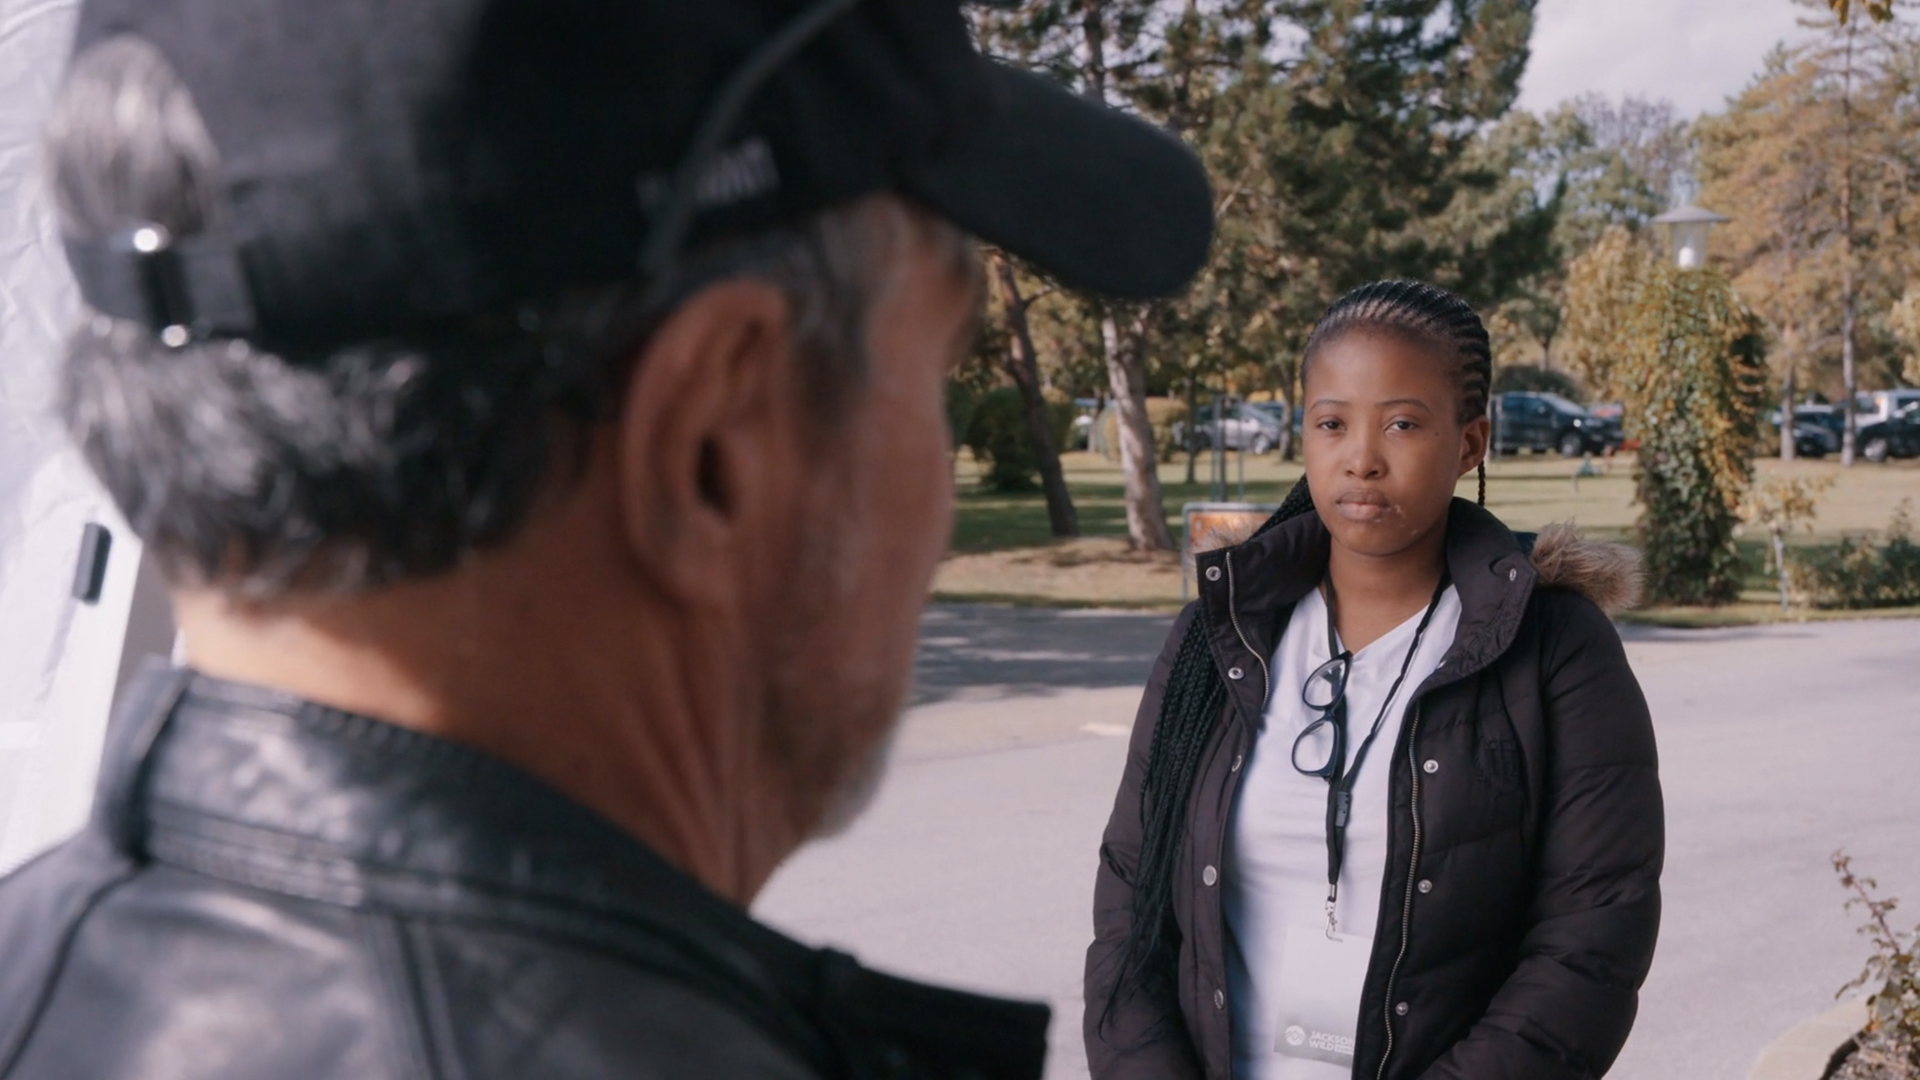
The result
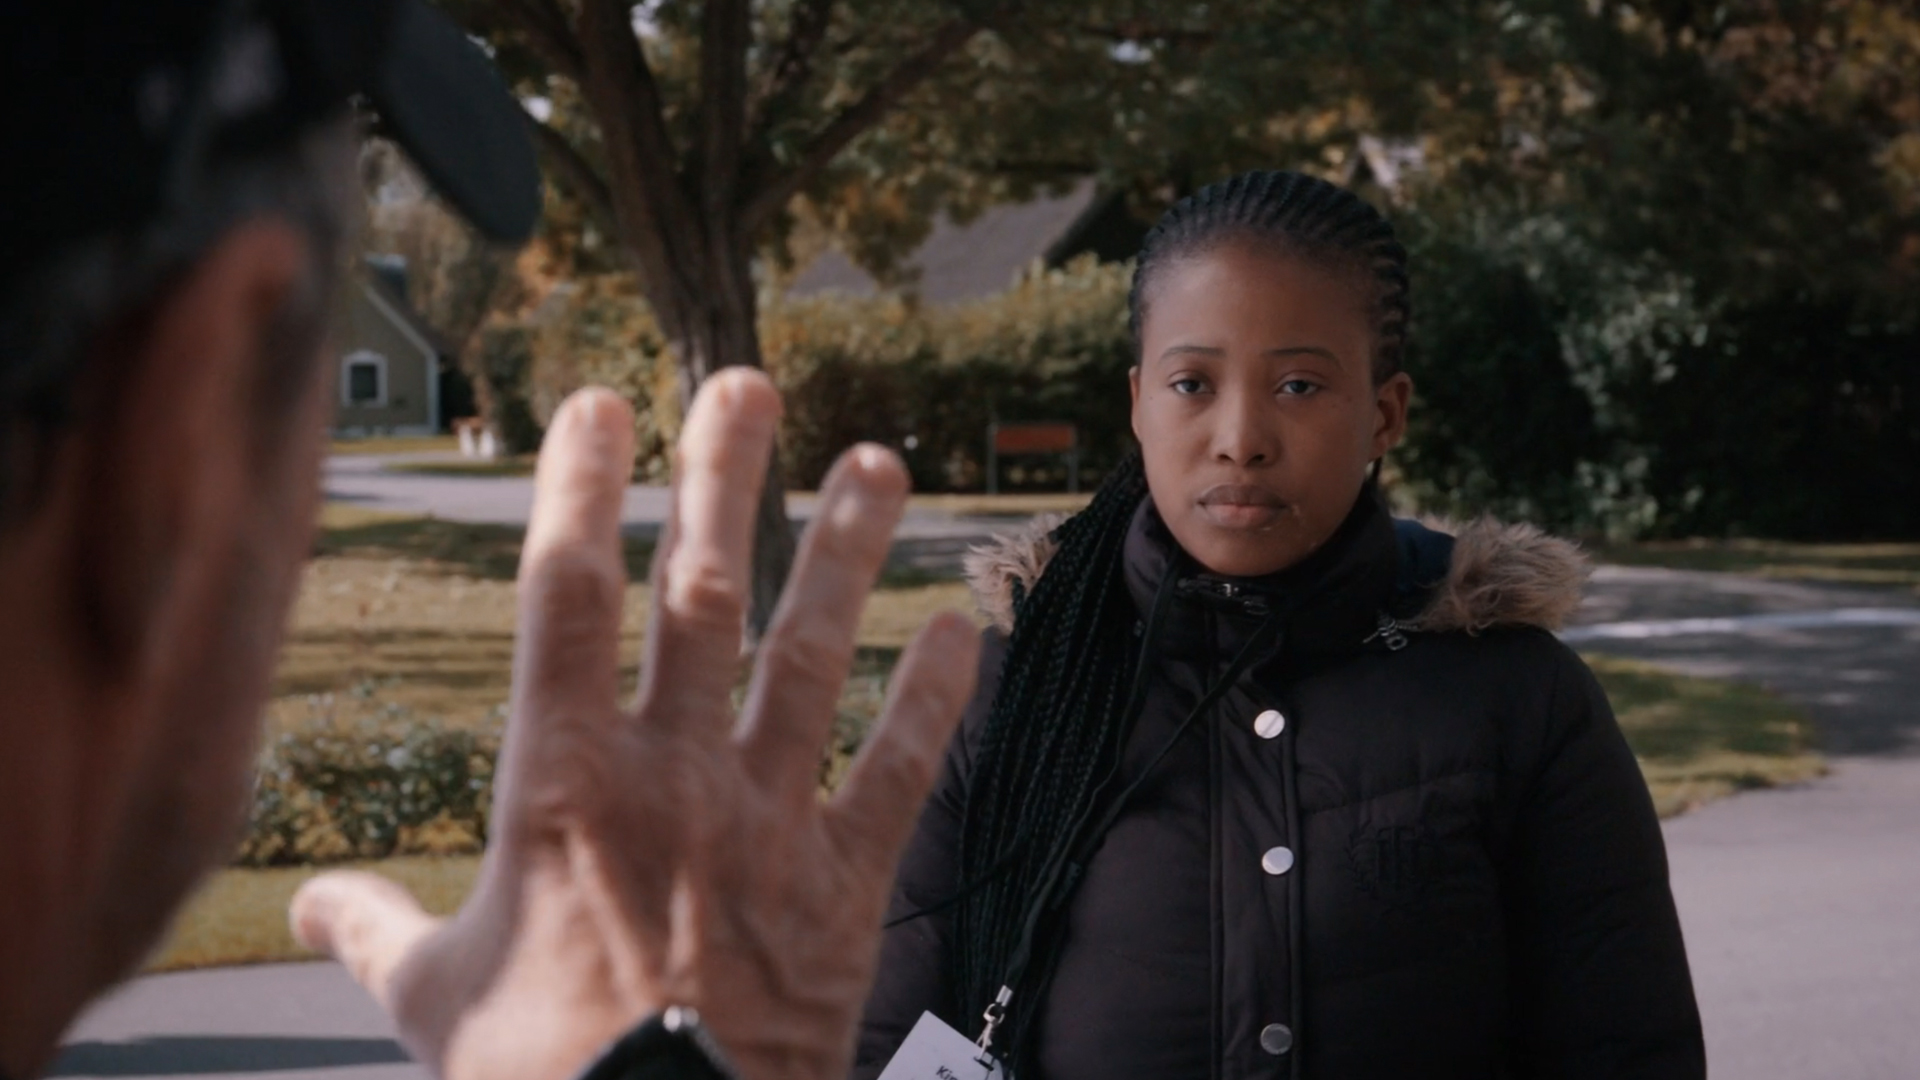
It indeed looks a bit artificial, because the background is extremely lit, and the face of your interviewee or presenter is not. If the person doesn’t interact with the background, make it as blurry as possible, to put the focus away from it. This quick softening solution also works, when the sun stands vertically – just turn your diffusion rig into an overhead one. In case you somehow don’t have a diffusion at hand (even the smallest one), try to find a shadow.
The more ideal way to deal with the sun direction issue would be to try and talk the director into at least using it as a side light. In this case, the background will get more depth due to light and shadows. You can still soften it (with a lighter diffusion), shaping the contrast in the face.
Other tips on how to light people outdoors
As Paul Atkins says, feel free to violate all those principles, depending on your story. Sometimes, you may want the presenter in the harsh front light, squinting at the sun – for instance, when they’re talking about the insane drought of a chosen region.
If you want more hands-on tips from the wildlife cinematography experts, head over to the MZed course “Lighting People – On Location”. In the discussed lesson, Paul also covers how to maintain light during interviews on a boat; what to do, when it’s completely gloomy outside; and how to position multiple people (and/or multiple cameras) for one interview set-up.
What else do you get with MZed Pro?
As an MZed Pro member, you have access to over 500 hours of filmmaking education. Plus, we’re constantly adding more courses (several in production right now).
For just $30/month (billed annually at $349), here’s what you’ll get:
- 55+ courses, over 850+ high-quality lessons, spanning over 500 hours of learning.
- Highly produced courses from educators who have decades of experience and awards, including a Pulitzer Prize and an Academy Award.
- Unlimited access to stream all content during the 12 months.
- Offline download and viewing with the MZed iOS app.
- Discounts to ARRI Academy online courses, exclusively on MZed.
- Most of our courses provide an industry-recognized certificate upon completion.
- Purchasing the courses outright would cost over $9,500.
- Course topics include cinematography, directing, lighting, cameras and lenses, producing, indie filmmaking, writing, editing, color grading, audio, time-lapse, pitch decks, and more.
- 7-day money-back guarantee if you decide it’s not for you.
Full disclosure: MZed is owned by CineD
Join MZed Pro now and start watching today!
Feature image source: MZed
What about you? Do you often need to light people outdoors? What tips could you add to Paul Atkins’s ones? Let’s talk all about exterior lighting in the comments below!


