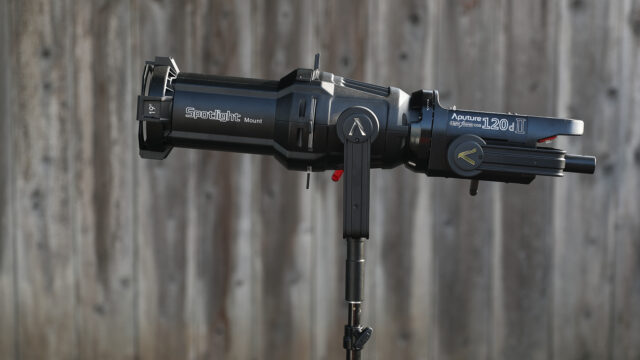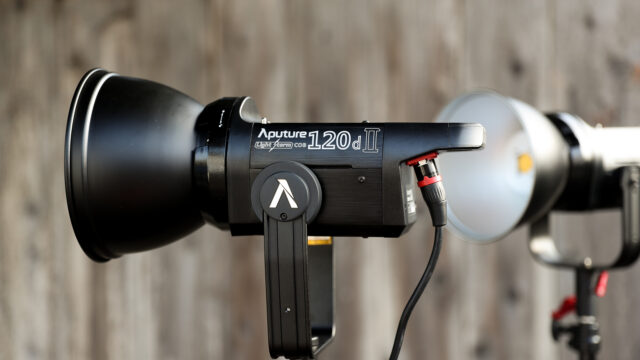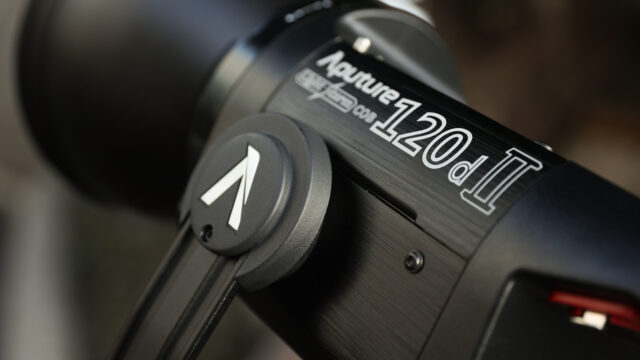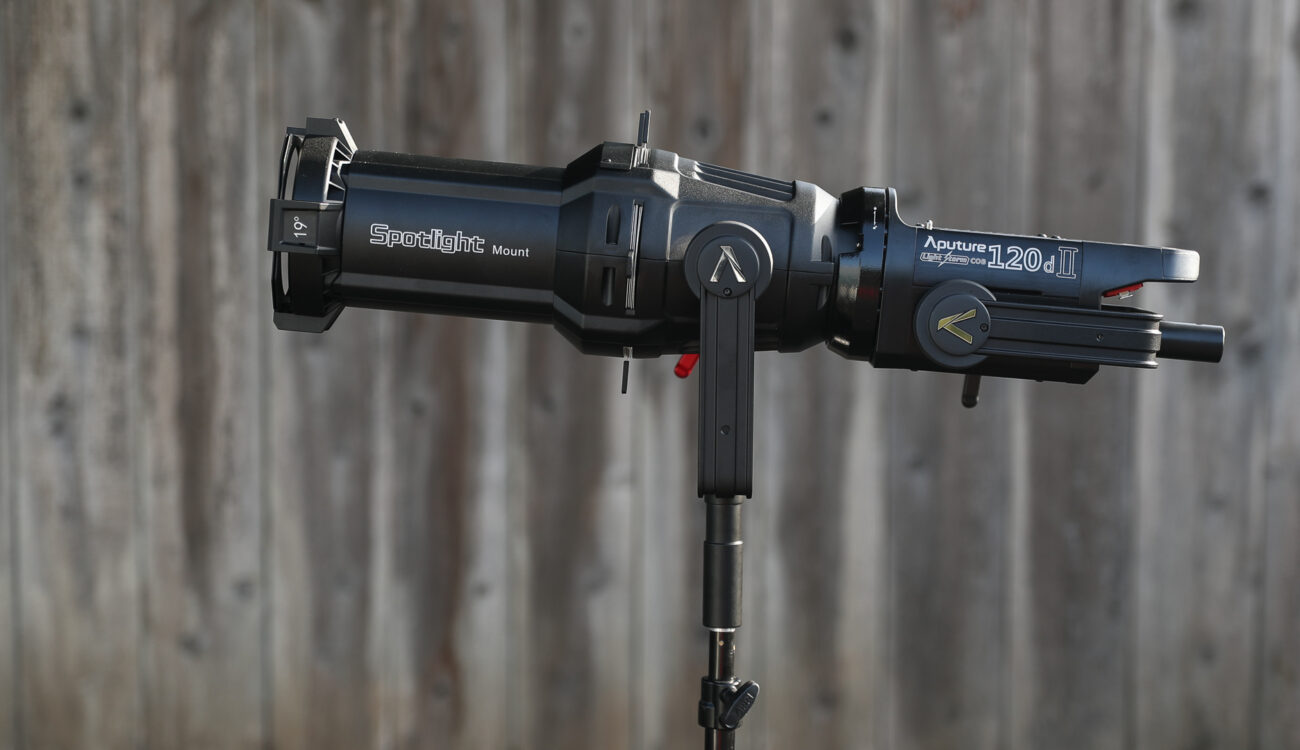
Our colleague, Nino Leitner, originally went hands-on with the Aputure 120d MK II back in April of 2018 at NAB and since then the light has shipped and we’ve even reviewed the 300D MK II, but it’s time to circle back and put the 120d MK II to the test. Along with the fixture, this is the perfect opportunity to try out the brand new Aputure Spotlight Mount. The full review of the light and new accessory is below:
Aputure LS c120d II LED COB Light:
I recently reviewed the MC series and the new 300D MK II and it seemed like an oversight to not spend more time with the 120D II. As a longtime user of the first generation 120D, I was particularly interested in the design updates in the second generation. Is it worth upgrading? Or, if you own the original 120D are you okay waiting? Let’s dive in.
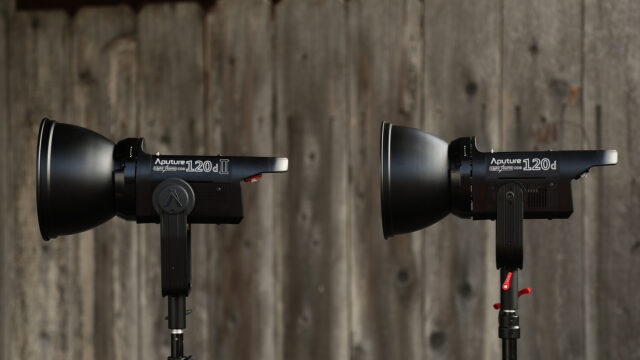
On paper, the 120D MK II boasts a 25% output improvement over the MK I and it also balances out of the box to 5500 kelvin, versus the 6000 kelvin of the first generation. You could always correct that 400 Kelvin difference in the older version to “standard daylight” using gels, but I prefer a fixture that works out of the box in either 32K or 56K as it’s just easier to use in most situations and matches other light brands better. Also, color temp correction gels are feeling a little old school these days given the ubiquity of RGB panels that allow precise kelvin color temperatures to be dialed in with a quick button press.
A 25% output increase is nothing to scoff at. I first turned on the 120D MK II and lit most of the downstairs of my home with the bundled reflector mount. Before the neighbors started asking about alien invasions I turned it off and decided to try it in a few situations in real filming environments for this review. It still doesn’t quite have the output for most exterior daytime applications (depending on cloud cover and time of day), but for that, I suggest you use a 300D MK II anyway.
If you’ve purchased any Aputure products before you know the company cares about including a bunch of useful accessories and that hasn’t changed with the 120D MK II. Things like the included wireless hand remote and the soft case just do not come standard from other manufacturers. The wireless hand remote is useful, but I’d prefer to use the new Sidus Link App that works with all the latest Aputure fixtures, but unfortunately, the phone app isn’t compatible with the 120D MK II for some reason.
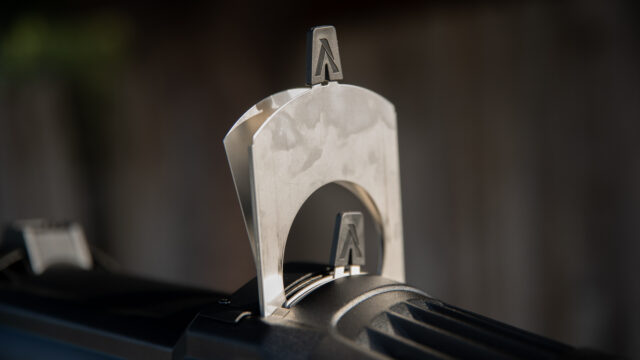
In terms of overall build – the mounting yoke is identical to the 300D MK II and allows for much-improved freedom of movement. A big improvement is also the combination of the power/controller unit. Fewer components just lead to faster setups and more shots per day. Unfortunately, the 120D MK II doesn’t come with a similar light stand mount to the one that ships with the 300D MK II. Perhaps this could be created as an additional accessory in the future?
DMX capability has finally come to the 120D line as well. Most of my other fixtures work with the DMX512 protocol present in the 120D MK II and that keeps things simple for setting light levels or working on a stage where physically accessing the light might be tricky.
I also found the overall fan noise to be less, versus the 120D MK I. You shouldn’t have any issues using this light during quiet interviews where the fixture is placed close to your subject.
Personally I use gold mount batteries, but like with the first generation you can purchase the light with a V-mount plate as well. These lights do tend to burn through power at 100%, so keep in mind you’ll want a few fully charged 98wh gold mounts to get through the day.
At a price tag of $745.00, you’ll be hard pressed to find a better lumen to dollar ratio. There are so many panel lights out there that it seems people lose track of all the great uses for a hard source like the 120D MK II while on-location. It’s fast to set up and improves over the first generation in several key ways. For me, this is an upgrade worth doing.
Spotlight Mount:
A bunch of manufacturers gets the accessories part of the equation wrong and that’s why we see 3rd party providers pop up all the time, but Aputure has obviously been committed to building a quality ecosystem of modifiers around their Bowens Mounted fixtures. Even when they’ve missed the mark (the first version of the fresnel attachment needed improvement) they have gone back to the drawing board with the much improved Fresnel 2X attachment and fixed the problems that occurred in its predecessor.
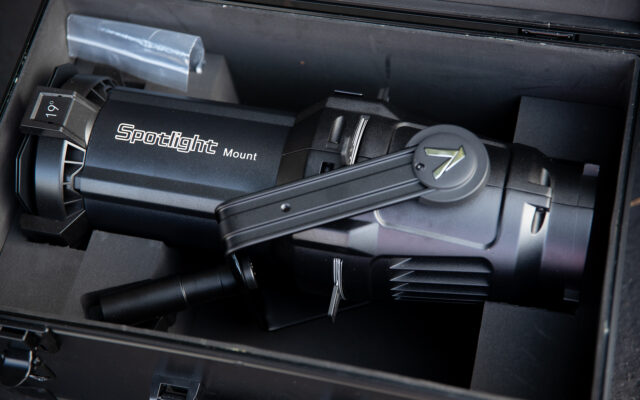
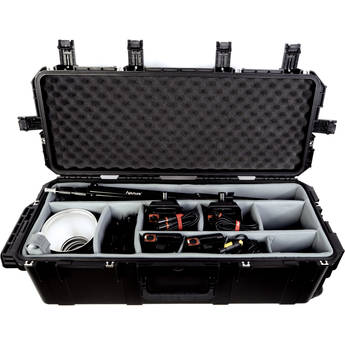
The Spotlight Mount case is very helpful and comes included with the kit. Image Credit: Graham Sheldon
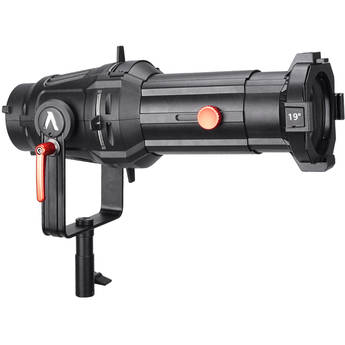
Calling the $499.00 Spotlight Mount an “accessory” almost undersells it to some degree — this thing is built like a tank and it’s physically bigger and heavier than the 120D MK II. It comes in its own carrying case that doesn’t feel quite as sturdy as a Pelican or HPRC case, but it should hold up to most heavy travel. There is also plenty of room in the case between the mount (sitting in cut out foam in the above image) and the exterior walls which should also help to avoid damage over time. Also, Aputure included a handy cleaning pack and three of the most common types of compatible Size B Gobo’s (Window Blinds, Tree Limbs, Organic Shapes) with the kit. Obviously you can grab your favorite Size B gobo and use that design with the spotlight mount too.
Do you need a spotlight mount for every shooting situation? No. But, it is a very, very handy tool for bouncing a key light onto talent in tight spaces or throwing an out of focus leaf pattern on a back wall for a little visual interest without pulling audience focus. One of my favorite tricks is to throw a scattered pattern of organic leaf shapes on a deep back wall of an interview shot and put little out of focus hot spots behind the subject. You could also subtly highlight an art element in the background for a specific story point or you could add that always great looking shaft of light from an unseen high window after hazing up the environment a bit. There are plenty of use cases for the spotlight mount and that makes it something you’ll want to keep with you in the field.
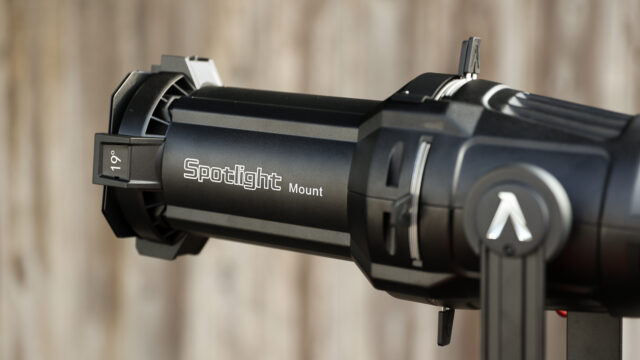
Now, I don’t want to pretend this is the most portable accessory Aputure has ever designed — it’s big (about 20lbs), it’s bulky and it absolutely dwarves the 120D MK II as I mentioned. The spotlight mounts directly to the stand and then you connect a given fixture to the back. For this review, I only used the 19 degree lens, but you also have access to a 26 degree and 36 degree lens as well. These lenses are available for $259.00 and are easily user-changeable. With the 19 degree lens, I found the edges of the light circle to be sharp and it was easy to make hard edges by manipulating the mechanical controls on the side of the mount.
The 19 degree lens, in particular, is very useful for me because I tend to use spotlight or “leko” attachments in conjunction with the Light Bridge system. Please note though that you’ll need considerable space to use the 19 degree lens and you may be better served with a 36 degree lens in tighter spaces.
Conclusion:
The price of the Spotlight Mount ($499) may seem expensive, but that’s when comparing it to the relatively affordable price of most of Aputure’s lights. It’s a very useful accessory to have around for any of the use cases I mentioned above and the fact it’s compatible with any of the Aputure Bowens mounted lights you may already have makes it future proof in my opinion. In turn, the 120D MK II is a greatly improved version of the original and makes for a worthy upgrade. It may not have the punch of the larger 300D MK II, but you’ll find it very helpful for a variety of interior scenes and interviews.
What do you think? Did I miss any use cases for the Spotlight Mount? Are you going to upgrade to the MK II or stick with the original 120D? Let us know in the comments below!
