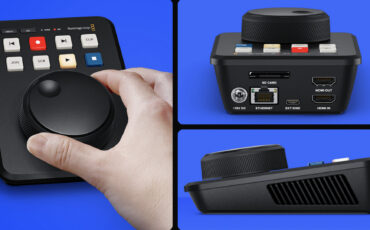
Blackmagic Design DaVinci Resolve 18 – What’s New on the Color Page?
Blackmagic Design has had a very busy NAB so far, unveiling new hardware as well as a brand-new version of their flagship software product: DaVinci Resolve 18. This new version is currently in public beta, and we had the chance to check out some of the most exciting new features on the color page at NAB 2022.
The new DaVinci Resolve 18 (Beta) may not offer as many visible new features as previous major updates, due to the fact that the company has been hard at work under the hood on the new cloud-based collaboration features.
So there are no new pages (which I think is good – Media, Cut, Edit, Fusion, Color, Fairlight and Deliver seem perfectly adequate to me), but there are of course still a lot of improvements and new features across the board.
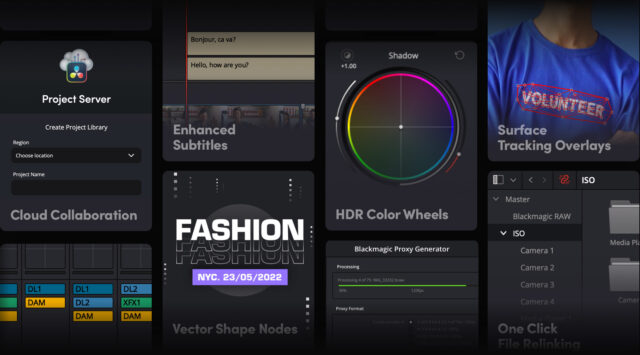
For many of you, our valued readers, the page you probably work on the most is the color page and that remains to be the centerpiece of DaVinci Resolve, at least for me. So let’s dive into some of the most exciting features of said color page, shall we?
Color Correction with DaVinci Resolve
DaVinci Resolve 18 – Color Page
Simon Hall from Blackmagic Design walks us through the color page of DaVinci Resolve 18 and the first thing he is eager to mention is of course the brand new Object Magic Mask on the color page. The magic mask for people (faces) has been around for a while, but the new object mask extends that concept from people to really anything you want.
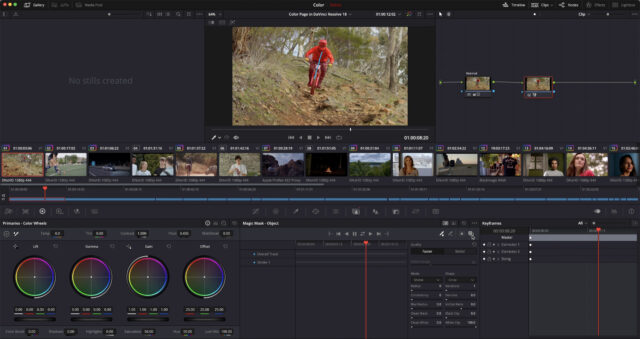
In the Magic Mask panel, select Object instead of Person and simply drag a line across the object in question. Then track the selected object across the entire shot and manipulate it in another node (or node tree). This is an impressively simple way to separate objects from the rest of the shot.
The original Person Magic Mask was (and is) used to track a person’s face. The new Object Mask, however, doesn’t need to see a pair of eyes, a nose, or a mouth to recognize a particular object, but uses AI to estimate what should and shouldn’t be part of the intended selection.
Depth Map
Up next is a new effect, called Depth Map. As the name suggests, it creates a virtual depth map from a 2D scene. With such a map tracked over the entire shot, you can apply further effects or color manipulations, for example, to the foreground only. Or you might want to darken the background a bit to make your subject pop a bit more.
This effect is really cool, because although it seems simple, a lot of calculations have to be done in the background using artificial intelligence, as this is difficult for computers – they just don’t see the world the way we do.
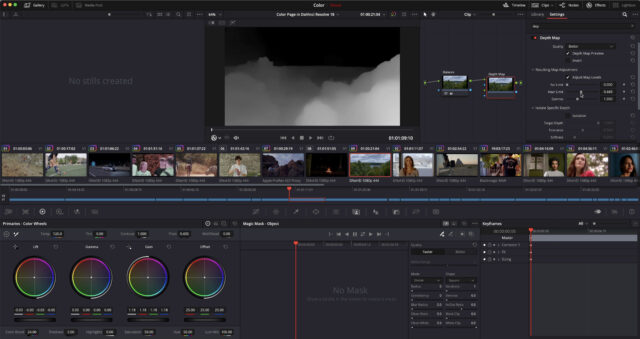
The Depth Map effect creates an alpha matte and everything that is white is affected by downstream nodes, gray areas are affected a little and black areas are not affected at all. Of course, the effect can also be inverted to process only the background, for example. This seems to kiss bye-bye to the annoyingly slow process of creating rotoscoping masks.
You could also use this as a “poor man’s process” for creating a shallow depth of field by simply blurring the background but keeping the foreground in focus.
Surface Tracker
Do you happen to know the Mocha Planar Tracker software? Then you know what the new Surface Tracker is all about. It tracks surfaces, but since surfaces are not always flat, this is not exactly an easy thing to do if you want the result to look realistic.
Once a surface has been tracked, the contents of the tracked region can be manipulated in any way, for example, one could replace the logo of a T-shirt or replace the contents of a phone’s screen with something else.
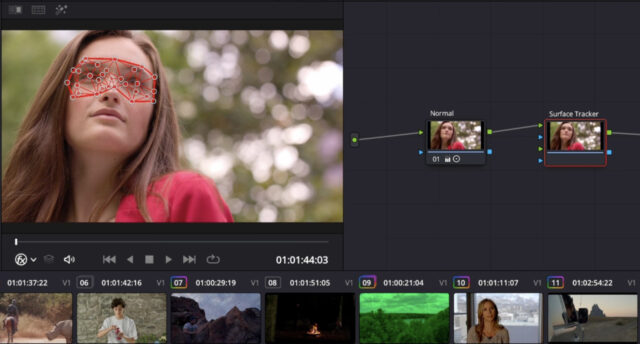
The way Surface Tracker works is that you draw in the bounds of the area you want to track. A mesh is then created that detects all trackable points within the bounds of the area. During tracking, the mesh is warped according to the movement of the area being tracked. This creates a realistically warped and tracked surface that you can continue to work with.
More in DaVinci Resolve 18
Of course, there are many more features and improvements to be discovered in DaVinci Resolve 18. If you want to dive deeper, please read our initial post here. If you want to take a really deep dive, you can read the full 3,981-page PDF manual here.
Link: Blackmagic Design
Have you had a chance to play with DaVinci Reolve 18 Beta already? What are your favorite new features? Share your experiences in the comments below.
