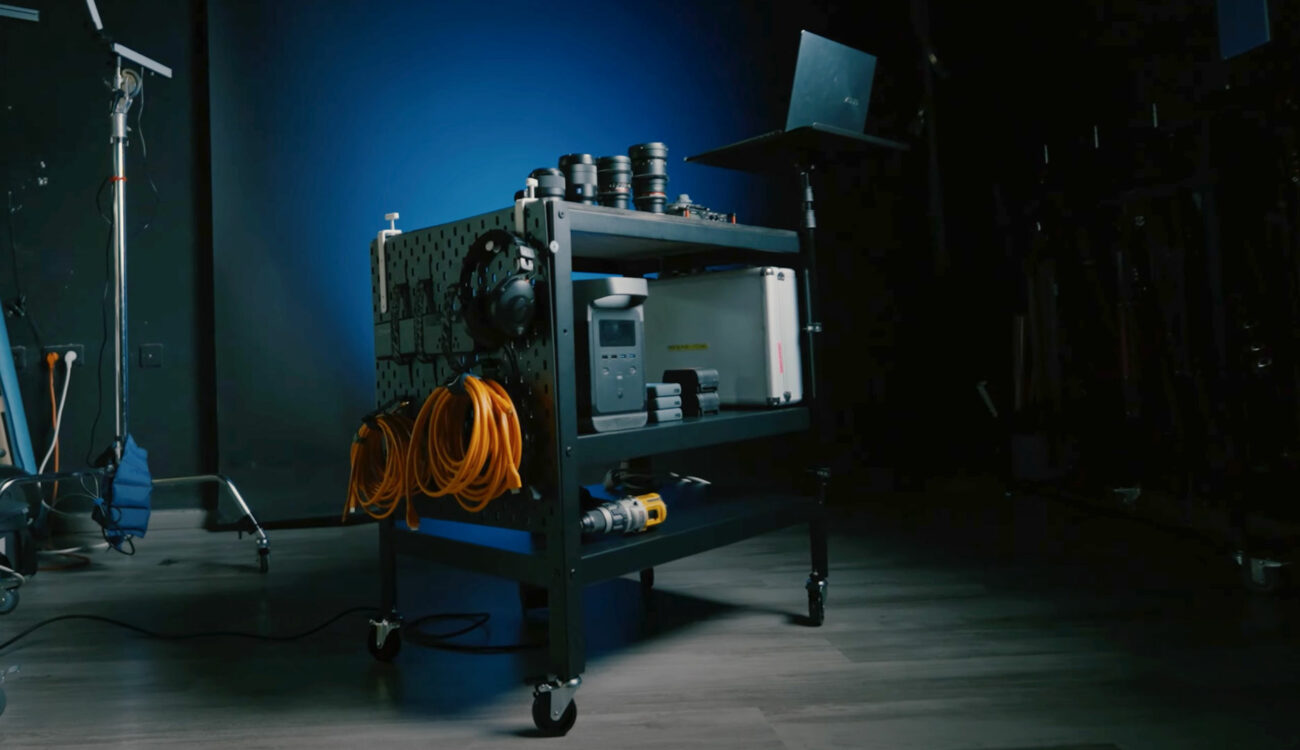
One of Udi Tirosh’s recent projects over at diyphotography.net was making a studio cart for under $300. But first, he had to research what was available and how he could possibly make his own. By using the IKEA Bror, he managed to create a custom-built DIY studio creator cart for under $300. Keep reading to find out how!
It’s best to make the distinction between carts for indoors, such as Udi’s, and those that could be DIT carts to help data capture on–set. This DIY venture was also never going to be something that needed a huge load capacity, it didn’t need to be made of 19 gauge steel for instance (after all, he was going to IKEA for the parts). Professionally made carts live a much more rigorous life and have to be made to last. Udi’s homemade version would stay cosseted in his studio.
So Udi wanted something utilitarian, something that helped with his workflow. But minimal requirements included having a permanent spot for his laptop, cameras, lenses, and maybe even a monitor, as well as cabling and accessories.
DIY production cart – what is needed?
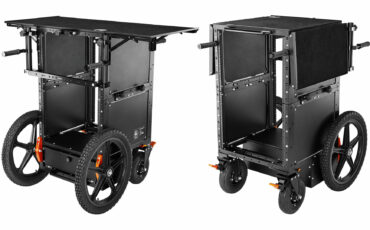
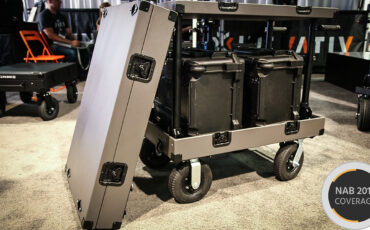
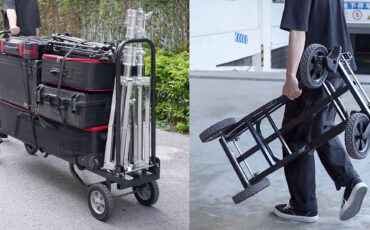
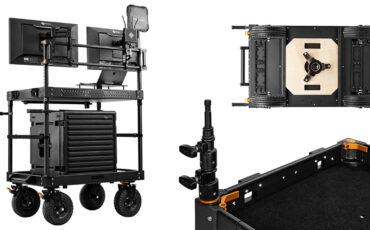
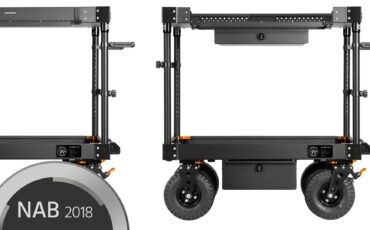
Before deciding to DIY the cart with a visit to IKEA, Udi did his research and looked at bespoke solutions from INOVATIV, CAME-TV and Proem which come at quite a high price and are over-engineered for what he wanted. He found that, because they are for traveling, DIT and data wranglers are designed to be partly disassembled to fit in aircraft holds and vehicles.
Writing 201
They are also armed with hard-wearing items like industrial locking casters, solid wood tops coated with polyurethane, and built-in power and USB connections. And they’re expensive.
But Udi knew that his cart was only for his studio and would never set foot outside but he would still take ideas from the customized carts, just cherry-picking the right solutions for him.
Other cart necessities
Apart from his laptop mounting on the cart, Udi wanted power to the cart with a cabling system that was uncluttered. He wanted his cart to house all the cables and accessories he would need for a shoot and most importantly for him, it needed a cup holder.
The idea was to visit IKEA and find a solid base you could build onto: the IKEA Bror was the answer. It already had wheels and was pretty solid, made of metal (but not aluminum). By 2030, IKEA wants all the materials in their products to be recycled or renewable, so care has to be taken when you’re looking for some kind of load support.
Interestingly, a production company called Lumetry Media also used the IKEA Bror cart to create what they were looking for, but a bit differently. They built it upside down as the shelves had a lip that way, which they needed to make sure their lenses didn’t fall off the unit. See the video below.
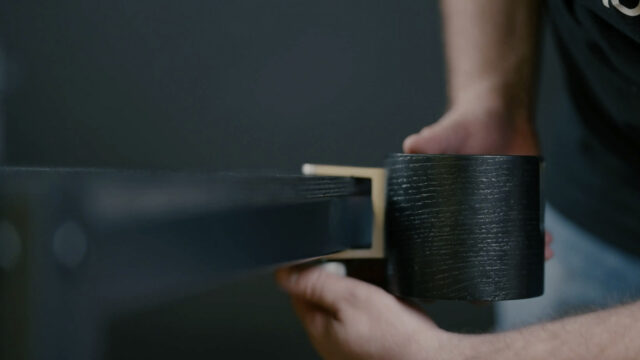
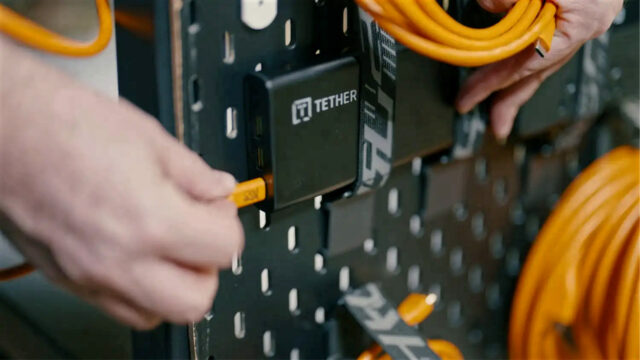
It had a size of 33.5x 21.625 inches (85×55cm) and a wooden top with two shelves that would help with its sturdiness (according to IKEA, it can handle loads of up to 70kg per shelf). He added a Skadis pegboard made from fibreboard for his cabling and anything that needed a home. He picked a black version and connected it to one side of the cart (in fact he used Skadis connectors to mount the pegboard onto the cart).
To store accessories and cabling onto the pegboard he used the Elastic Cords for mounting things like the power bank, an IKEA UPPSPEL kit for cable management, and lastly, some IKEA hooks for the rest.
Laptop safety
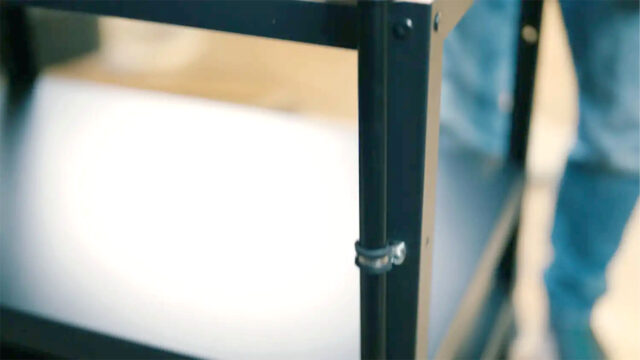
Being an off-the-shelf flat-pack product, you couldn’t expect any customization for Udi’s need for a laptop, he had to look elsewhere. He chose the Tether Tools Aero table due to its design and low profile. But here’s where his DIY skills took over with him drilling mounting holes into the top of the cart and then using cable fasteners to mount the core of a light stand. He added, “Then the light stand went on the top of the stand. There is a knob to remove the table, and I can always store it on one of the shelves or the pegboard.”
Survivalist’s view of power
Getting power to the cart was always going to be a compromise for Udi. Using the studio’s electricity would mean having a single cable coming to the strip strapped onto the bottom of the cart. But he had a, even though quite an expensive, solution for this: a Delta Ecoflow residential battery that can be charged from a wall socket or solar panels.
He already powered his laptop from a Tether Tools 100W PD bank but the Ecoflow would keep everything else going – too much for a mostly static studio cart? Maybe.
Udi went into his project for a studio cart always thinking that it would be version 1. But now, he’s already thinking of improvements and another visit to his local IKEA. But this is a great thing to do when you see the prices of more ‘made for’ products.
You can do without many of the features of these products especially the comfort of soft-close, 100lb rated ball bearing drawer slides and lockable drawers and cupboards.
Udi’s parts list and comments:
- Cart – IKEA Bror
- Pegboard – IKEA Skadis pegboard
- Laptop table – Tether Tools Aero table
- Cable Clamps – Really anything.
- Portable power (heavy use) – EcoFlow Delta 2
- Portable power (laptop) – Tether Tools PD Battery Bank
- Power strip – find what suits you
- Light stand – the cheapest you can find – You’ll ‘improve it’
What do you think of Udi’s DIY studio creator cart? If you’ve built your own version of any professional video or audio product and want to show it off, let us know and we can publicize it.


