DaVinci Resolve can seem a deep pool to jump into. The color grading process is logical and simple when you take it one step at a time.
In my previous post in this series Get Started in DaVinci Resolve Part 1 – What is Workflow? we took a look at overall bigger picture workflow in the context of defining a post-production process or pipeline. Now we will look at the color correction and grading process itself.
Color Grading Process
While you could just jump into a random shot and start making adjustments, it’s a sure way to get lost, and getting lost is not a good thing if you want to achieve consistent professional results.
If you lose track of what corrections you have made, and how they relate to your source image and overall intentions for the look you want to create, you won’t have any hope of recreating a grade for a different source, or matching shots in a sequence.
The good news is by applying some structure, order and strategy to your color grading process, achieving the results you want becomes much easier.
Know What You Want To Achieve
Lists are always a good place to start when creating order and structure to simplify a complex task. The overall goals a colorist has for any project are largely universal.
- Correction of any technical inconsistencies in camera source media, or mistakes made on set.
- Balancing and matching source media throughout the project.
- Consistency of color throughout the project, even if the mood or style varies, those moods or styles must be consistent.
- Meet all technical requirements for deliverables.
Control
The above goals can only be achieved through a high level of control, and Resolve’s tools are intended to give a very high level of control to the colorist. However it’s up to you to structure your project and process in such a way to take full advantage. There’s always more than one way to do things, and you will no doubt find your own workflow but here is a step by step breakdown that will get you headed in the right direction.
The first two steps below are critical. I find that many people new to color grading jump straight to step 3, apply a canned LUT and wonder why things are not looking like the fine tuned images that they expect.
Understanding Nodes
Before jumping headlong into making all kinds of adjustments, you need to know and understand DaVinci Resolve’s nodes, what they are and how they work. You use nodes in Resolve to separate operations into logical steps, to isolate operations to specific masks and areas of the image, and give you control over what is happening, in what order, to which part of your image.
The node graph is the master blueprint for what’s happening to every shot, and most importantly, how it is happening and in what order. Here is a good introduction: Know Your DaVinci Resolve Nodes
Separate every step you take onto a different node, this will help you go back and make specific adjustments to each step later if and when necessary.
Step One – Technical Corrections
The first step is to correct any technical problems with the media. If you haven’t shot the footage (and even if you have), this could involve fixing operator mistakes, incorrect camera settings, bad exposure, white balance etc. This process is far easier when dealing with RAW media than compressed video where many of the problems are baked into the footage.
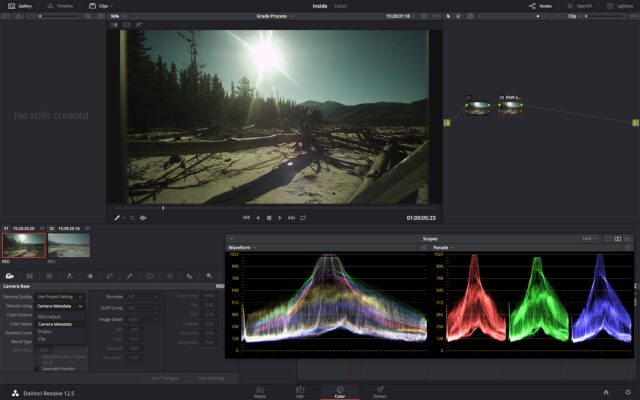
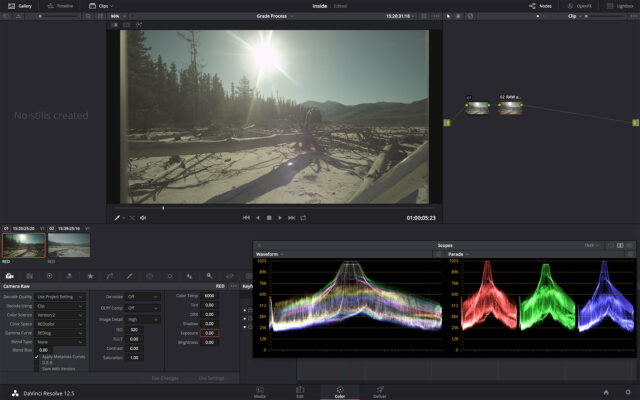
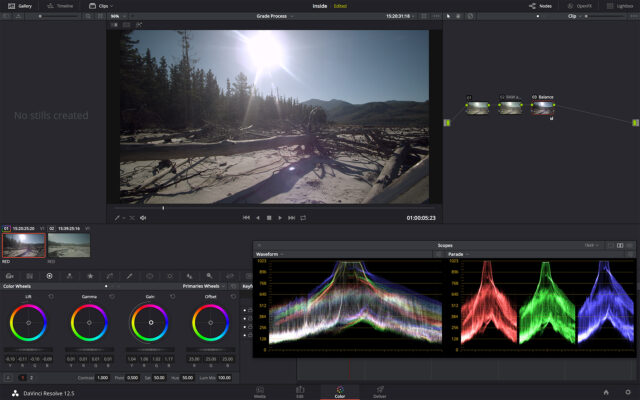
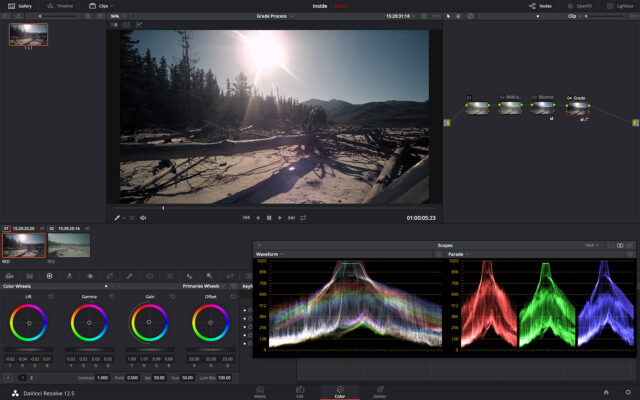
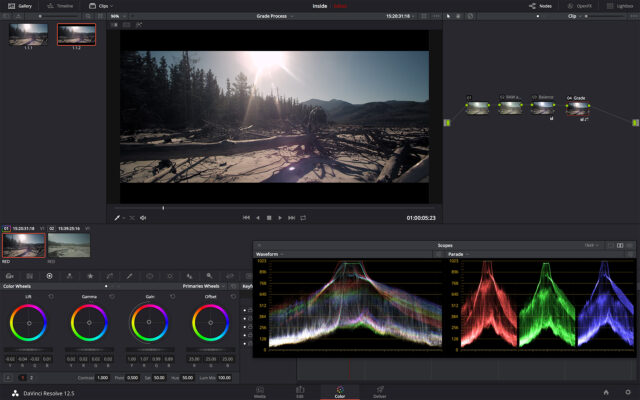
The above example is R3D RAW from a RED One MX. In the first screen grab you can see the image as it is interpreted with “Camera Metadata”. It’s a simple matter with RAW media to adjust color temperature. It’s a simple drop down menu to select “Clip” and then all the RAW settings are adjustable. Here I changed the Gamma Curve to “REDlog” and Color Temp to 6000K. Technically this gives me the image I want to start with.
There are limits to what can be corrected. Depending on the camera dynamic range, format, bit-depth and codec you will either be able to do a lot, or hardly anything at all. Most technical corrections fall into two categories.
Over and Under Exposure
It can happen to anyone, and if you’re lucky enough to be shooting RAW with a high dynamic range cinema camera, more often than not you’ll be able to correct exposure, unless it’s way over or way under exposed. Even a high dynamic range sensor has limits and if there is no more information in shadows or highlights, no amount of wishing can change it. If the exposure is too far off, even with RAW media you can either find yourself with clipped highlights or noisy shadows.
On the other extreme if you’ve shot 8-bit H.264 codec you’ll have little to no space for any serious exposure correction. With DSLR and mirrorless cameras, phone video, or consumer / prosumer level 8-bit H.264 cameras you need to nail exposure perfectly in camera.
A lot of camera media however falls in between these extremes and you will be able to manage some correction to save the shot, and this is your first step.
White Balance
The other common mistake made in camera is incorrect white balance. As with exposure correction, if it’s baked in, small corrections are possible. In the case of RAW media, you can fully correct for incorrect white balance since the camera set white balance is just metadata, an interpretation of the RAW data, and totally non-destructive.
Step Two – Balancing and Shot Matching
Once your exposure and white balance are correct, the next step is a finer balance of luminance and color. The goal is to arrive at a well balanced neutral starting point for further grading work where you can create stylised looks that can easily be applied to other shots. All shots in a particular sequence should first be brought to a matched neutral point.
Choose a master shot to balance first and make adjustments to a dedicated node. I’m skimming over this process here because I’ve gone into it in-depth before here. Learn to Use Your Scopes! Easy Colour Correction
Luminance
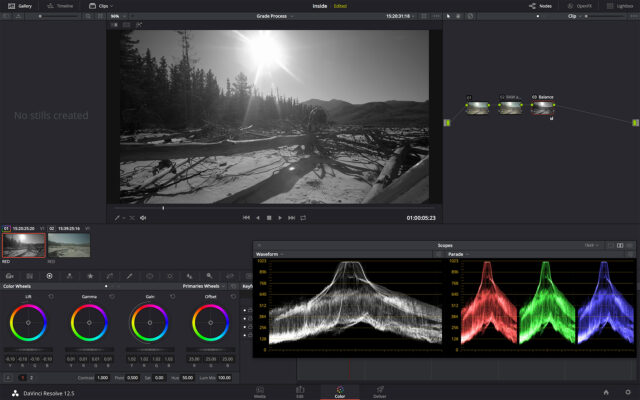
I will normally desaturate the image entirely and use the waveform scope to make fine adjustments to lift, gamma and gain ignoring chroma completely.
Color
Once luminance levels are correct, bring saturation back up and use the vector scope and parade scope to make sure your blacks are black, whites are white. RGB levels in the highlights for white objects should be aligned on the scope, and the same goes for true blacks. Use the skin tone indicator on the vector scope to dial in skin tones.
Shot Matching
It’s important to make the necessary adjustments to every shot in a sequence to match the master shot. The goal is to ensure that common objects under the same lighting conditions appear to have the same luminance levels and color.
Step Three – Style, Mood, Look, LUTs and Windows
Once a sequence of shots are balanced and matched you have free reign to get creative. Make sure you’re creating your stylised looks with a new node (or nodes) after your initial balance and shot matching. Always keep your major steps separated.
Exploring all the ways you can create styles and looks, or use LUTs is beyond the scope of this article. This article is about process and steps in a logical order that will always give you consistent results.
A major part of this step is bringing focus to important areas of the image or action by using masks and windows. This helps you make adjustments to areas of shadow and light and may also involve tracking. Keep things consistent across shots that need to match.
Step Four – Versioning and Delivery
Finally once your grading work is complete, its time to look at what deliverables you need to supply for the project. This may involve duplicating the timeline to create versions with different aspect ratios. Creating different aspect ratios may involve going back through the project and re-framing some shots.
You may also have cut-downs for versions of different durations. The final step is in making sure any and all versions are complete and ready for export.
Become a Creative Technician
This is all about a balancing act between the technical and the creative. Color grading requires both. The technical brings order and objective process to a creative, circular and subjective art.
Color is art, and a colorist is an artist. However, a great colorist is also a master technician. I would argue the same has to be true of a great cinematographer as well. The days of a camera operator only having to know operations, exposure, focus, and a subjective intuition of light and shadow are long gone. The best image makers have all of the subjective intuition for capturing great images, but know the technology and science intimately as well.
