Some of DaVinci Resolve 12’s most powerful tools are hiding just below the surface. The Resolve Media Manager is one of them.
Blackmagic Design have pushed DaVinci Resolve way beyond just the world’s most loved color grading tool. It’s also becoming a very powerful NLE and a general workflow swiss army knife. Resolve is impossible to ignore and is finding its way to the core of more post production pipelines than ever before.
The numerous advantages to using Resolve as your go to NLE are largely thanks to a spectacular level of integration across toolsets and a fluidity that makes many other NLE’s seem positively clunky in comparison.
This integration however has not come at the cost of other NLE’s. Far from becoming insular and exclusive, Blackmagic Design have made sure Resolve 12 plays very well with just about every other software you might need to get the job done.
DaVinci Resolve Media Management
The Resolve Media Manager is one of a few tools you may not have noticed yet, but it streamlines moving media around, copying media, sharing media with other collaborators and transcoding media.
The most powerful thing about the Resolve Media Manager is it lets you choose exactly what media to copy, move or transcode and (depending on the codec) whether you want entire clips, or trimmed clips with or without handles.
You can choose all of the media in your media pool, only the media used in a particular timeline, or just clips you have selected.
To give a practical example, when I’m using my Macbook Pro Retina on the go, I keep the very fast internal flash drive free for “online” media, but often 512GB (minus OS and apps) is not enough to hold all of the source media someone might hand me on a much larger (typically USB 2) drive. So, I can conform the XML they have given me in Resolve pulling from all the source media on the slow USB drive, check the conform, and then use Media Management to copy only the source files used in the timeline to my internal flash storage.
Depending on the type of source files, I can go one step further and copy only trimmed clips. This gives me the smallest possible media storage footprint for the project, everything I need is then internal to the laptop on a drive that gives me over 1200MB/sec read and write, so for commercials or short form projects, I don’t have to think about hauling around or connecting external storage either.
Media Management Overview
Let’s take a quick look at how this works. Once you get into it, it’s really self explanatory and easy to use.
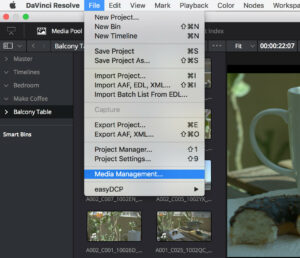
You can open the media management window under the “File” menu in either the Media Page or Edit Page. It will be greyed out in either the Color or Deliver page.
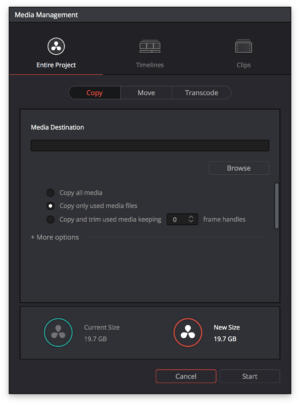
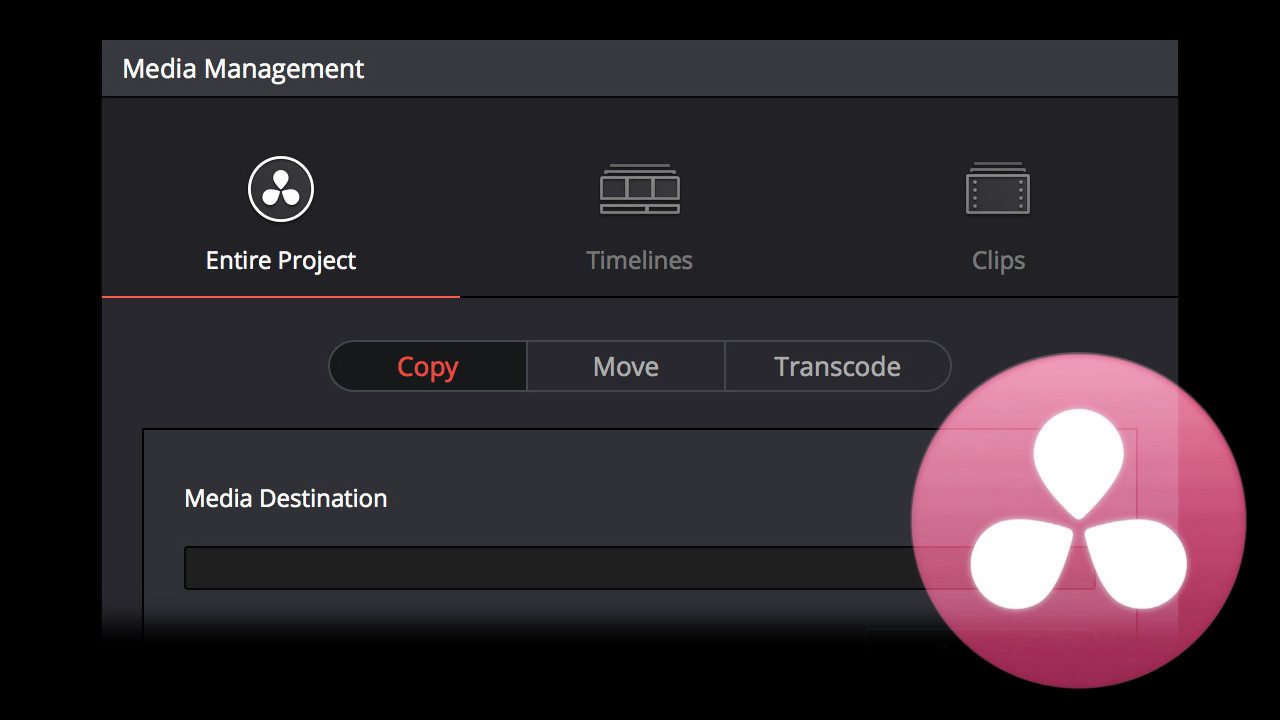
The first thing you’ll notice in the Media Management window are a few tabs across the top. These are labelled “Entire Project”, “Timelines” and “Clips”. This is where you choose whether you want to copy, move or transcode all of the media in your media pool, just the media used in a specific timeline, or clips you have selected from your media pool before opening the Media Management window. Below the top tabs, you’ll notice “Copy”, “Move” and “Transcode”, where you choose which operation you need.
It’s worth exploring all of the options to see exactly how much control you can have over the various operations.
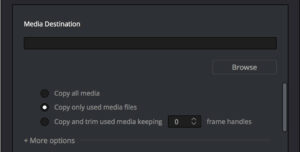
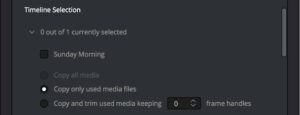
A few things are common to all operations, you’ll always need to specify a destination, this will usually be a different volume, but it can be wherever you need it to be. You’ll always see three check boxes to indicate whether you want the desired operation to apply to all media, used media, or used media keeping “x” frame handles. When you are working with “Timelines” the first of these check boxes “all media” is greyed out as obviously, you’ve already chosen a subset of your media because your going to specify a timeline.
To specify a timeline, click the “>” where you see “x out of y currently selected” to reveal check boxes for the timelines in your project.
You will only be able to choose “Clips” if you have already selected some clips from your media pool before opening the Media Management window. Then you will see the three check boxes to further narrow your selection.
Right at the bottom you’ll see a indication of the current size of your chosen media, and the new size which will be used on your destination volume. This is especially useful when transcoding as you’ll get a good indication of how much space your transcoded media will require.
You’ll see “+ more options” which generally allows you to preserve folder hierarchy when copying, moving or transcoding and indicate if you want to relink to the copied, moved or transcoded files.
For the “Transcode” operation you’ll also see the self explanatory options to choose your format, codec, and other video and audio options.
A few important notes about these operations:
Copy – You’ll be copying the chosen media to a chosen destination, leaving the original media intact.
Move – Your original source media will be deleted! If you want to keep your source media intact, rather choose to Copy, not Move.
Trimming – creating trimmed media files works for all non-temporally compressed and uncompressed formats that Resolve has the ability to encode. For example, Resolve cannot create trimmed H.264 based media files, so it will instead copy, trim or transcode the entire clip.
One other thing to keep in mind when you are trimming used media, and you have used multiple instances of a particular source clip, Resolve will create multiple clips and append the filename to prevent overwriting the clips.
That’s really about all there is to it. It’s a lot simpler than it sounds and it should make sense as soon as you navigate the options. However, I would highly recommend reading through the Media Management section of the Resolve Manual (Chapter 21, page 486) before completing anything mission critical, or doing some test runs first so you can make sure you select all the right options for your intended outcome.
Hopefully this fantastic tool will help you tame some of those cross platform workflow headaches, I know it has for me.
If you haven’t yet installed Resolve 12, download it for free from the support section of the Blackmagic Design website – https://www.blackmagicdesign.com/support/family/davinci-resolve-and-fusion
