Editing Action Sequences – a Short Video Tutorial
One of the things that’s often struck me about editing is just how unforgiving your audience can be. Even if you are just starting out with editing, you’re always presenting your work to an audience that instinctively knows what good editing should look like. Everyone watches TV and goes to the cinema, giving the new editor very little room for getting it wrong. It’s like me presenting you with two plates of food, one cooked by a novice and the other by a Michelin starred chef. Even if you can’t cook, you know exactly what good food should taste like, so the novice is never going to fool you…not without a lot of practice. With that in mind, this is the first in a new series of articles that will attempt to pass on some simple editing techniques that you can master quickly and allow your editing to look as good as a Gordon Ramsey soufflé tastes!
How to hide your cuts when editing action sequences
In this first episode, I am going to focus on an easy way to hide your cuts when editing action sequences. It’s important to stress that I don’t simply mean gun battles and stunts. The techniques I will discuss can be applied to any sequence of clips where a person or object is moving and you want to cut to different angles during that movement. Essentially I am going to demonstrate how you can mimic everyday, biological, impulses to inform your edit decisions and help hide your cuts. We do this because, if your viewer notices your cuts, they aren’t noticing the story, which is obviously undesirable.
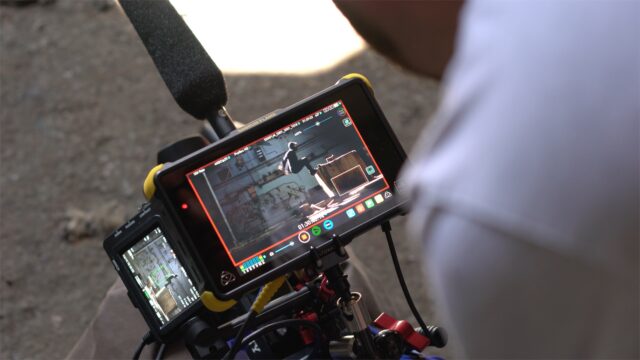
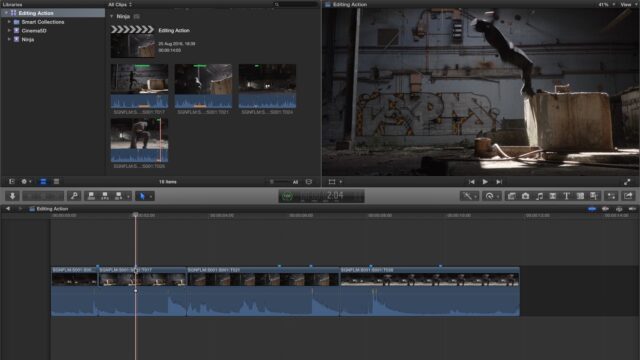
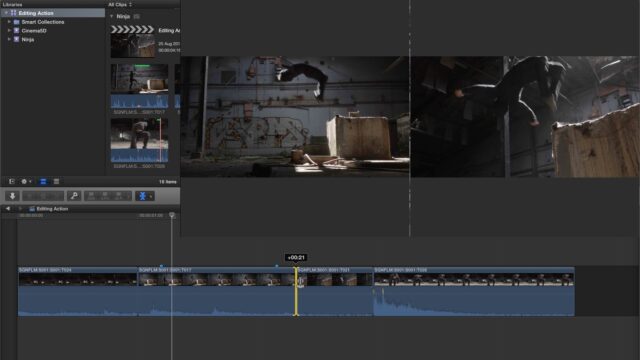
For this quick demo, I’ve used some ungraded rushes from a shoot I did for Atomos a few weeks back. The first thing I do is mark my in and out points on my source footage. Rather than trying to mark too precisely at this early stage, I leave that step until later, where the Ripple tool will do a much better job and I will have a 2-up display in my viewer to accurately place my edit. In fact the easiest thing to do right now is just mark the flip as a whole, in each angle, and then lay them down in the timeline in the order that I think works best.
Getting the timing right
The next step is to get the timing right. That means making sure that when one shot cuts to the next, there is no repetition of the action we’ve already seen and no missing action either. The easiest way to do this is to identify anchor frames in each of your clips. These are frames where the action is at a start or end point, which is therefore easy to spot across multiple clips. In this instance, the anchor frames I have spotted are the point when the ninja’s feet first leave the floor, the point where his feet land on the concrete block, the point where they leave the concrete block and finally the point where he lands back on the floor. Some of these anchor frames I can’t actually see in every clip, but I can at least hear them, as we had a shotgun mic attached to our FS7 for sync. When our stunt actor lands on the floor with a thud, you can see it in the waveform very easily. With these key moments identified, it’s simply a matter of rippling to these frames across all the clips. You can either do that by trimming with the Ripple tool, in Premiere Pro, or just use the standard Select tool in FCP X. I tend to always edit from the keyboard, so in the video I am using the keyboard shortcuts Alt [ to ripple the start of the clips under the playhead and Alt ] to ripple the end of the clip under the playhead. In Premiere Pro the keyboard shortcuts for this would be Q and W respectively. By using this technique, you should have the action timed to perfection very quickly.
Although this allows you to get the action timed extremely quickly, and in fact will leave you with something that looks pretty good, don’t be tempted to leave your cuts on the anchor frames. It may be that sometimes that’s OK but, more often than not, you will find that leaving the cut happening at the same time as the action starting/stopping, will draw unwanted attention from your viewer. Remember, you do not want your viewer to be distracted from the narrative by your cuts. You want the cuts to melt away and become so seamless, your viewer doesn’t consciously perceive them. One well documented* way of achieving that is to mimc the blink response we all have. Blinking is something we all have to do but depending on the circumstances, it’s not always appropriate to blink. For example, when driving on a busy road, there is so much visual stimulus, our brains instruct our eyes to blink less, hence why some people experience dry eyes after long car journeys. Conversely, we blink more when there is not much visual stimulus (like sitting and talking) or, most importantly in this case, when we turn our heads quickly. Because of motion blur, when we turn our heads quickly, no useful visual information can be gleamed by our brains, so it instructs our eyes to take the opportunity to blink. It is this blink, tied to motion blur, that we can borrow and apply to our edits.
Fine-tuning – the roll / trim tool
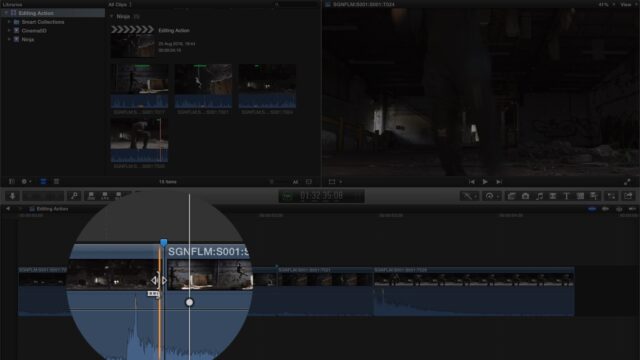
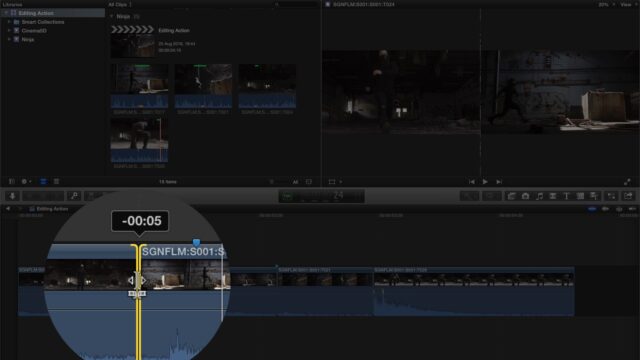
The final stage is to use the Roll tool in Premiere Pro (or Trim tool in FCP X) to move the cut backwards or forwards, away from the anchor frame we used to get the timing right. We don’t have to worry too much about the timing going out, because the Roll tool is adding and removing frames to both sides of the edit by the same amount, simultaneously. In other words, as long as our stunt actor jumped and flipped at a similar pace in each take, the timing will remain in tact. What I’m looking for now is a frame part-way through the movement, where motion blur is occurring on screen, where I can hide the edit. Because the cut will now happen at a point where motion blur is taking place, our brains will pay it less attention, as if it were a blink.
It really is quite dramatic just how effective this is at creating a smooth, seamless cut point. It won’t always work for every edit and please don’t make these changes arbitrarily, without experimenting and trying out several options but, if you use this technique as a starting point, you’ll be surprised just how quickly you can create pleasing, well-timed edits on action shots.
*Walter Murch’s ‘In The Blink Of An Eye’ (Publisher, Silman-James Press; 2001)
