Final Cut Pro 11’s Magnetic Mask Feature Reviewed – An AI-powered Productivity Revolution
Apple has long been accused of neglecting its Pro apps and not giving them enough updates, particularly Final Cut Pro, whose biggest competitors are DaVinci Resolve and Premiere Pro, both of which regularly receive a bunch of new features. It looks like for now, the wait is over, because with the release of Final Cut Pro 11 (yes, we’re skipping 10.9!), Apple is actually leapfrogging the other NLEs in one area in particular: automatic masking with their Magnetic Mask feature. I took a closer look and tried it out.
If you’ve been using image processing apps for a while, you will be well accustomed to Photoshop’s famous Magic Wand tool. It selects areas in an image with a similar color, and you can set it to be more or less “tolerant” towards similar colors. It’s not AI or machine learning based as it’s been around for much longer than we’ve known what “machine learning” even means, so it’s doing a pretty poor job at recognizing the borders of subjects – basically, it simply doesn’t “know” what a subject is, it only looks at similar color information.
Photoshop’s Magic Wand vs. “Select and Mask”
Chances are that you haven’t used the Magic Wand in Photoshop nearly as much as you used to, because of the “Select and Mask” tool that was introduced a while ago, which does a much better job at “understanding” the exact borders of objects, humans or animals. Very often it’s a one-click type of work, you click on it and boom – perfectly selected, no other steps required.
Final Cut Pro 11 introduces Magnetic Mask tools
On the video front, however, we haven’t been as spoiled with this technology over the last few years. Yes, DaVinci has a similar tool but it makes quite a few mistakes, which still means you’ll have to rotoscope quite a bit to get it right.
Speed Editing in Final Cut Pro with Dave Maze

In comes Apple with a major update to Final Cut Pro, even going so far as to finally make the big jump from Final Cut Pro 10.8 to 11. (One could say they were simply running out of numbers behind the 10 … but they did skip the 10.9, maybe this is Apple’s unlucky number? We also never had an iPhone 9…). As its headlining main feature, Final Cut Pro 11 has the “Magnetic Mask” which works very similarly to Photoshop’s “Select and Mask”, but for video.
Are Magnetic Masks just pimped “Magic Wands”, or more?
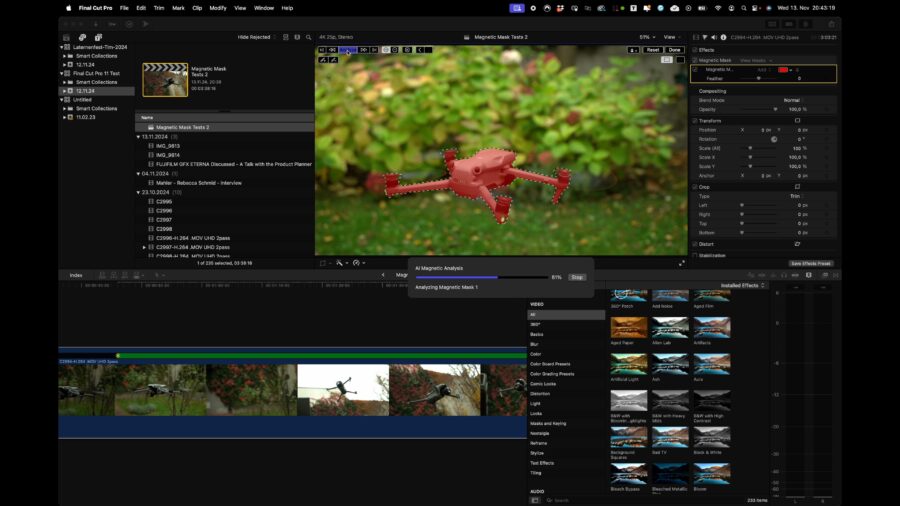
When I first heard about Magnetic Masks, I didn’t expect too much because my first association was actually with that Magic Wand tool we’ve forever known from photo editors. But the first time I saw it in action, I was blown away. One-click on a subject will immediately color it red and show the automatically generated mask. Another click on “Analyze” will start tracking the mask automatically for the entire duration of the clip in the timeline, starting from the playhead position forward. When it’s at the end, it’ll continue going backward from that playhead position until it’s done. This is useful because subjects can get in and out of focus or frame, and this way you can start the subject tracking on a clean frame.

Real-world testing of Magnetic Masking with drones, humans, and forests
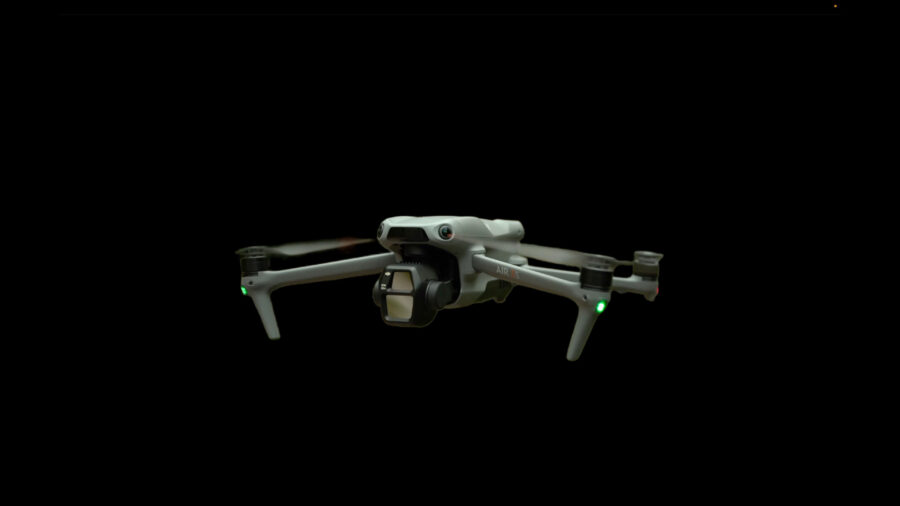
I went through dozens of clips from recent shoots and decided to select some really difficult ones, starting with b-roll from my review of the DJI Air 3S. The drone flying in mid-air, turning, sometimes leaving the shot, and flying back in. It’s doing a simply remarkable job even with one-click selection. On some very rare occasions, it will miss a few frames of one of the drone arms coming back into shot when it’s turning, but this was easy to fix with two more clicks. The foreground-background separation works amazingly well, and even when the drone quickly exits the frame and comes back in, it “catches” it again. There are very few times when parts of the background are also selected, and even if they are, it’s almost invisible portions of it.

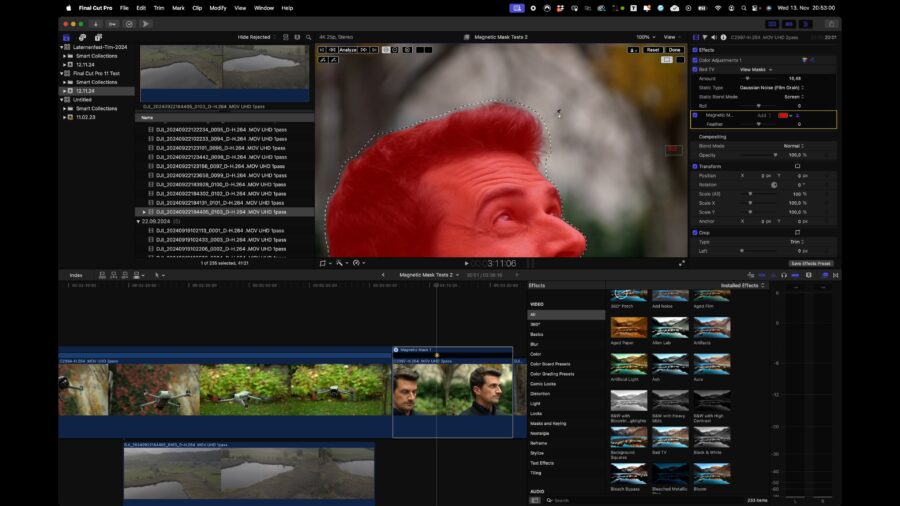
Moving on to the next shot, me flying the drone. Same story: one click and I have a perfect selection that even does a great job separating fine hair from the background. Tracking works well even if I am not filling the frame when the camera is tilting down and back up to my head again. No complaints, manual rotoscoping wouldn’t have looked any better on this shoot.
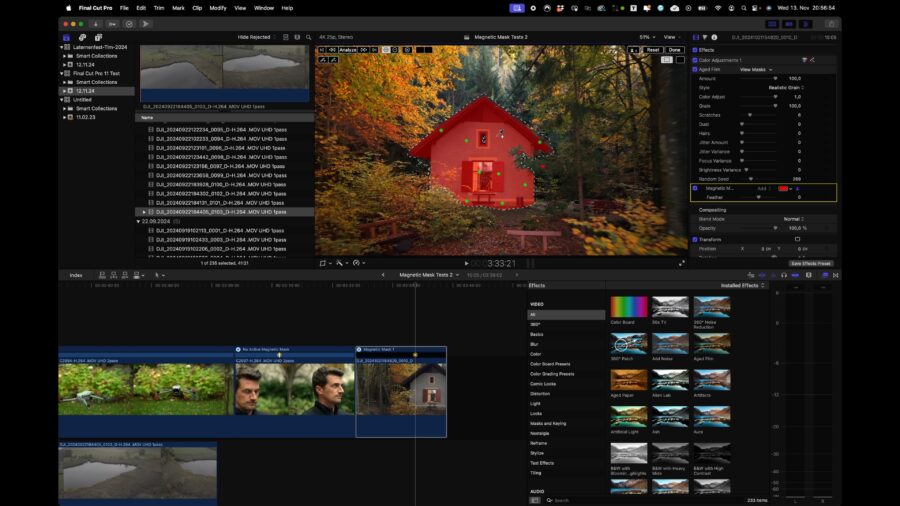
The last shot I tested was a drone shot where the drone was flying towards a hut inside a forest full of colorful trees in fall. The big challenge here is the changing perspective with tree branches and leaves moving in front of the hut. On this shot, the first selection click wasn’t enough and some further additions to the mask with additional clicks were necessary, as you can see in the review video. Yet still, it took two minutes or so, and the mask was done, and, again, the automatic tracking did a great job. It’s not perfect and some of the foreground leaves are too detailed, but it’s better than what even manual rotoscoping would look like on this occasion as well.

When working with Magnetic Masks, you can either make a separate mask and stack effects that you want to apply to that mask below the mask in the Effects tab. Or if you want a mask specifically for one effect, you select the mask symbol from inside the effect and track it from there – however if you do that, keep in mind that there doesn’t seem to be a way to copy that effect-specific mask to another effect, you’ll have to track the subject again. Here I would love to see Apple add an option that allows you to copy a mask from within an effect onto another effect, or paste it even as a global mask to the clip.
Render speed of Magnetic Masks in Final Cut Pro 11
I am using an M2 Max MacBook Pro 16″ with 64GB of RAM and rendering Magnetic Masks (on footage on a fast external SSD) was probably around 70% realtime (UHD footage at 25 frames per second). In other words, remarkably fast considering the complexity of the work. We don’t have access to an M4 Pro / Max machine right now, but it can only get better on those of course.
Conclusion
The Magnetic Mask feature is one of the most intuitive, best-working masking tools I’ve ever used and it will propel selective color grading and effects placement into the hands of a whole new generation of creators and filmmakers. It simply works very reliably and it’s leaped over the quality of tracking currently available in other NLEs.
To upgrade to Final Cut Pro 11 from any prior version of Final Cut Pro (since the relaunch over 13 years ago, that is – 13 years!! Can you believe it?!), you can download the free update from the App Store. It’s amazing that they still are not charging for an upgrade as long as you purchased Final Cut Pro for $299 once before. There is also a free 30-day trial if you haven’t used it before. Other features in Final Cut Pro 11 are well worth an upgrade (even if it would cost money), including Transcribe to Captions and Spatial Editing, smooth Slo-Mo, and much-enhanced voice isolation, but nothing will convince you more to use Final Cut Pro as your daily editing application than the Magnetic Mask function. Well done!


