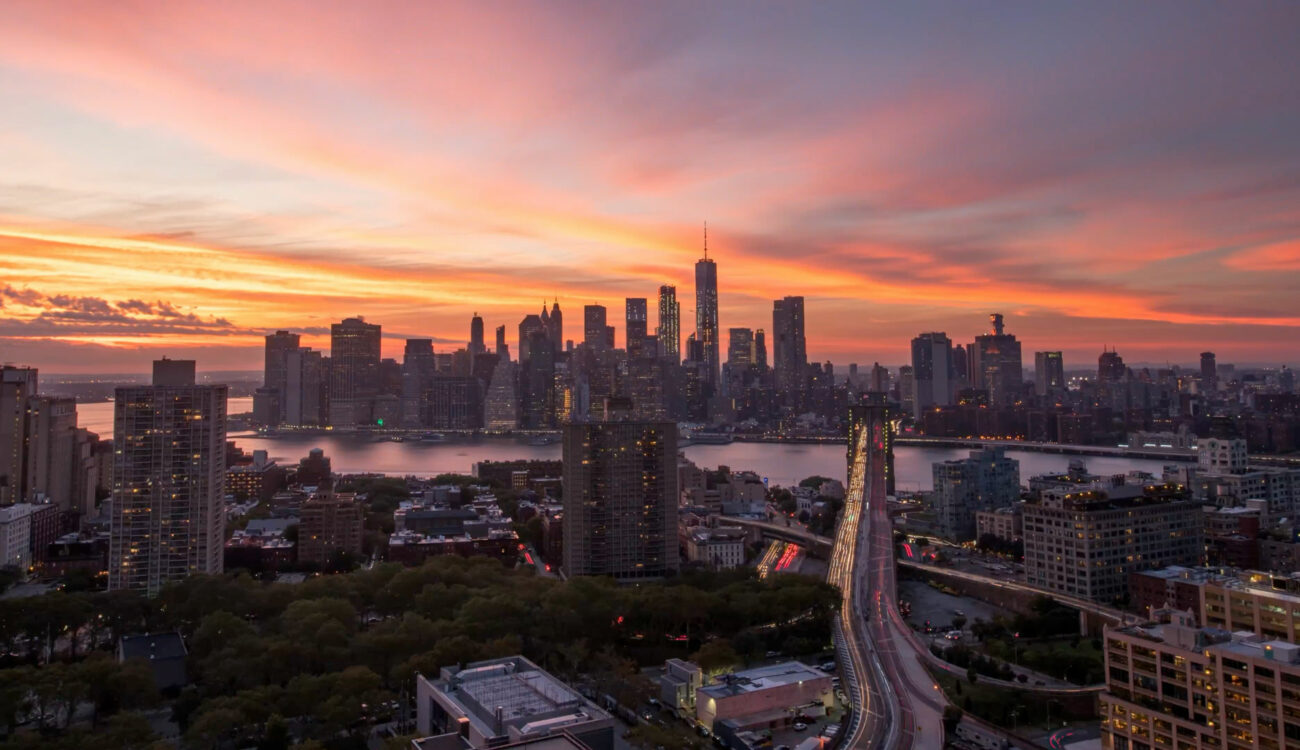
If photography and video had a child, it would be a timelapse. You get the best of both worlds: framing up an amazing photo, and then creating a moving visual feast out of a few thousand of those photos. But there are some important technical details that are necessary for getting a great timelapse, and one of them is choosing the timelapse interval setting.
For Drew Geraci, timelapse started out as a hobby, a fun addition to photography and video production work. But as he describes it, “once you start getting into it, you really have to get into it, because there’s a lot of time that’s involved in it.”
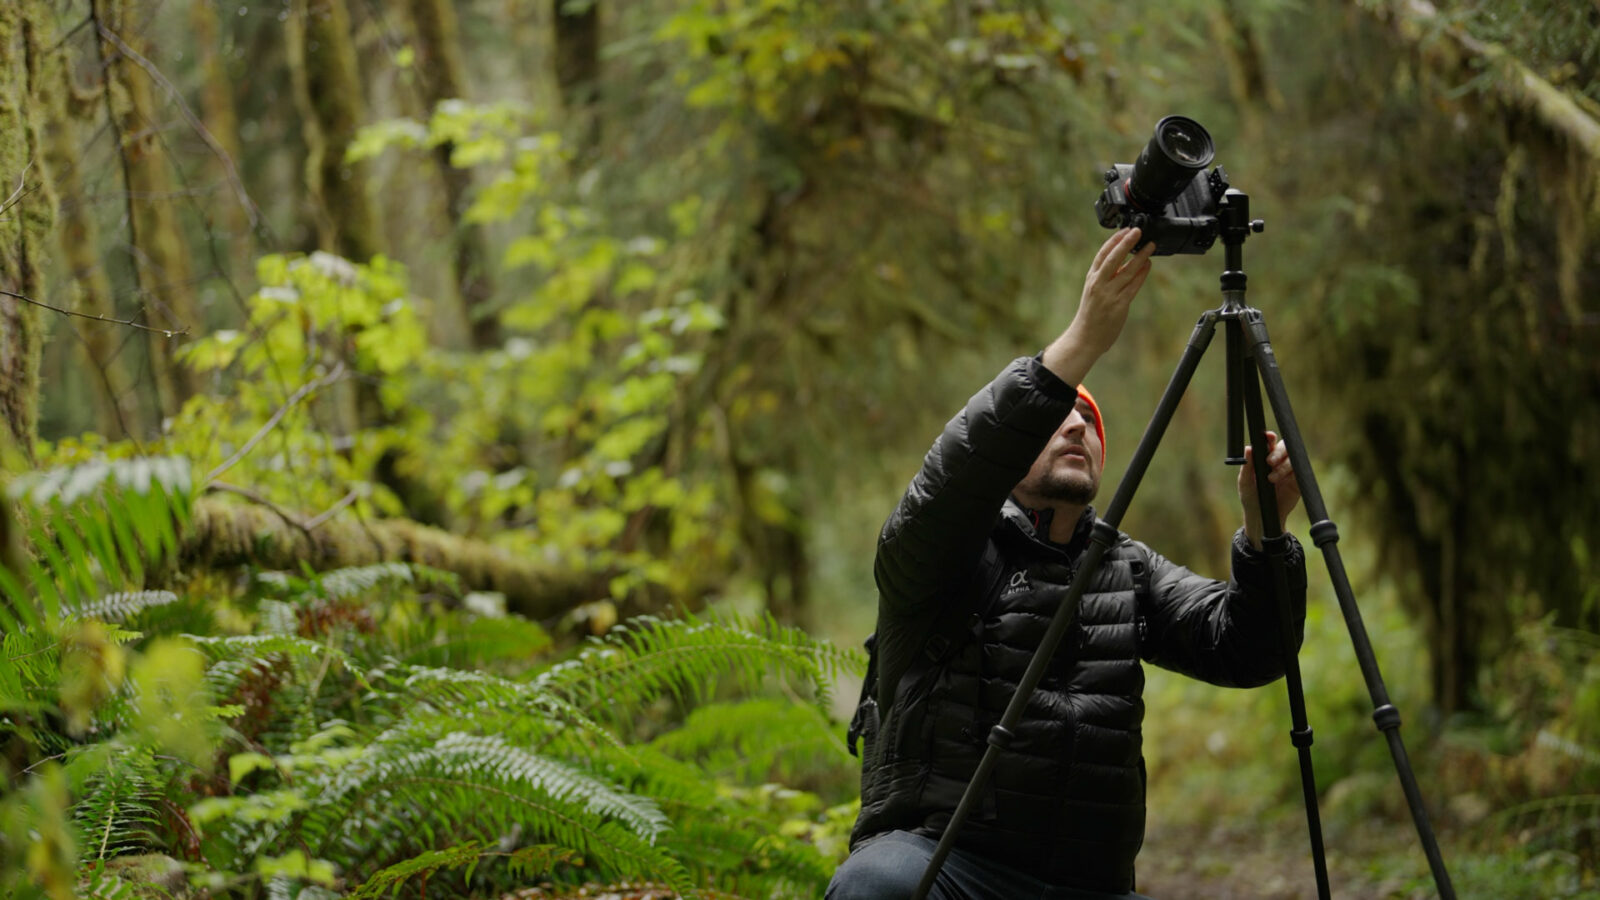
Luckily the gear and workflows that make cinematic timelapse possible are way more newbie-friendly now than they were years ago. And you also have the benefit of Drew’s new course on MZed, Cinematic Timelapse, to guide you through the process step by step.
There is a wealth of information in Drew’s course, from setting up gear to scouting a location, all the way to the best post production workflows. But as a little teaser for the course, here’s a few tips from Drew on choosing the right interval for your timelapse subject.
Cinematic Timelapse with Drew Geraci
Watch Cinematic Timelapse with Drew Geraci on MZed
How to choose a timelapse interval
One of the first questions to ask yourself is how long you plan to shoot your timelapse, and what is your primary subject. For example, are you wanting to show clouds moving, or shadows on a building as the light changes? Or maybe a crowd of people in a busy downtown park? Or maybe you want to show a night scene full of cars, next to another timelapse of a cityscape transitioning from night to day?
The amount of time you estimate that you’ll need to complete a timelapse is essential to knowing your interval setting. If you plan to shoot for 4 hours, you’ll have an entirely different interval setting than if you plan to shoot a long timelapse over 1-2 years, for example. In general, the less time you have, the shorter the interval. And the slower the movement happening in the frame, the longer the interval.
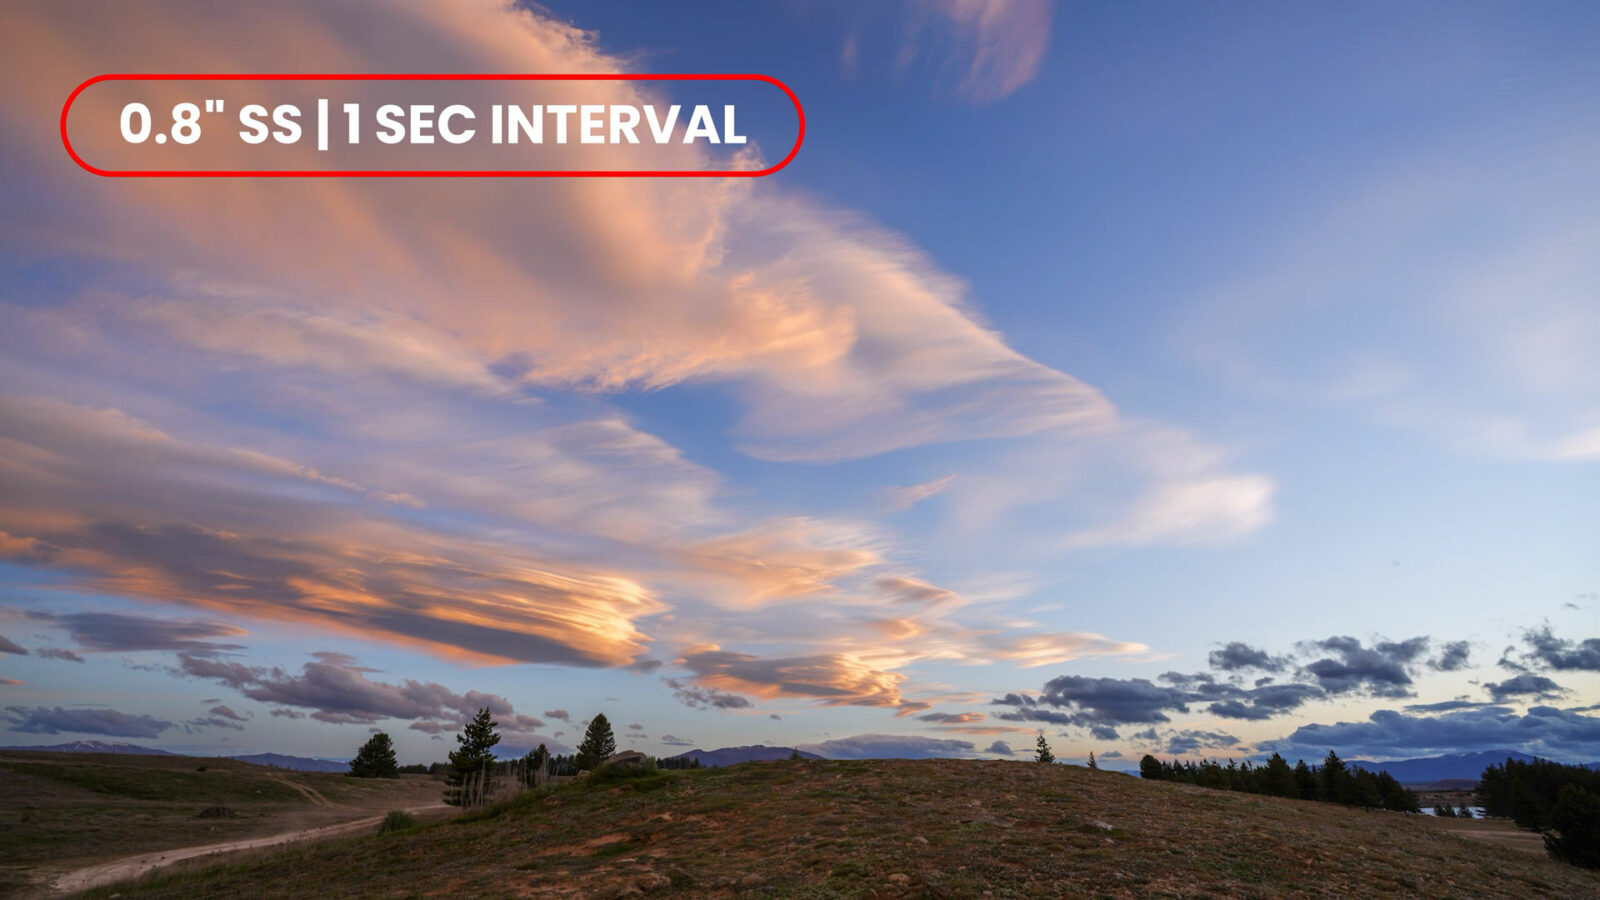
One thing to note is that Drew recommends you match your interval setting with your shutter speed. So if you have a 1-second interval, you want to get your shutter speed to as close to 1 second as possible, but not over. The interval determines the time from the start of one exposure to the start of the next exposure, so you want to make sure the shutter speed matches that interval duration while keeping the shutter speed less than the interval.
And of course, you have to think about your overall light availability. If you’re shooting a dark scene, you’ll need a longer shutter speed, which means you’ll also need to choose a longer interval setting.
With that said, here are some of Drew’s favorite interval settings for timelapse.
Timelapse Interval setting for a short timelapse
If you only have 15-20 minutes to shoot a timelapse, an interval of 1-2 seconds is recommended, and 4-5 seconds if you plan to stick around for 1-2 hours. That could be enough to capture some dramatic cloud movement or people and cars in a busy intersection. The goal is to give your timelapse enough images to create a timelapse video even if you’re only shooting for a short period of time.
Drew also notes that your interval setting is also dependent on your lens focal length. If you’re shooting with a wide-angle lens, you will want a faster interval length, and if you’re shooting with a telephoto, you’ll want to shoot for maybe a 3-4 second interval length.
Fog timelapse interval setting
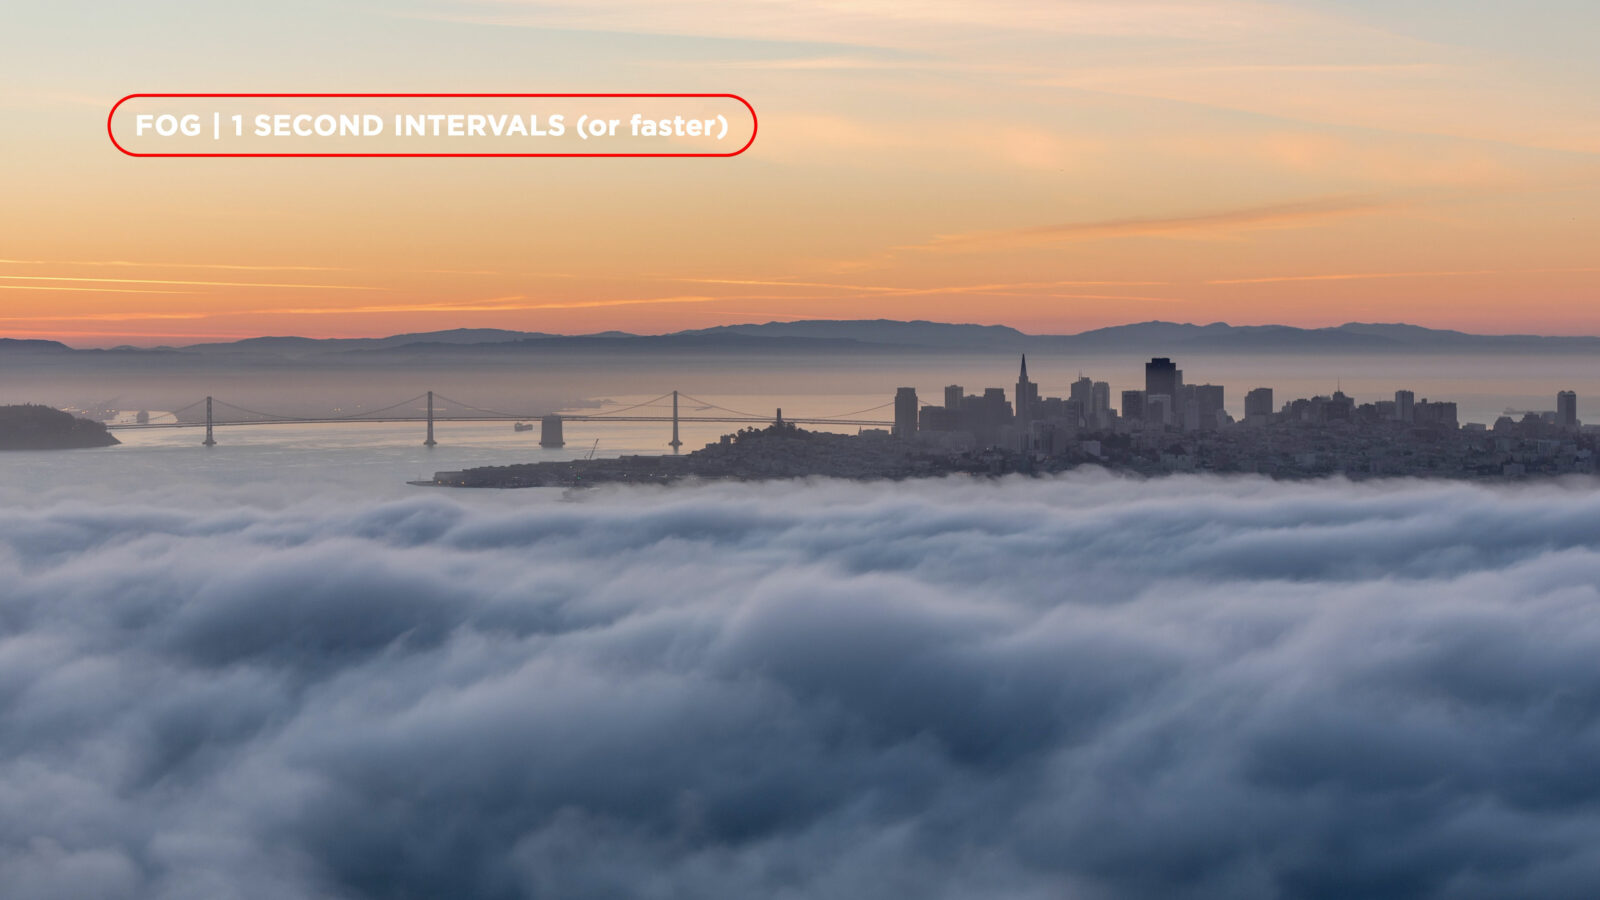
For shooting fog, Drew says you want to use the fastest interval that you have on your camera or intervalometer. 1 second is good, but 1/2 second is even better. That way you’ll ensure a buttery smooth, water-like effect with moving fog.
Intervals for People and Cars
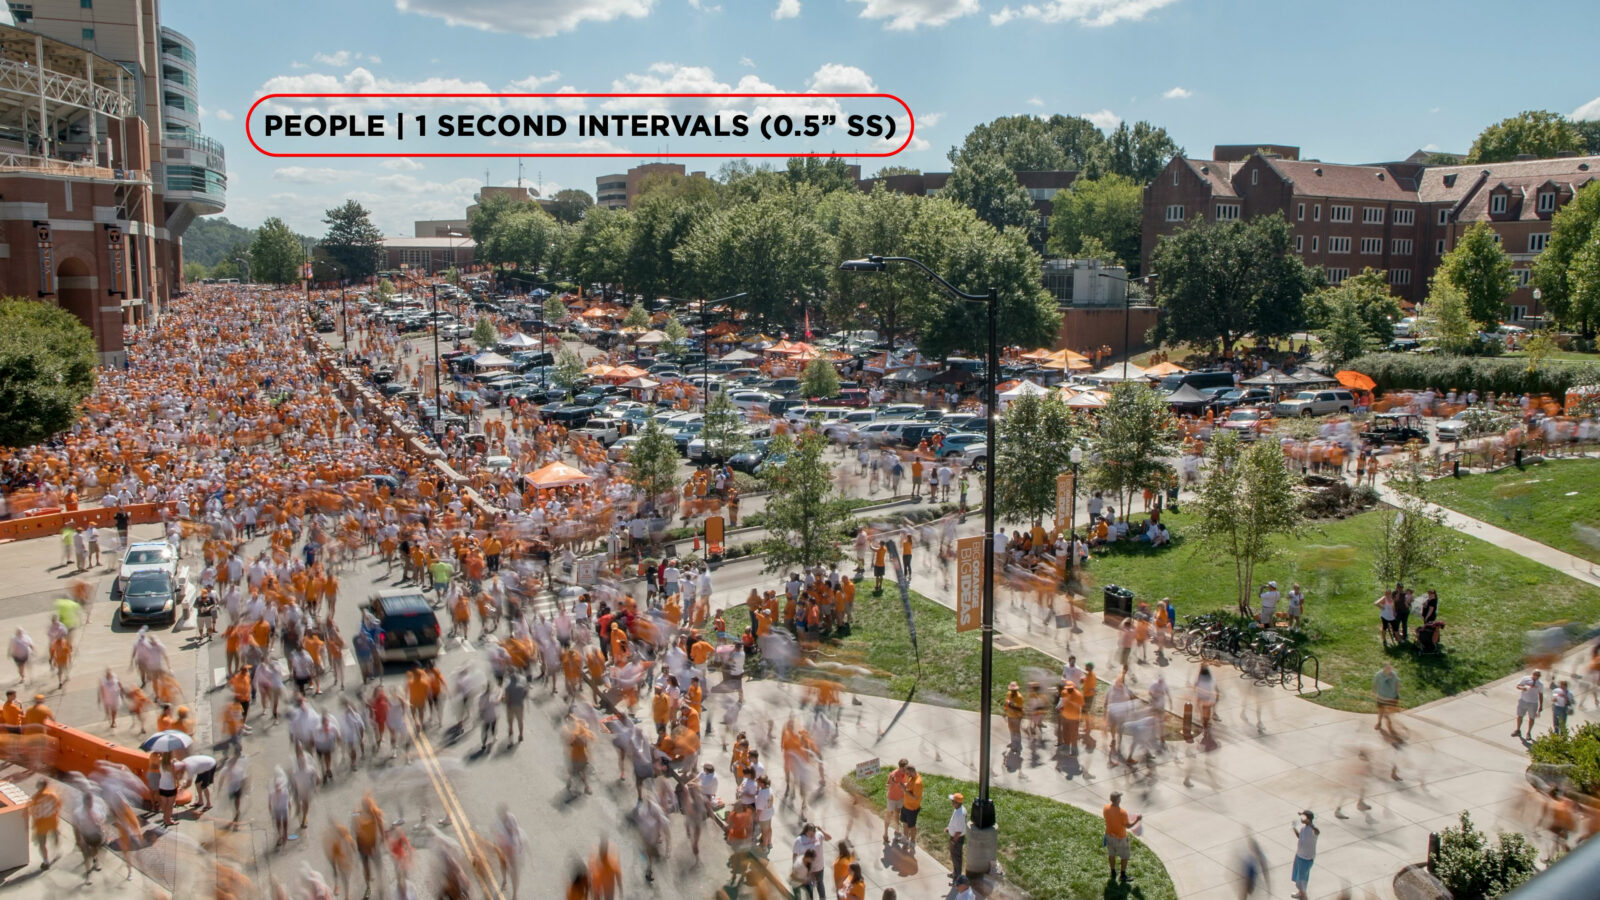
If you set an interval too slow for a people-based timelapse, you may not see enough movement in the frame to illustrate what is happening. So Drew recommends 1-second or 1/2-second intervals, with the shutter speed to match. That way you’ll be able to see people’s actions are visible without too much blur.
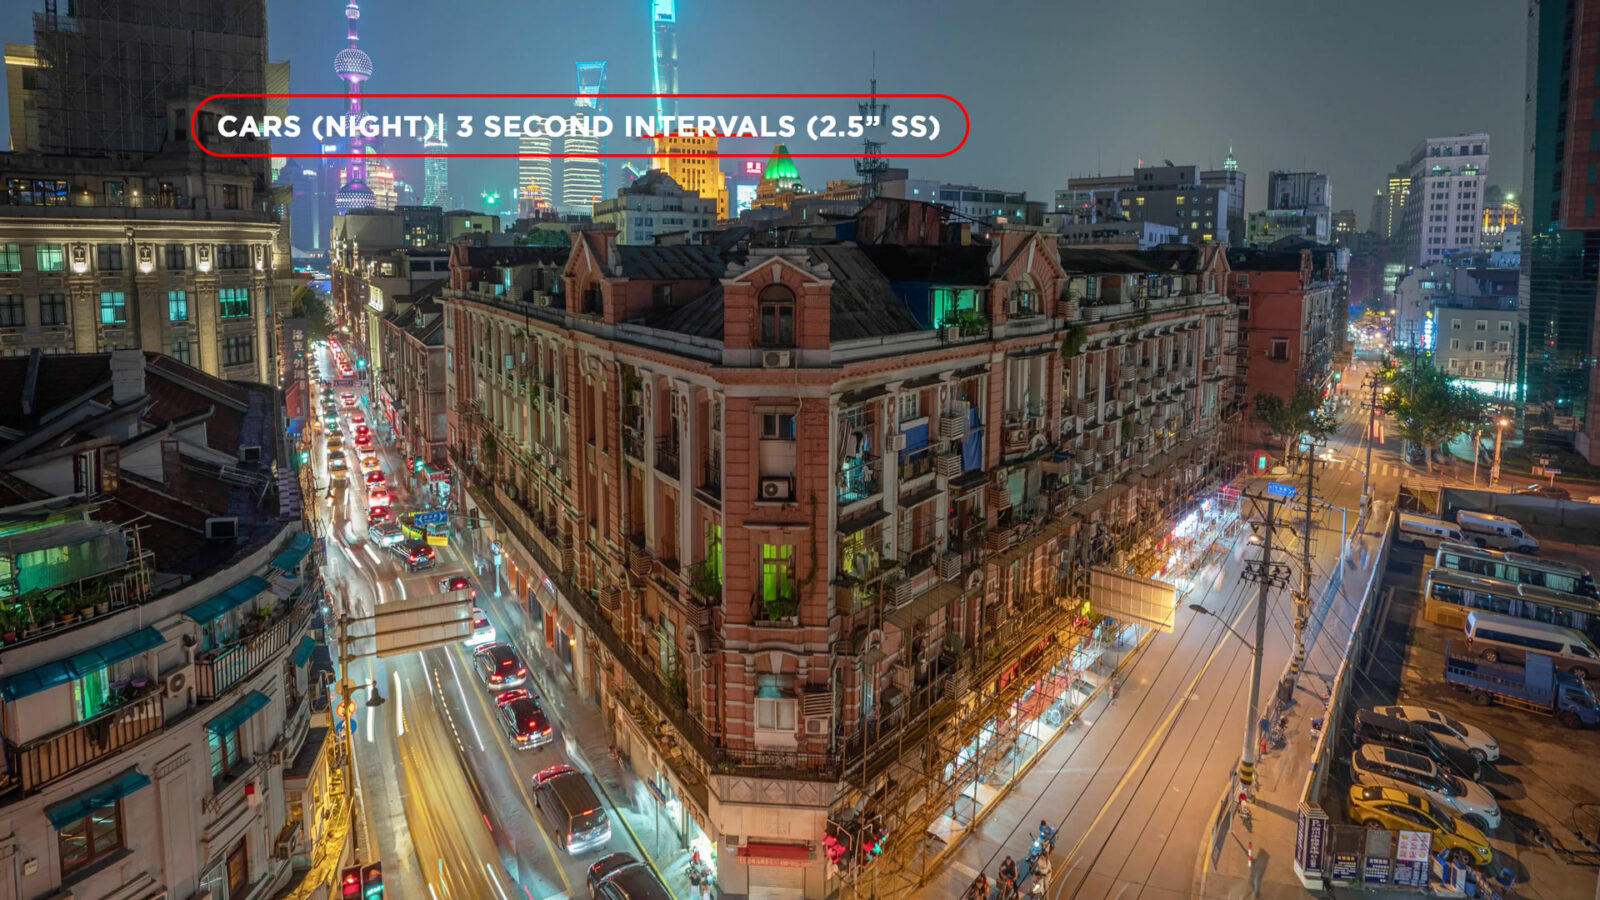
With cars at night, 2-3 second intervals are recommended to create beautiful, long light streaks that give your shot a vibe that only a timelapse video can provide. During the day, Drew recommends 1-2 second intervals, since you don’t have the light streaks and you want to ensure the cars aren’t too blurred.
Shadows during Winter and Summer
According to Drew, shadows can be tough because they can take a long time to move through a shot. In general, winter time is best for shadow timelapse, because there is less time overall between sunrise and sunset, for the shadows to move dramatically.
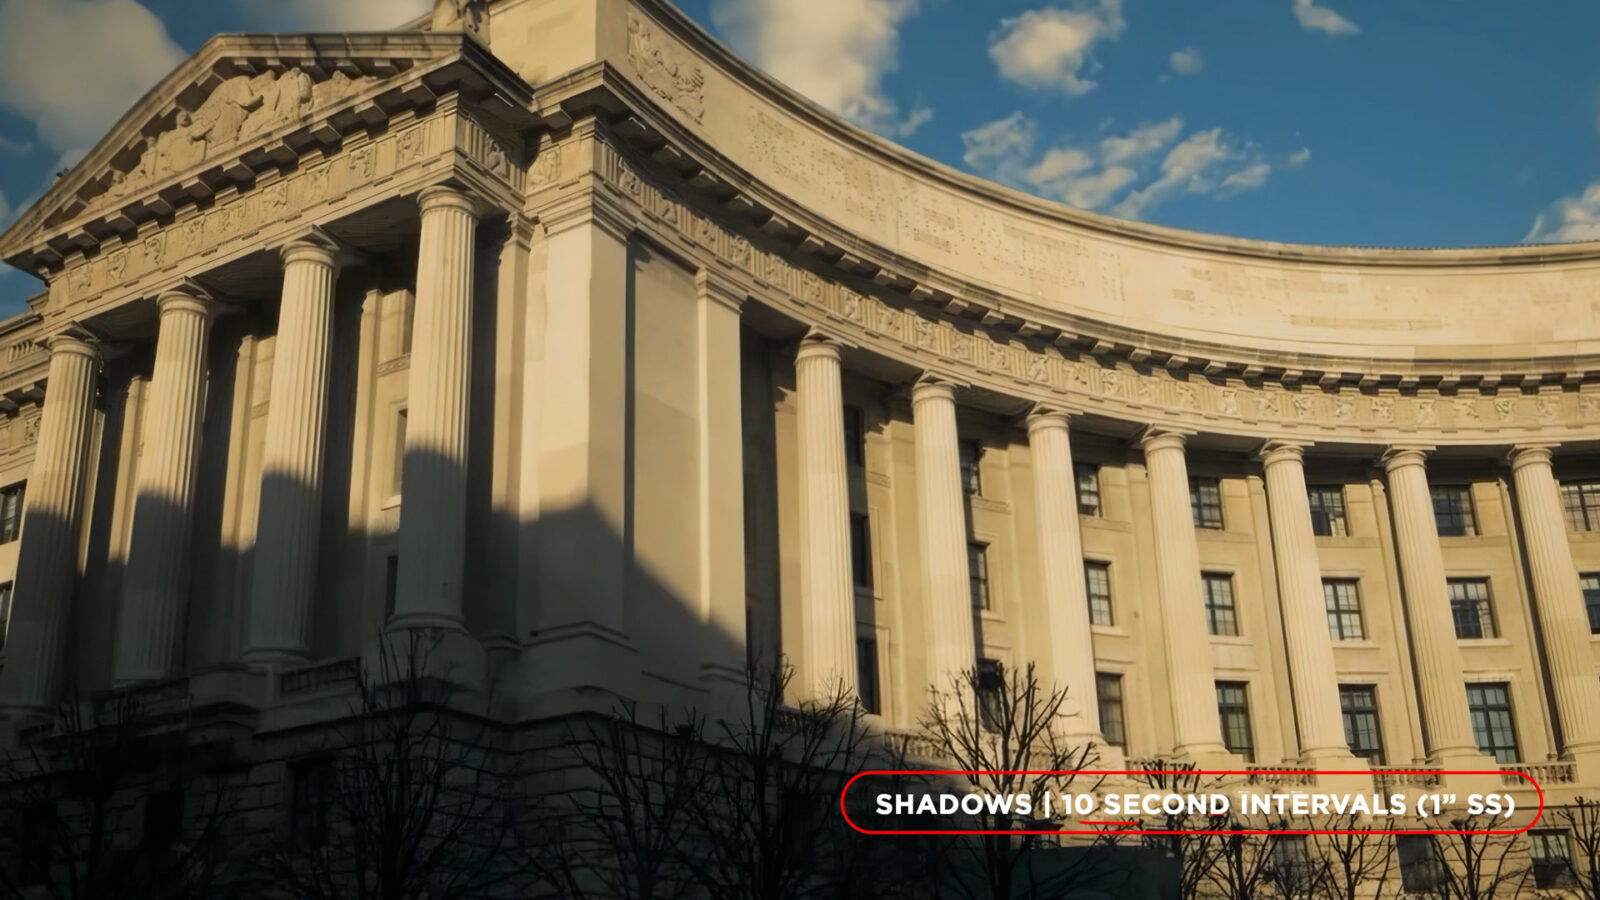
For wintertime shadows, Drew recommends an 8-10 second interval, which can provide you with a beautiful timelapse with about 2-4 hours of shooting, especially if you start early in the morning. If you’re wanting to shoot a shadow timelapse during the summer, you’re looking at 6-8 hours of shooting.
And of course, you’ll want to emphasize the time when the light changes dramatically, either at sunrise or sunset, rather than shooting during the middle of the day when the sun is directly above.
Event timelapse intervals
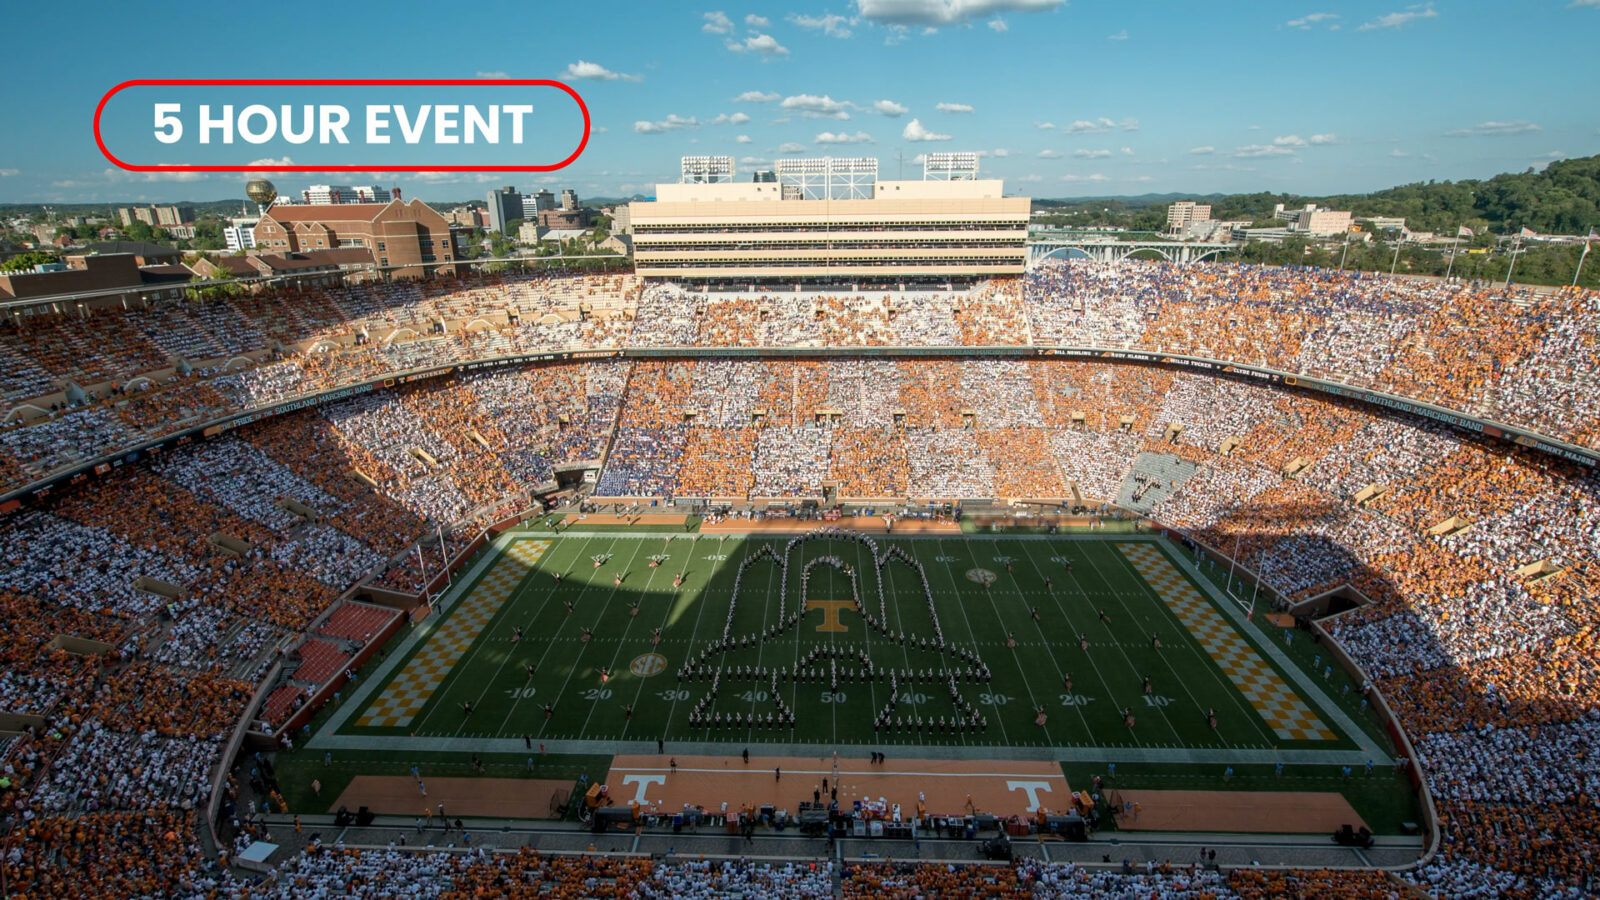
An event timelapse is entirely dependent on the duration of the event, whether it’s a couple of hours or much longer. For a sporting event, for example, you might have 2 hours, so giving yourself a longer interval of 7-9 seconds will provide you a good amount of frames to work with.
Drew also recommends you shoot the whole event, from beginning to end, so that you have “leaders” or “headers.” So if the event lasts for two hours, plan for shooting for 3 hours so you get some before and after movement.
Timelapse Calculator
If you want some additional help with choosing the right interval setting for your timelapse, Drew recommends getting a timelapse calculator app. You can find several of them by searching in your phone’s app store.
With a timelapse calculator, you can input how long you plan to shoot, how long of a timelapse video you want, and how many shots you want, and then it’ll spit out your interval setting.
Learn all about Cinematic Timelapse with MZed Pro
I hope you enjoyed this little teaser from Drew’s course. Of course, an article and screengrabs are not going to show you the beauty of timelapse, and the text in this article is no substitute for Drew’s presentation. So if you’re interested in learning about timelapse, check out Cinematic Timelapse with Drew Geraci. Part 1 is out now and is all about stationary timelapse. Part 2 will come out soon, and it’ll be all about motion timelapse.
As an MZed Pro member, you also get access to nearly 400 hours of filmmaking education, including Cinematic Timelapse with Drew Geraci, plus we’re constantly adding more courses (several are currently in production).
For just $30/month (billed annually at $349), here’s everything you’ll get:
- 50+ courses, over 700 high-quality lessons spanning over 400 hours of learning.
- Unlimited access to stream all the content during the 12 months.
- Offline download and viewing with the MZed iOS app.
- Discounts to ARRI Academy online courses, exclusively on MZed.
- The majority of our courses provide an industry-recognized certificate upon completion.
- Purchasing the courses outright would cost over $9,500.
- Course topics include cinematography, directing, lighting, cameras, and lenses, producing, indie filmmaking, writing, editing, color grading, audio, and even how to launch a YouTube channel.
- 7-day money back guarantee if you decide it’s not for you.


