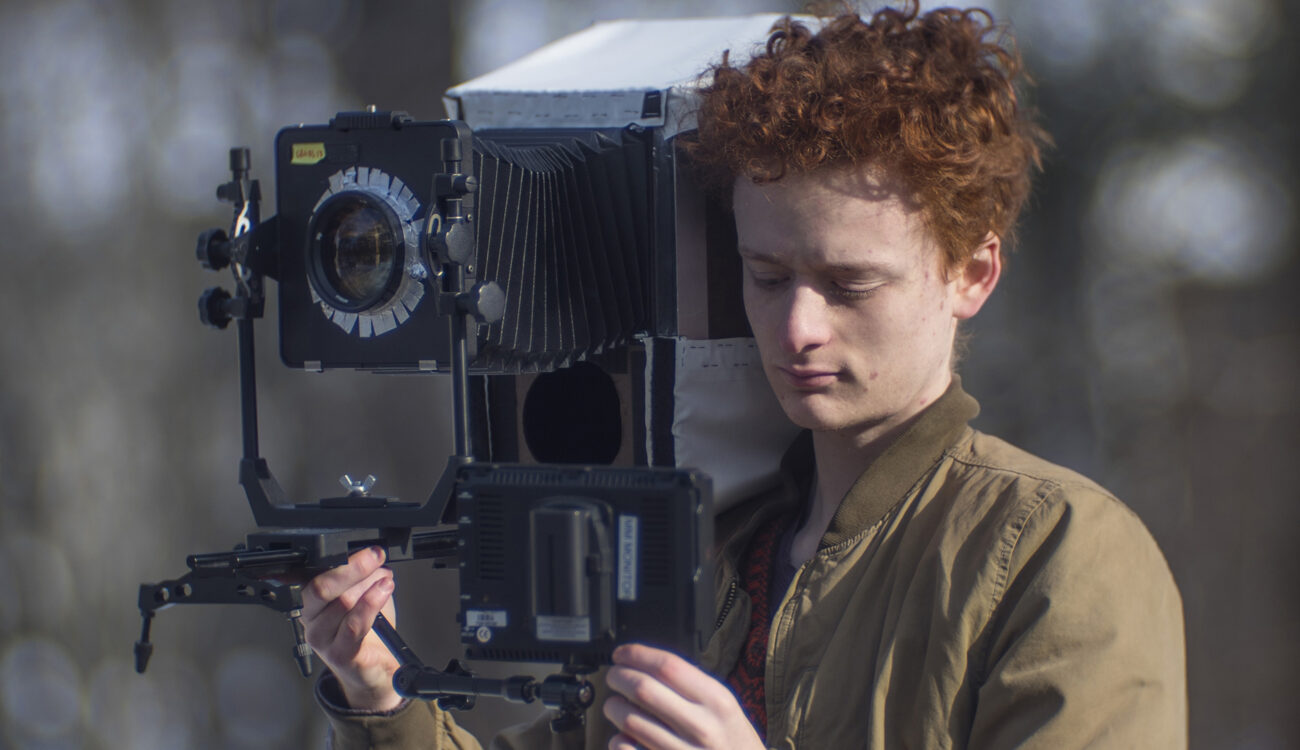
Ever wondered what it would look like to shoot video with an antique 8X10 large format photography camera? Thanks to this unique creation by Filmmaker & Photographer Zev Hoover, we can. Watch this video:
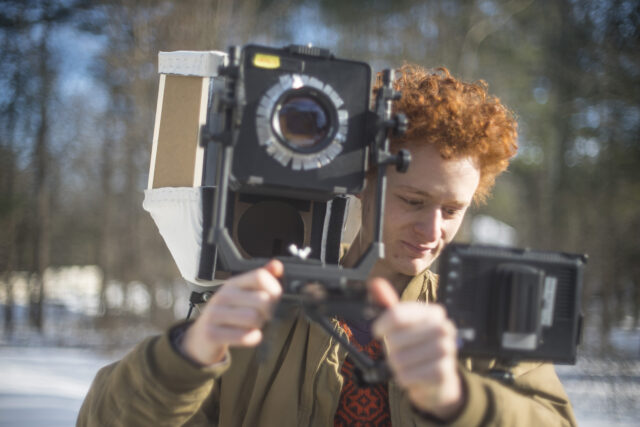
A setup that makes the IMAX format look puny, Zev has ingeniously rigged an 8X10 large format camera to a slider, with a tilt-shift Sony a7S mounted underneath.
The result is an incredibly unique look – razor thin depth of field that has similar subject isolating properties to the tilt-shift macro-look, but on the same plain, in front of your face.
Zev’s interlude in the video does a pretty good job of explaining what is going on, but if you’re still confused:
Complicated as it sounds, it’s actually relatively straight forward if you’re familiar with refraction/projection/capture from depth of field adaptors back in the day.
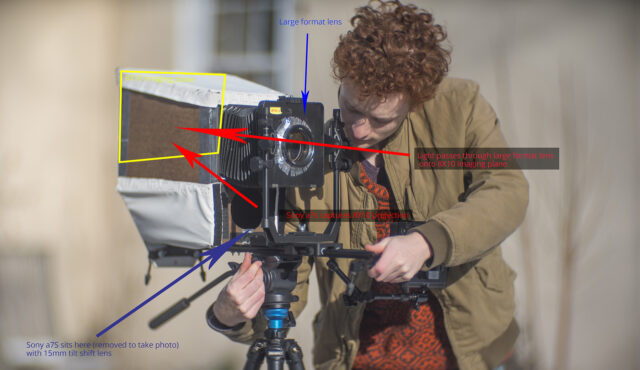
Light passes through the large format lens on the front of the camera (as it normally would), it then hits the back of the camera where Zev has rigged a matte white panel, an a7S camera then captures the projected image on the matte white panel, using a wide angle lens.
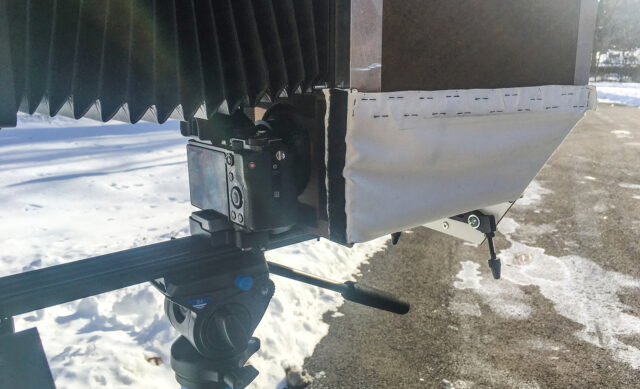
The Sony a7S is mounted at the bottom facing backwards and uses a tilt shift adaptor to avoid distortion (it can’t sit straight with the white panel as it would get in the way of the large format lens).
Lastly, it’s all mounted to a cheap camera slider, with the large format lens mounted to the carriage to allow for smooth focus changes.
My colleague Nino Leitner chatted to Zev a little on how it works. As mentioned before, it’s a system in the vein of old depth of field adaptors – light passes through a 35mm lens onto ground glass, then a camcorder (circa Panasonic HVX200 or Sony EX3) films the projection.
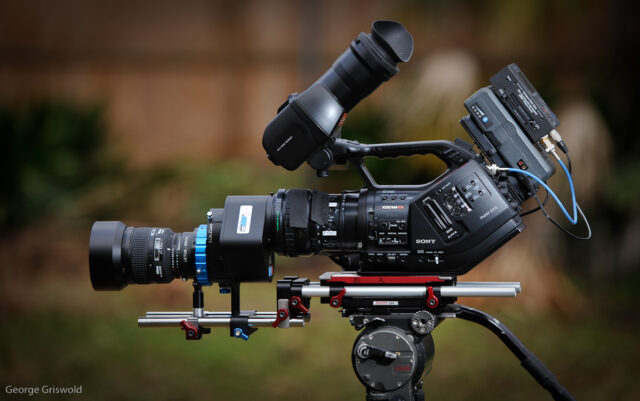
Similar concept from a while ago, widely used: 35mm adaptors on small-sensor cameras (before DSLR filmmaking changed it all)
Rather than a setup using ground glass, Zev opted for matte white:
“My setup projects the image onto a matte white screen instead of a ground glass for two reasons – the availability of extremely matte materials means that the ‘hotspot’ issue is almost completely eliminated, and the folded optical path that my reflective setup uses cuts the overall size of the rig in half.”
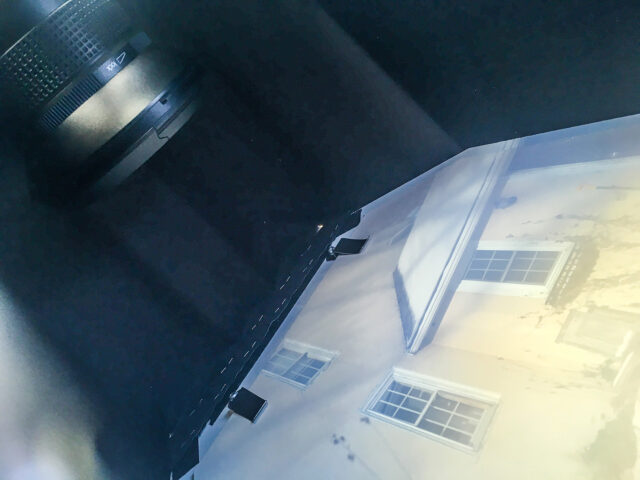
Inside the technical solution: a camera filming the projection of the image onto the large matte screen.
“The main challenge was how to image this screen without getting in the way of either side of the primary lens. If I just placed my taking camera directly in front of the screen, it would block the light from the large format lens from reaching the screen.
The way I got around this was by shifting the lens on the taking camera up, the same way an architectural photographer might to keep their verticals straight. This allowed me to capture the whole, undistorted view of the screen from an off axis point below the centre of the screen.”
Zev also gave us an insight into some of the technical aspects of the camera:
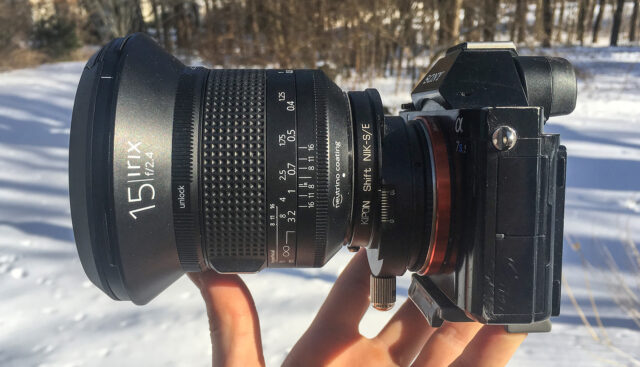
“I used an Industar-37 as the large format lens, it is a 300mm f4.5, which was just about the fastest sub $100 8×10 lens I could find. On the a7S, I had an Irix 15mm f2.4 Firfly (cheapest, fastest, low distortion wide angle that focused close enough) mounted on a Kipon Nikon-Sony shift adapter, set to APS-C mode.”
The results are fantastic. It’s not perfect, the thing looks a monster to move around and you lose around 6 stops of light, but it offers a truly unique look.
