As a passionate timelapse shooter, I always strive to improve my personal skill as well as perfecting the workflow of my projects. This neat intervalometer hack, provided by Gunther Wegner over at lrtimelapse.com, instantly boosted the reliability of my setup.
Still Photography vs Timelapse Shooting
When shooting timelapse, I always use an external intervalometer to control the shutter.
Unfortunately, that intervalometer will always trigger the autofocus function of the camera before the shutter is released—even if the lens is set to manual focus or with a full manual lens attached. Since timelapse is normally shot with a fixed focus, this behavior just eats up precious time between shots. The autofocus signal may be useful for still photography, but it’s completely useless for timelapse shooting—it actually causes more trouble.
The Problems
My current setup consists of a Canon 5D mk2 with a TP-Link router on top. The router is connected to an iPad via wi-fi, on which qDslrDashboard carries out its duty. It’s a great tool to accomplish so-called “holy grail” shots. Anyway, the shutter always gets triggered via the intervalometer.
Now, as the autofocus signal totally blocks the camera, the behavior of the intervalometer makes the situation even worse. More than once, the connection between tablet and router was interrupted and the whole shot went south.
Another bugging issue is revealed when choosing very short intervals, such as 2 seconds. There is no chance to catch a glimpse of the picture just taken, as the autofocus signal of the next shot immediately turns the screen black.
On top of that the camera buffer might fill up when choosing short intervals because, again, the autofocus signal blocks the camera and it is unable to write the picture from the cache to the card quickly enough. As a result, the camera will stop taking pictures.
The Solution: A Simple Intervalometer Hack
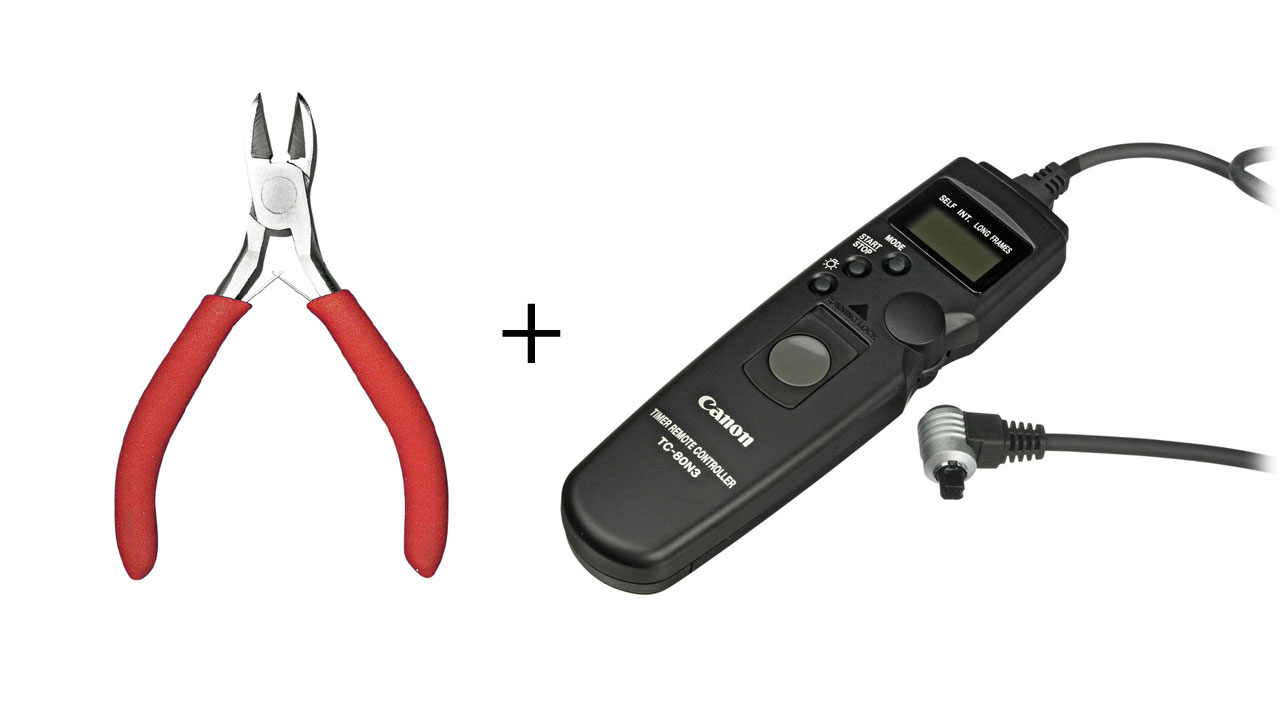
As simple as it sounds, the solution is to eliminate the autofocus signal. You don’t need it anyway. In order to do that, you’ll need the following:
- side cutter
- multimeter
- soldering iron
- shrink tubing
- confidence
Only do this if you have at least some experience with soldering and you know what you’re doing! This could damage your camera and/or intervalometer if something goes wrong.
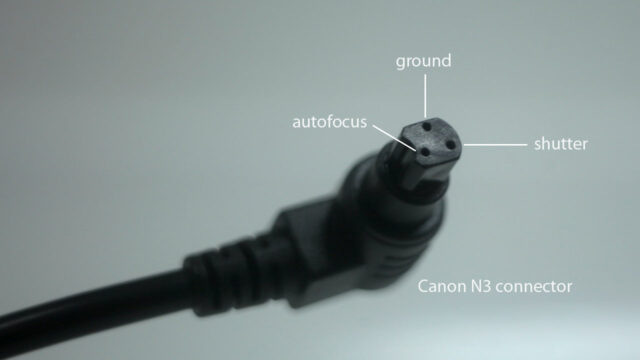
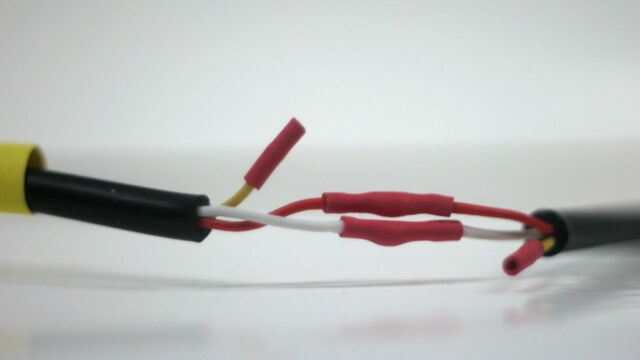
As I am using a Canon 5D mk2, my intervalometer has a Canon N3 connector. See the images below for information on how the pins are assigned and how the wires are soldered. Note: The colors of the wires might be different in your intervalometer, so use a multimeter to check the correct wiring!
For performing this intervalometer hack on Nikon cameras, head over to Gunthers Blog for all the details. He has a fantastic step-by-step guide available for both Canon and Nikon DSLRs.
I tried this intervalometer hack for myself and it works like a charm! No more black screen. No filled up buffer. No connection breakdowns whatsoever. No problem!


