You may argue with me (please do!) but in our daily business, interview setups are among the visual tasks we don’t put much thought into anymore. Most of us filmmakers have done so many interviews that at some point we found our trusted routine and stopped fooling around: nice background (clean or harmoniously-dressed), two or three lights, diffusion, your favorite interview lens and – voilá! Nothing bad about it, but what if we put a little twist on this scenario? Something quick and subtle, like using lens filters for interviews?
The MZed course “Art of Visual Storytelling”, held by Alex Buono, is all about practical tricks and tools you can apply directly to the creative process without much effort. Apart from narrative and documentary projects, Alex had been working as the Director of Photography at the Saturday Night Live film unit for 17 years. Every week he went through the same 3-day-cycle: he prepped on Thursday, shot on Friday, and on the last day, he handed over the final video. As you can imagine, Alex knows everything about time efficiency.
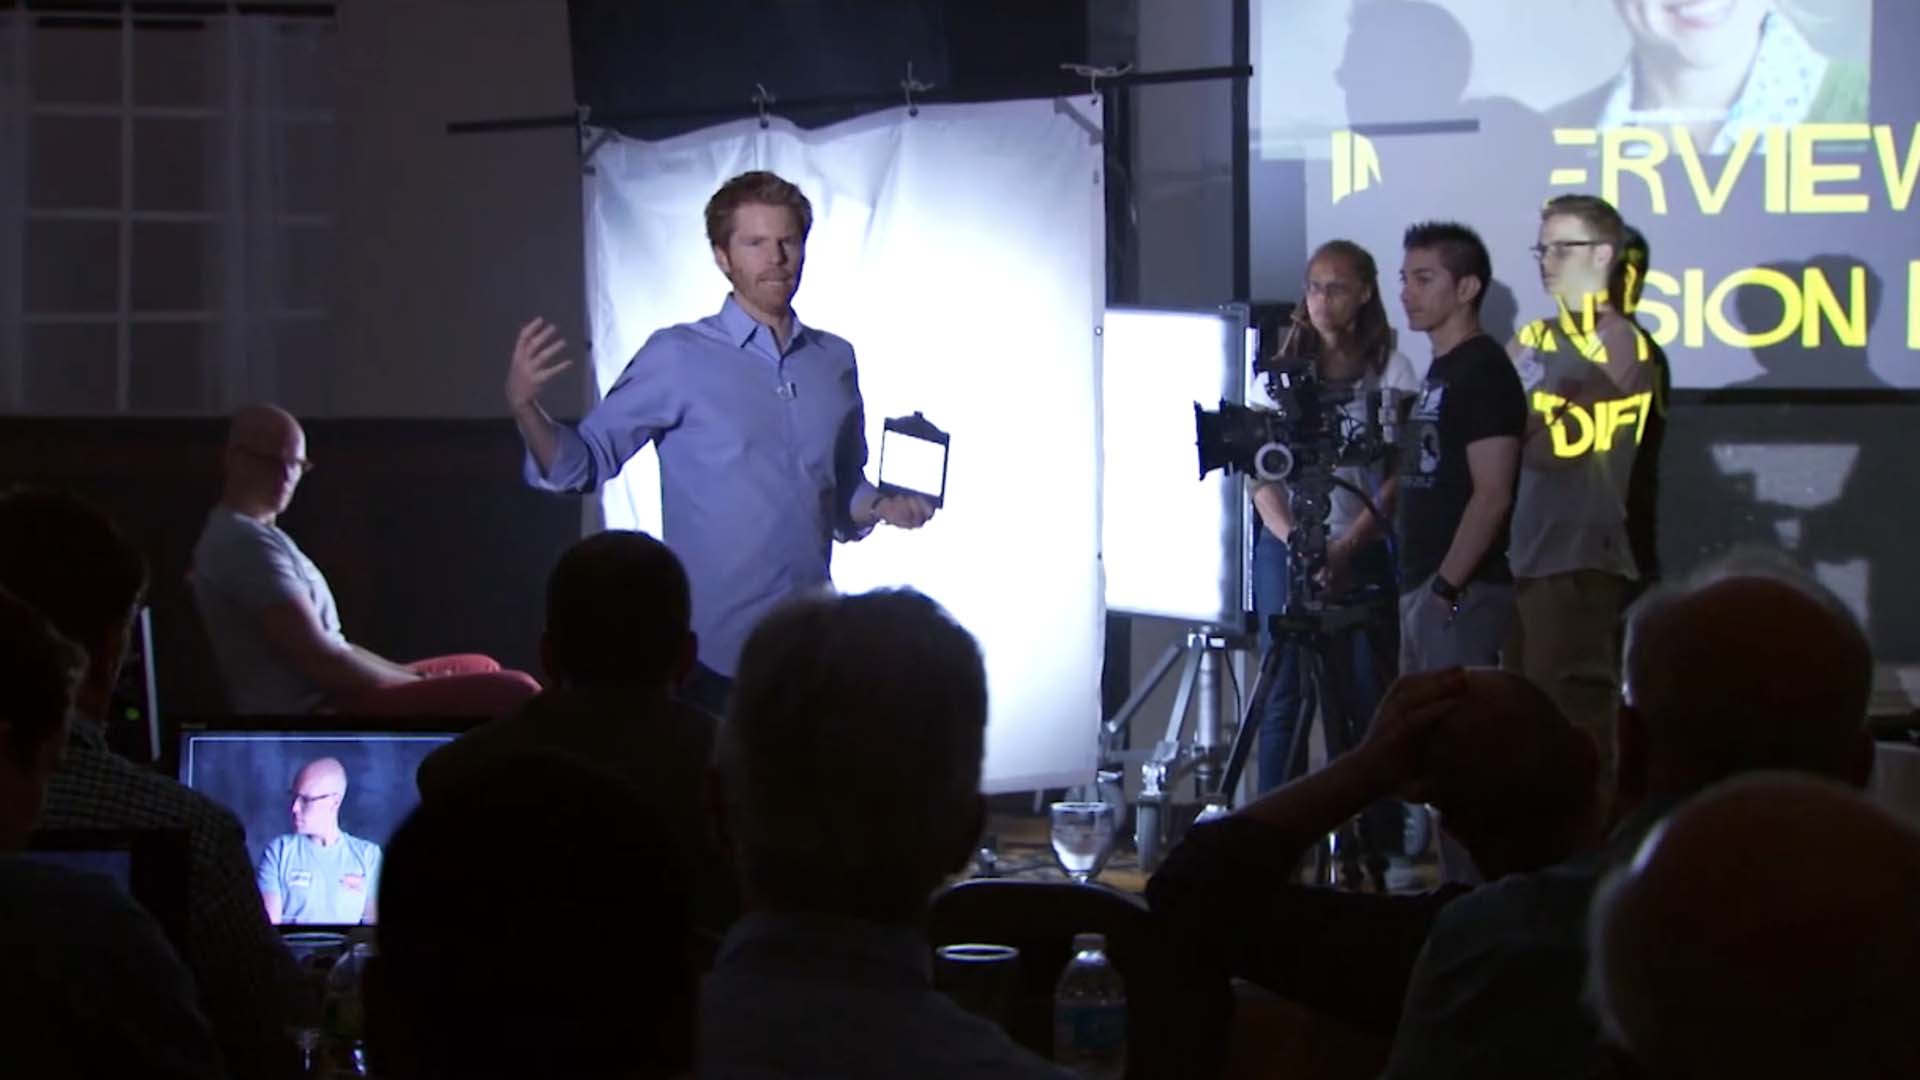
Throughout the course, the Oscar-nominated cinematographer shows us his favorite shots, replicates different visual styles, and most importantly – demonstrates how to instantly enhance your video using simple tools at hand. To give you an idea, we will talk about some of Alex’s tips on using lens filters for interviews and getting a professional look in very little time. If you are interested in watching the full course, check it out on MZed.com.
Setting up the interview scene
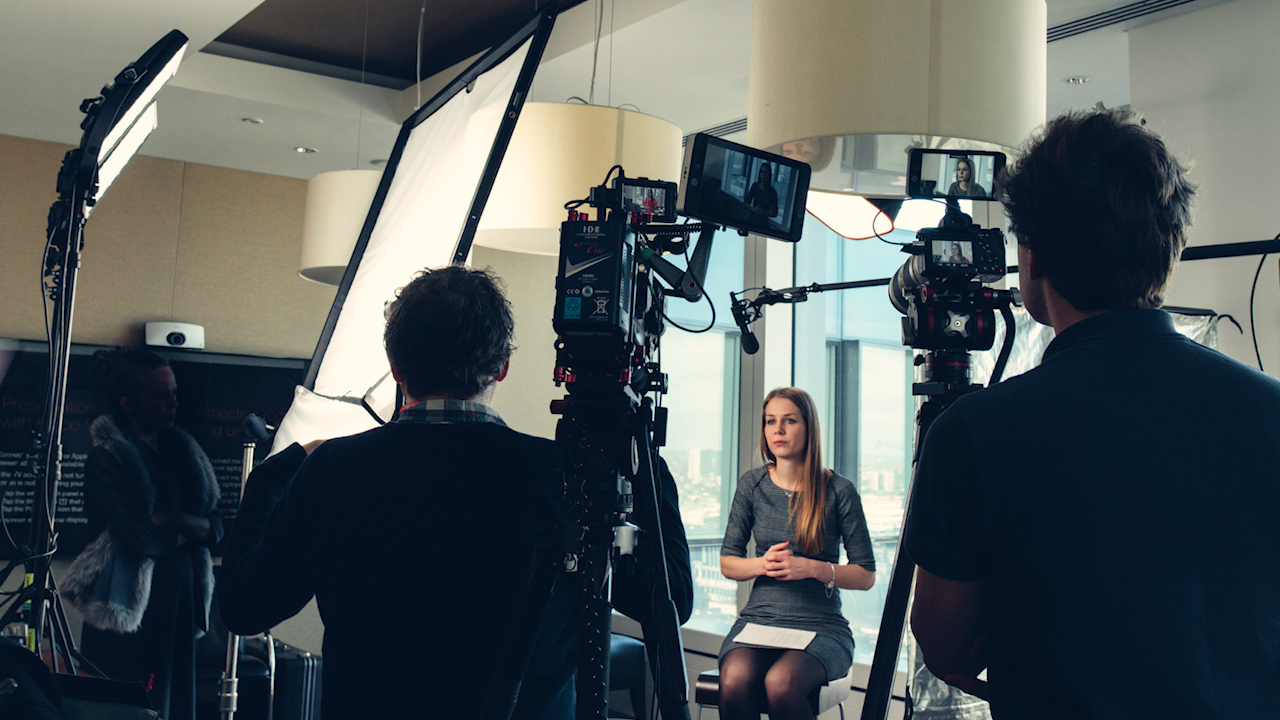
First things first, let’s set up our interview or testimonial. In the course example, Alex uses an old VistaBeam as the key light. His general advice is to keep it as pleasing as possible. This means: putting the lamp at or above eye level because that’s where we’re accustomed to seeing the most natural light (the sun) come from. Also, if you light your subject from below, it will create unnatural-looking shadows on the face.
The Art of Visual Storytelling
The next step is to move the key source slightly to the side so that it creates beautiful contrast, and to complement it with diffusion in front of the lamp (Alex decides on a 6×6 full grid). To control the spill on the background, you may also add a floppy to your setup.
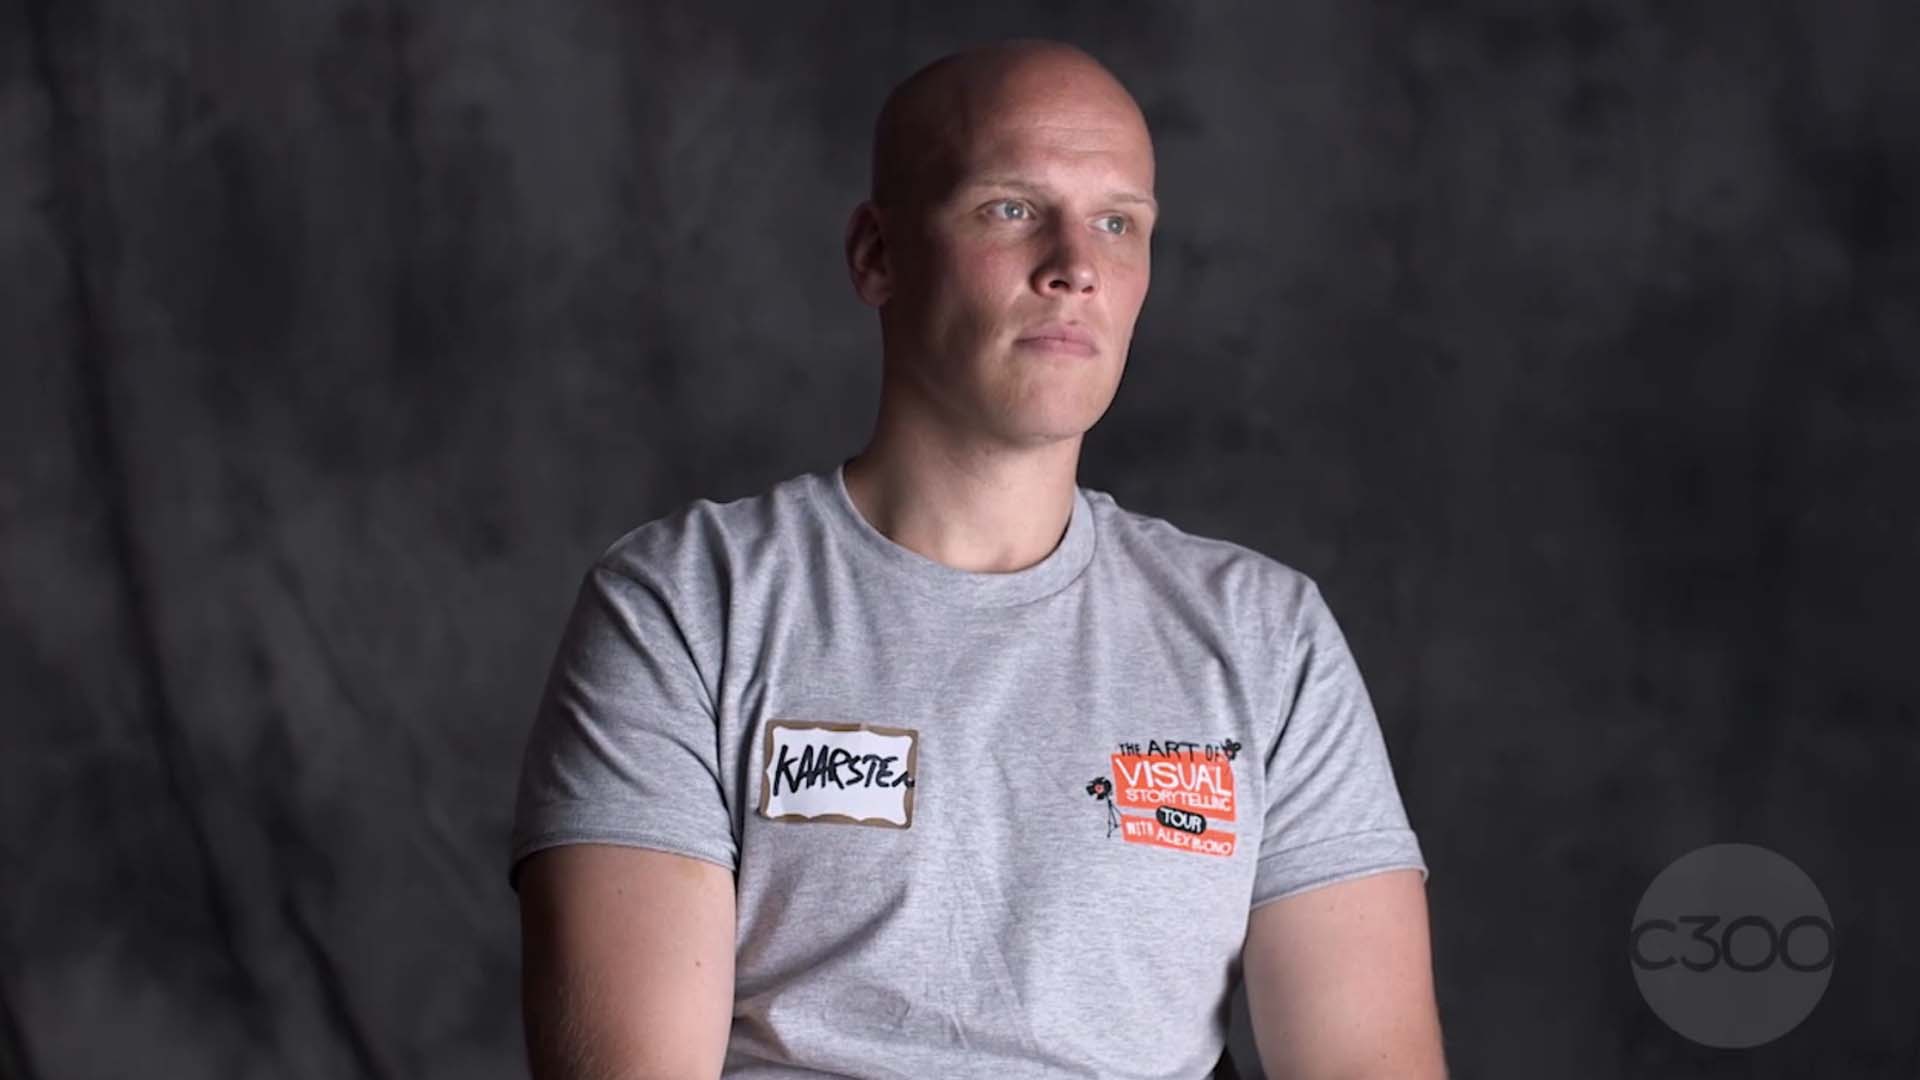
Looks quite good already, doesn’t it? According to Alex, a single high source of light is actually enough and he often uses such a simple setup for interviews. We only have one sun, after all. But to better demonstrate how the filters affect the look, he also places an edge light from behind. In this case, it’s a normal LED placed on the opposite side of the key source, trying to reach the cheekbone and avoid lighting the nose.
Pro-Mist lens filters for interviews in a stylized look
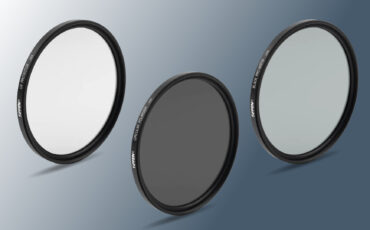
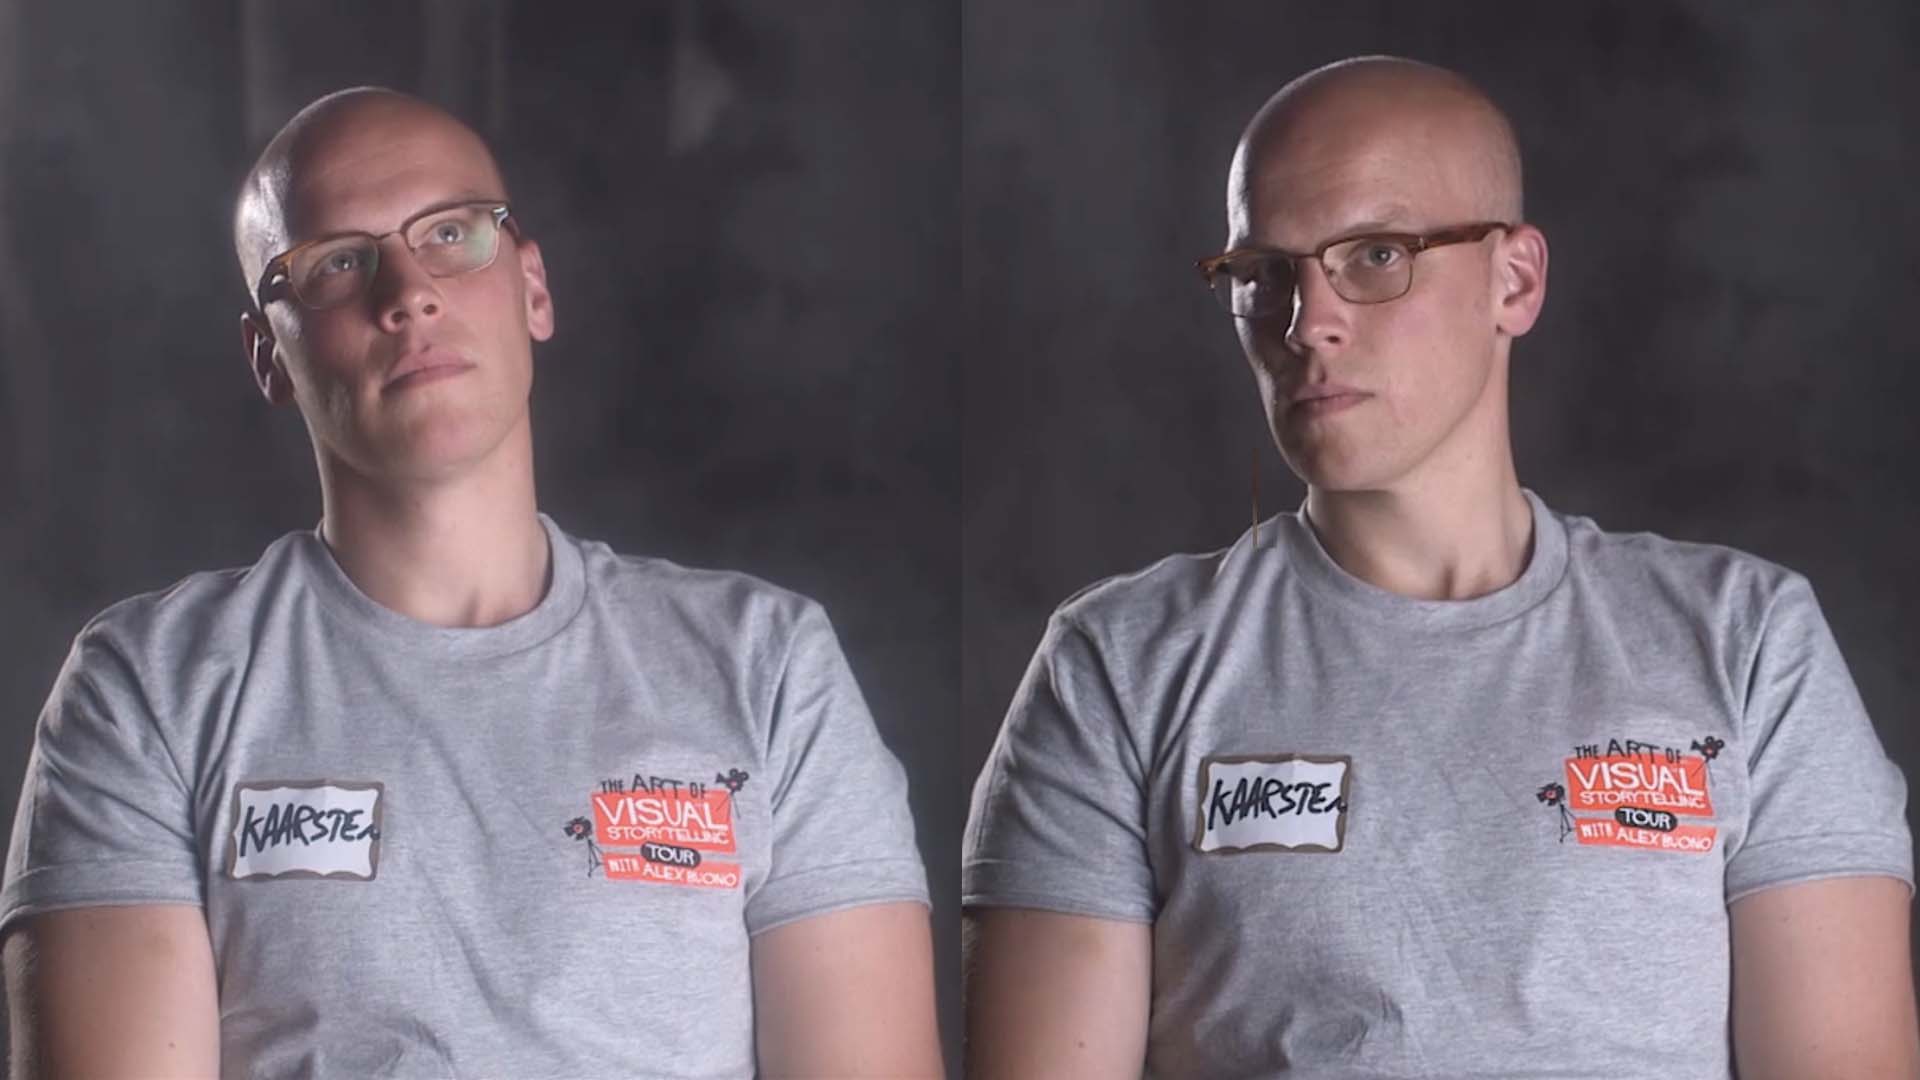
The first filter which can give a spin on the casual interview footage is called Pro-Mist. Thanks to its cinematic dreamy look, it is widely used in features, for instance in Tarantino movies. Pro-Mist glows out the highlights and makes them really bright. In his example, Alex uses one from Tiffen glass filter inserts for a matte box, but a simple screw-on would also do.
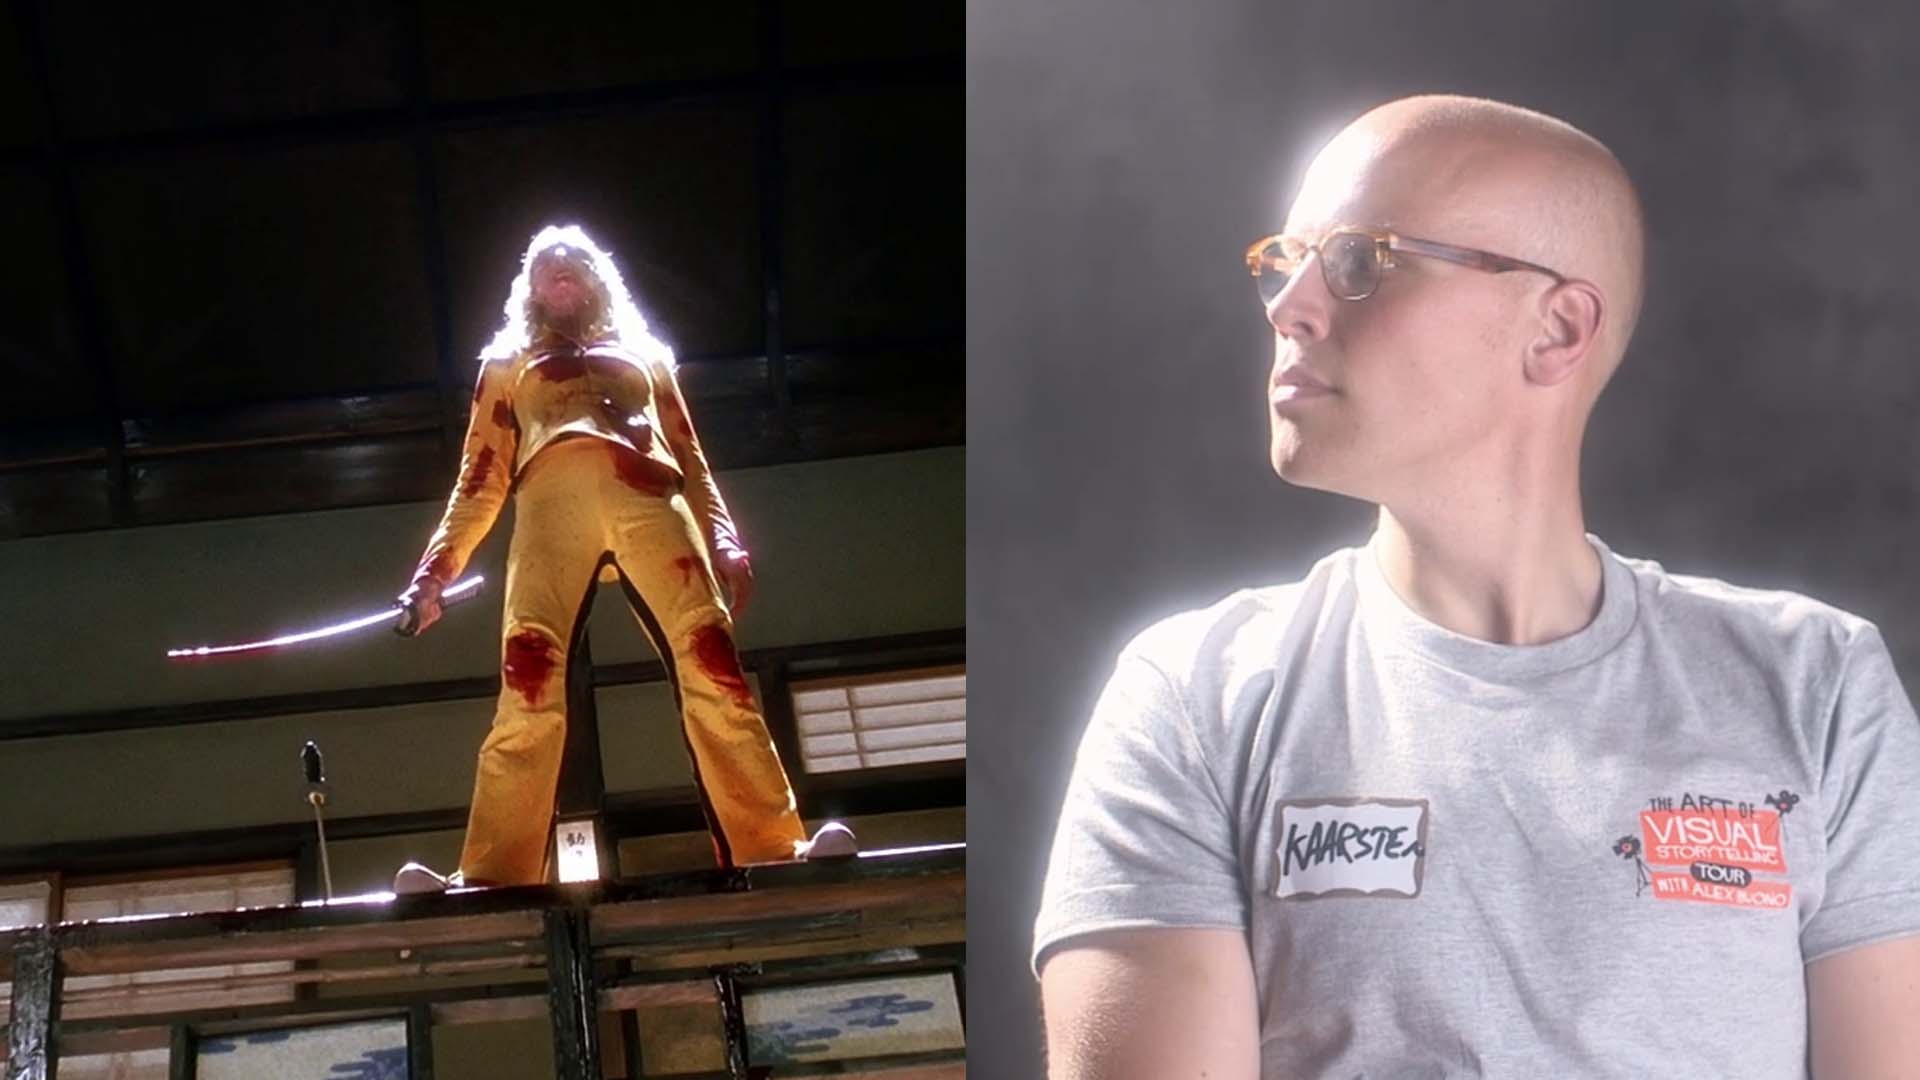
At the same time, Pro-Mist milks out the contrast of the image. When applying it, you should be aware that the overall look will get soft and a bit washed out, as in the example above. When it serves your purpose and underlines the content of the interview, why not? But if you’d rather keep it modern and sharp while maintaining the fancy “glowing lights” effect, try a so-called Black Pro-Mist filter. Basically, it functions like a normal Pro-Mist but due to the small black dots in it, it allows you to save the contrast.
Soft FX – the perfect filter for commercial interviews
Another tiny supporter of your visuals is a Soft FX filter which offers a totally different kind of diffusion. The name explains its function just right: it takes the fine details in your image and defocuses them in a subtle way. Wrinkles, blemishes, pores – everything that you might see on the skin of your interviewee – disappear once you put on the Soft FX. A real-life Instagram filter, so to say. With a nuance: while smoothing out the details, it stays merciful to the rest of the image leaving it very sharp.
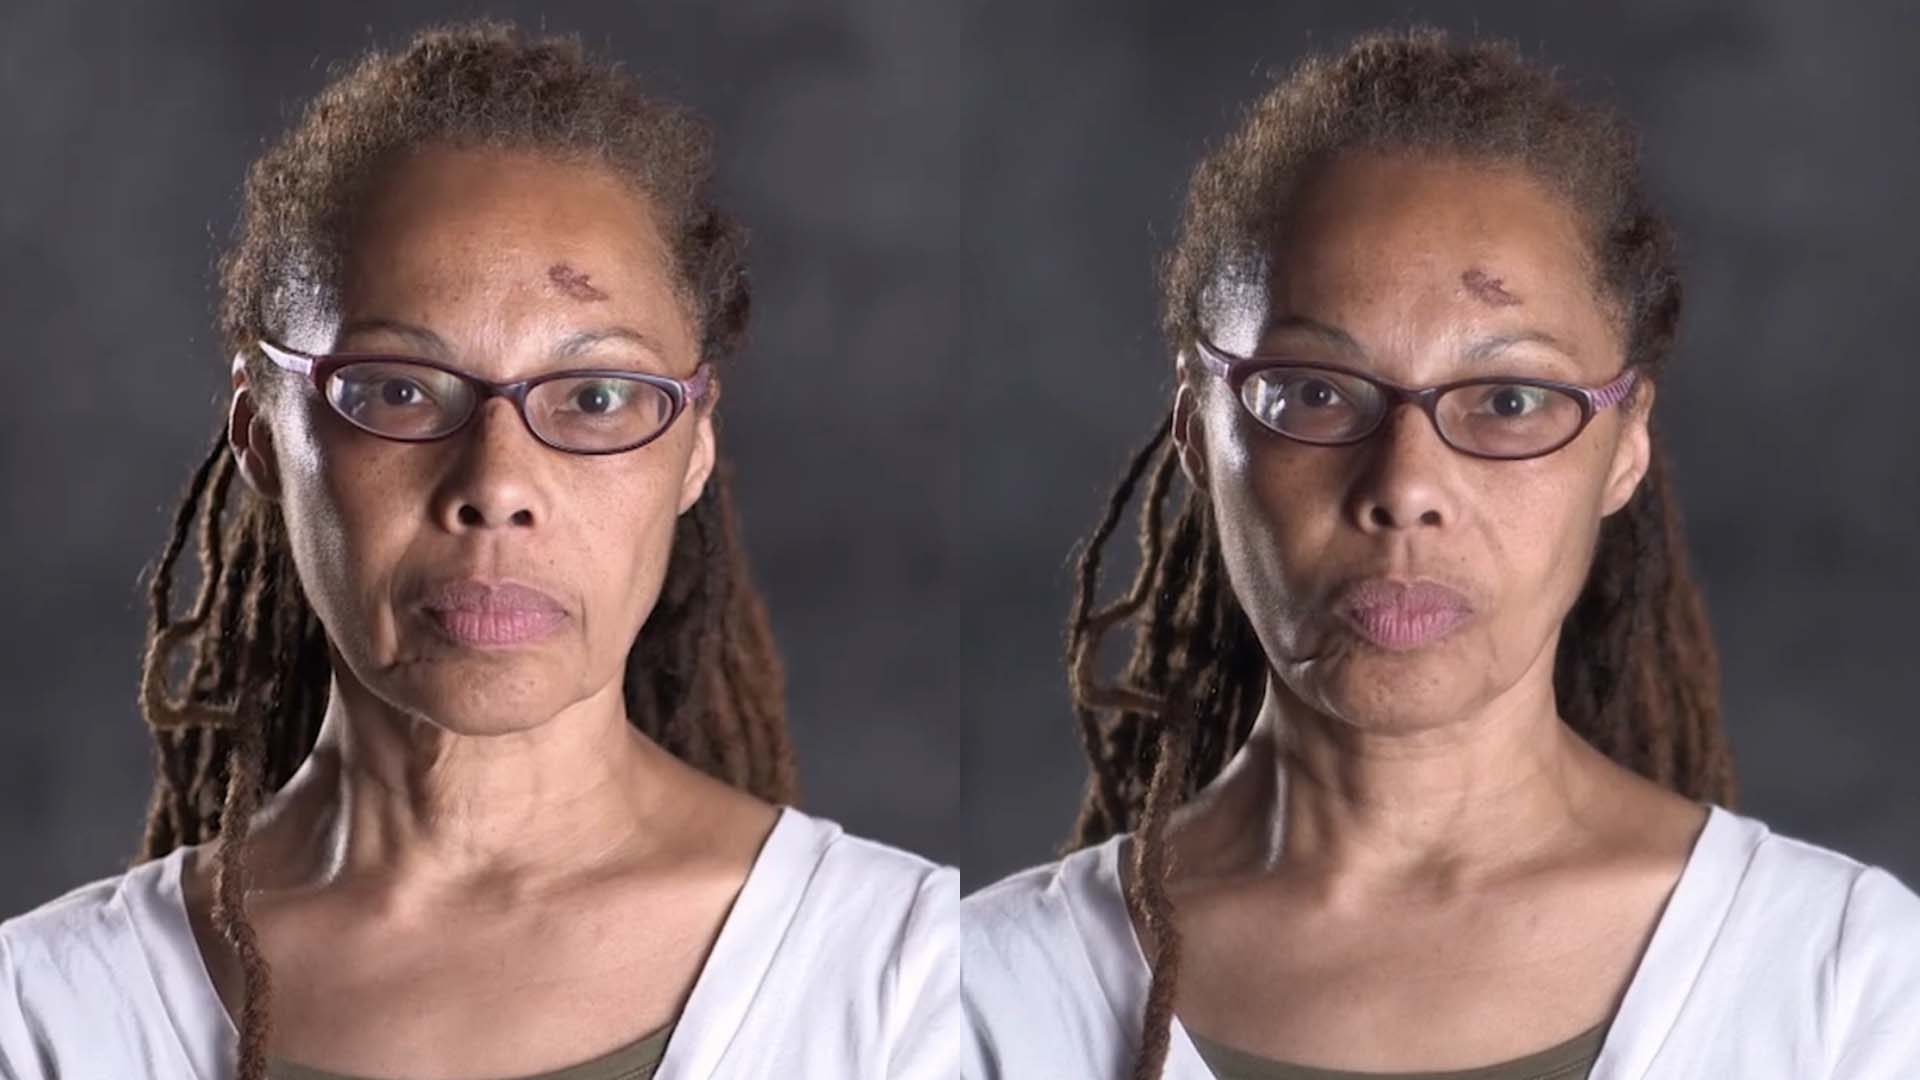
To show us the difference clearly, Alex took a 1 Soft FX for the example above. It made the skin look almost hyper-perfect. He wouldn’t recommend this approach on the actual shoot though; it’s too strong in most cases. 1/2 Soft FX is totally enough to create a clean and glossy but also sharp look for a flattering interview. So, if you film a lot of commercials, consider adding it to your filter kit.
Lens filters for interviews: this and more everyday tricks
This experiment shows us that you do not always need loads of additional (and heavy!) equipment to create a big visual impact. Even such subtle tools as using lens filters for interviews can make a difference in your creative expression. In his other modules for this course, Alex Buono showcases low-cost DIY lighting techniques, explains why you should take a small hazer on a typical commercial set, and even leads us through all the production phases. Not according to some textbooks on filmmaking, but based on his vast practical experience in the industry.
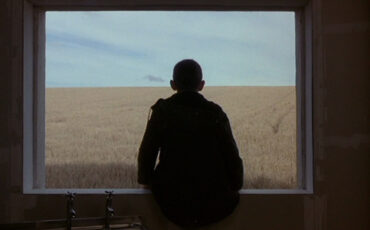
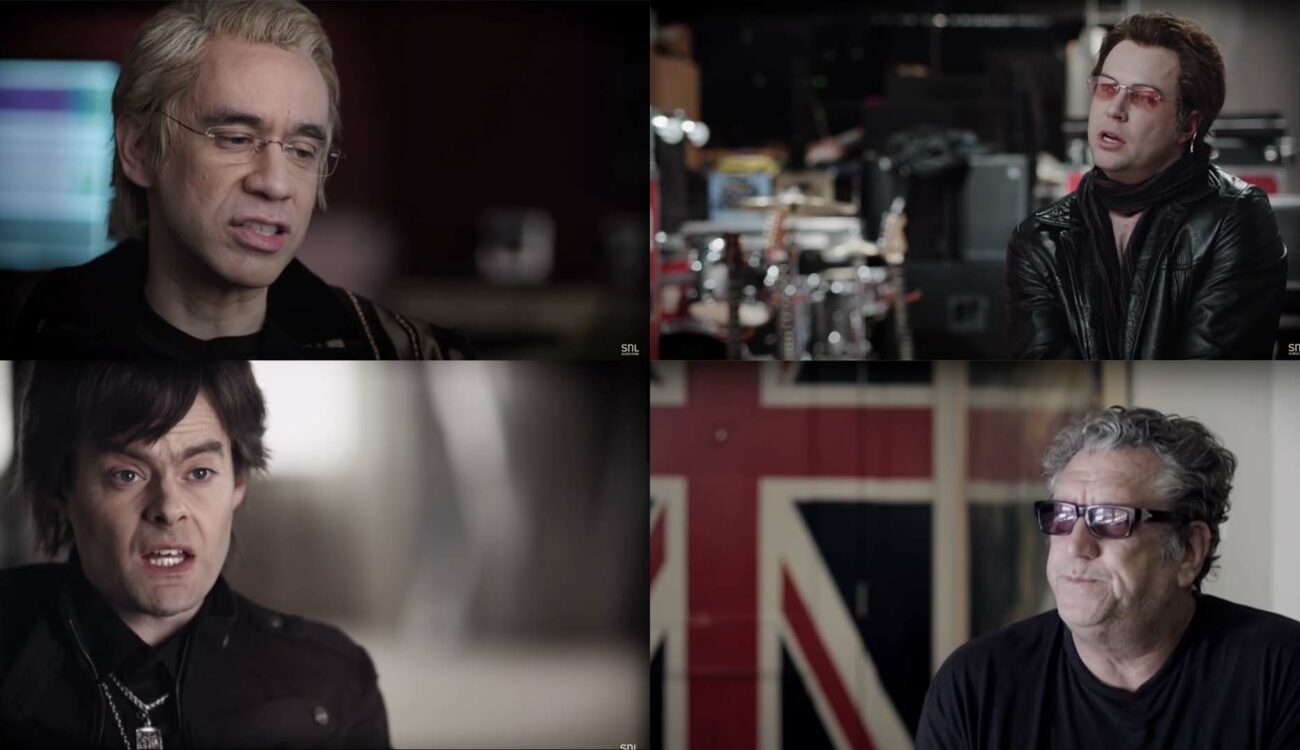
Featured image: screenshots from the Saturday Night Live video “History of Punk”, shot by Alex Buono
What else do you get with MZed Pro?
As an MZed Pro Member you also get access to over 300 hours of filmmaking education, including The Art of Visual Storytelling with Alex Buono, plus we’re constantly adding more courses (several in production right now).
For just $30/month (billed annually at $349), here’s everything you’ll get:
- 40+ courses, over 700 high-quality lessons spanning nearly 400 hours of learning.
- Highly produced courses from educators who have decades of experience and awards, including a Pulitzer Prize and an Academy Award.
- Unlimited access to stream all the content during the 12 months.
- Offline download and viewing with the MZed iOS app.
- Discounts to ARRI Academy online courses, exclusively on MZed.
- The majority of our courses provide an industry-recognized certificate upon completion.
- Purchasing the courses outright would cost over $8,500.
- Course topics include cinematography, directing, lighting, cameras, and lenses, producing, indie filmmaking, writing, editing, color grading, audio, and even how to launch a YouTube channel.
- 7-day money-back guarantee if you decide it’s not for you.
Full disclosure: MZed is owned by CineD


