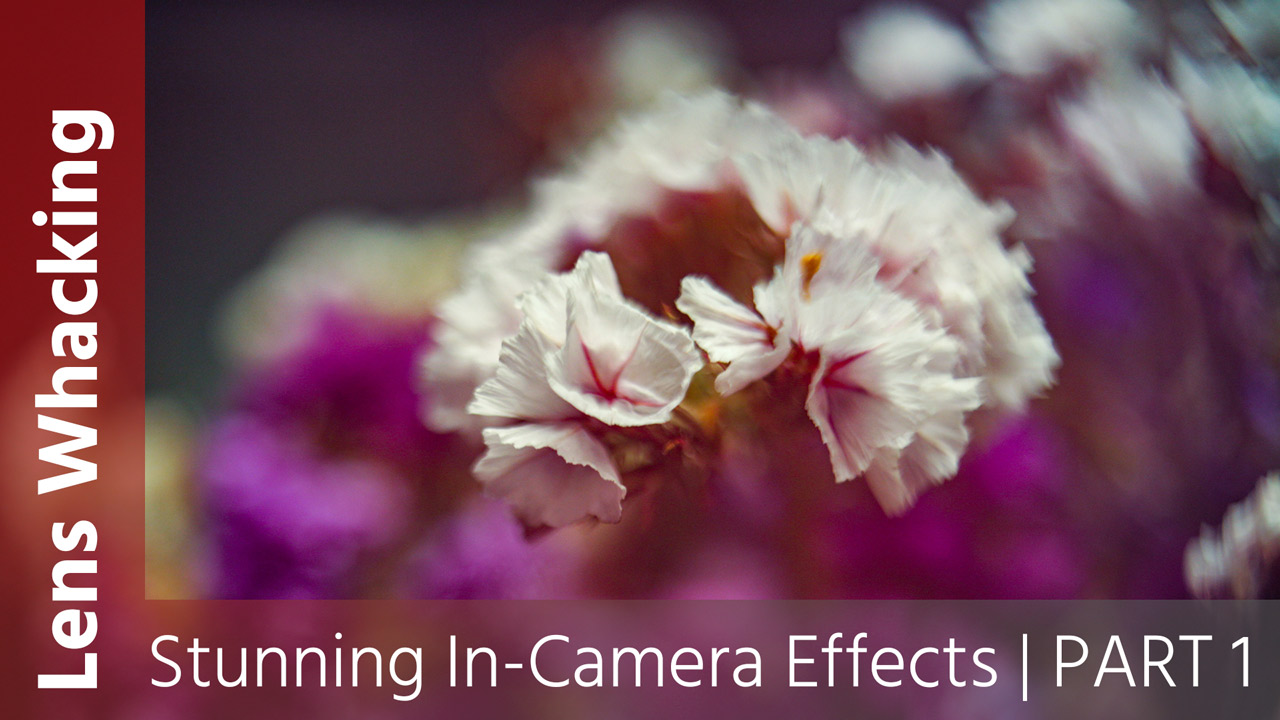
Nowadays, there are virtually no limits in manipulating and tweaking your footage in post. But some effects are difficult to achieve and it usually takes a lot of time—and skill—to create satisfying results. So why not just create them in-camera while shooting? Starting with this post about lens whacking, I’ll be doing a series of very sophisticated looking, yet simple effects, all done the old way: in-camera.
The art of lens whacking—or as some call it: free-lensing—is not new. It’s not for every shooting situation, either. Yet, it is capable of adding a unique look and feel to your creative work. As such, the mastery of it should be part of your toolbox. Fellow filmmaker James Miller once made this technique really popular and had a couple of great examples highlighted in an article by Philip Bloom, back in 2012.
Basically, free-lensing means that you are shooting with the lens detached from the camera body, holding it close to the sensor while moving it with your hand carefully. As a result, you can achieve a dreamlike imagery with tilt/shift effects, light flares and vignetting in various amounts. Try achieving this in post!
How lens whacking works
Take a lens of choice and set the focus to infinity. Then, take the camera rig in one hand—or let it sit on your shoulder, whatever works best for you and your camera setup. Use your other hand to hold the lens in front of the sensor and move it back and forth slowly.
The focus is now adjusted solely by the distance from the back of the lens to the sensor:
- Move the lens closer to the sensor to set the focus to a subject that’s further away
- Moving the lens further away from the sensor will set the focus closer. Even if your lens isn’t a macro lens, with this technique, you can set your lens to a macro focus distance
While adjusting the focus this way, you can now tilt the lens slightly left/right or up/down in order to create that beautiful tilt/shift dual focus look. Flares will occur naturally as light will hit the gap between lens and sensor. Try to shoot in backlight environments, like sunsets, or with practicals within your frame.
Gear choice and recommended settings for lens whacking
As the lens is detached from the camera body, another great advantage of this technique is the fact that you can use every lens out there. No mount adapter is needed, even vintage lenses work perfectly. Though, as the only stabilizer you can use is your own hand, I would recommend a prime lens with a focal length of no more than 50mm. Zoom lenses and telephoto glass can be quite heavy—causing them to be difficult to hold steady for any great length of time.
In my experience, a neat tip is to shoot with the camera set to 33fps. This very subtle slow-mo effect smoothes out shaky free lensing shots since it is very difficult to move the lens without shaking at all. Of course, this is only an option if audio is not crucial for the given shot.
Use a proper onboard monitor or a good viewfinder with focus peaking capabilities since nailing the focus can be difficult. The depth of field tends to be very shallow and it is quite easy to ruin a shot.
Application
Because of the dream-like look and feel of the resulting footage, created by streaks and flares of light, more artistic projects such as wedding films or music videos, like in my example, are perfect for this technique. Whatever the mood is, you can adjust the effect to your likings and in the end, it will add an impressive style to your footage in an analogue way which looks highly unique and hand-made.
So, with this little trick you can achieve a ton of effects with just one lens – even a cheap vintage‚ ‘nifty fifty’ does the trick. It’s just about practicing and mastering this neat technique to match your style of shooting.
In the beginning, lens whacking will feel a little awkward. It’s not very natural to hold your lens in front of your camera. It can be tough trying to nail the focus, catch some flares and control the tilt/shift effect, all at the same time. However, if you’re willing to practice a little, your skill in controlling these beautiful effects will improve and you will be able to create the perfect mixture for your desired style of shooting.
https://vimeo.com/152290909
The video above is a snippet from an upcoming video I shot, by Canadian vocal artist Chloe Charles, shot at 33fps with a 50mm prime wide open. The lens was not attached to the camera, of course.
A word of warning
When using this technique, it is important to understand that you are exposing your sensor to direct light—and to the elements—without a lens or a cap protecting it. The sensor is the heart of your camera and it’s well worth protecting it. So maybe it’s not the best idea in the world to try lens whacking in the middle of a thunderstorm. In addition, you should always bring a dust off and a soft brush in order to clean your sensor and the back of your lens after nailing the shot.


