External recordings on Sony a7 series cameras are awesome for several reasons, but unfortunately the image is crushed and there can be a loss in dynamic range when recording externally via HDMI. The famous Slog problem cuts off blacks and highlights and gives you a wrong Slog 2 or Slog 3 image. But we’ve developed an extremely easy fix.
This LUT can be applied either during external recordings or even in post and give you back the full dynamic range of a true Slog image.
The Slog Problem Explained
Back in March, I wrote a scientific article on the crushed blacks phenomenon concerning the Sony a7S, Sony a7S II, Sony a7R II and Sony a6300 cameras. Basically, the contrast information is saved incorrectly on external recordings via HDMI, thus defeating the whole purpose of a standardized Slog Gamma.
This phenomenon has been the main reason why some people have avoided using external recorders with these cameras. There is a fix that involves either DaVinci Resolve or level filters in Premiere that I described here, but these can impact your rendering time considerably.
[Important UPDATE:] You do not need this on the Convergent Design Odyssey Recorder as their latest firmware provides a fix in the form of a “Legalize HDMI” function you will find in the INPUTS menu.
[UPDATE:] The Slog Fix LUT also fixes external recordings in F Log from the Fujifilm X-T2. There is a recovery of about 1 stop of dynamic range in the highlights.
The C5D Slog Fix
Here is better way to fix the Slog Problem at any stage of your workflow, and it’s the fastest we have found in the form of our very first official C5D LUT. Essentially, it recovers any Slog 2 or Slog 3 files recorded externally, and gives you back a true Slog image with the cameras full dynamic range.
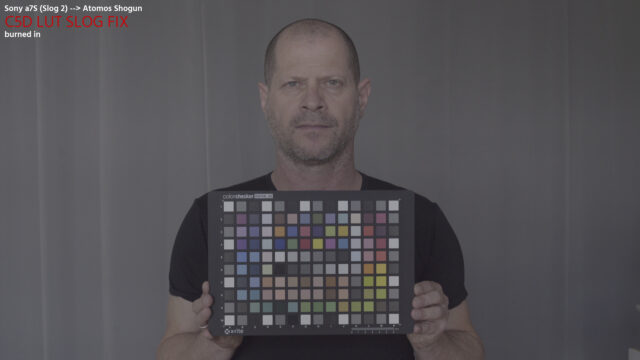
On top of that, this LUT gives you the unique possibility to burn the correct Gamma right into your external recordings. By loading this LUT onto an external recorder like the Atomos Shogun, you can fix the Slog problem during recording, work with a correct file from the start, and save the additional rendering time otherwise needed in post production.
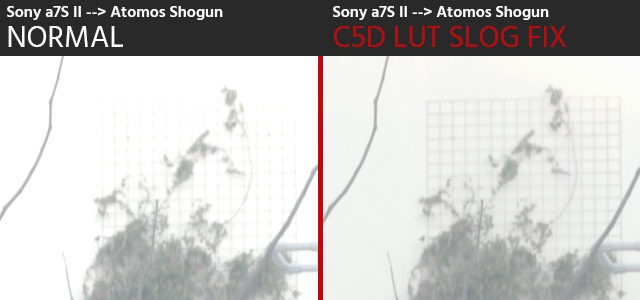
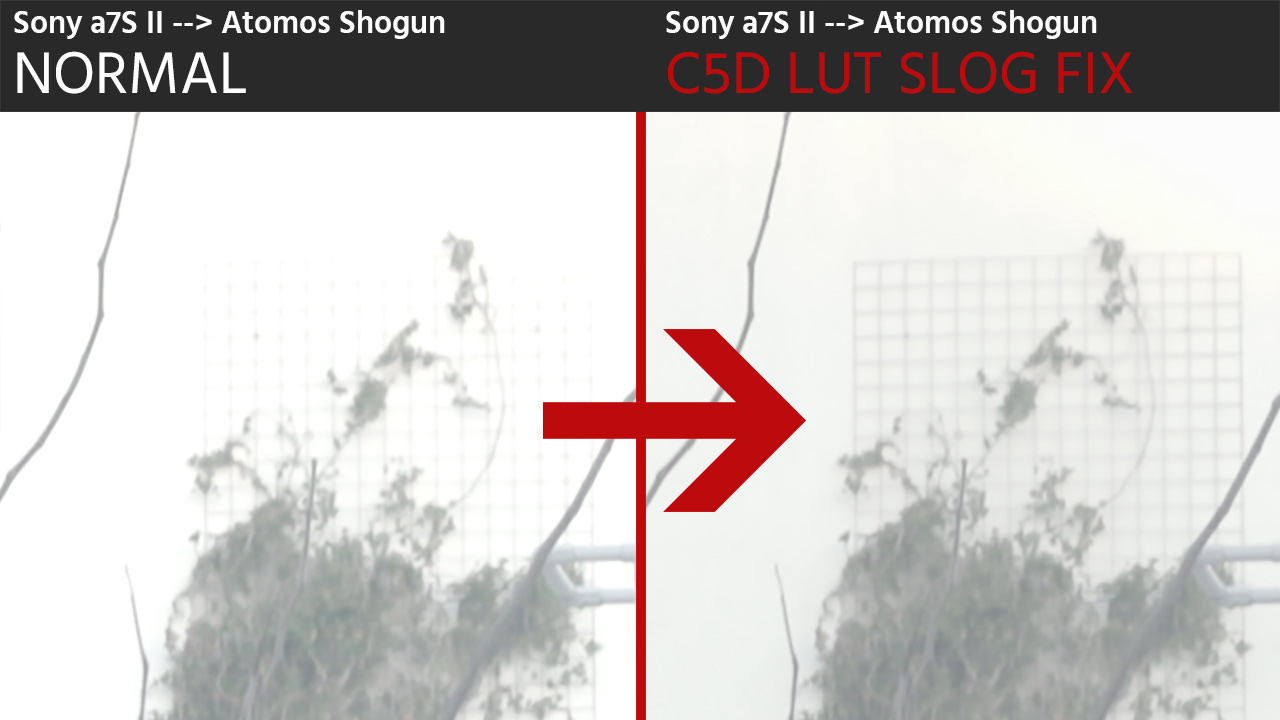
This Slog Issue is especially problematic in Slog 2 Gamma, as it kills some of the highlights and thus reduces the dynamic range of the image where it matters (highlight rolloff in critical shots):
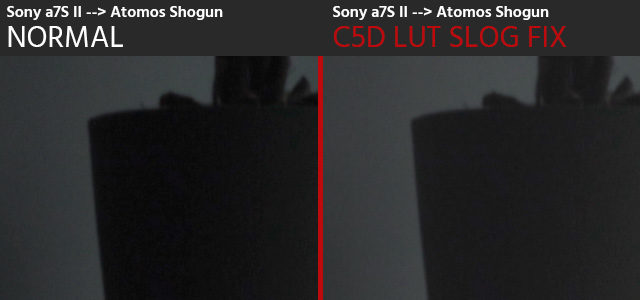
This is how the Slog affects the dark areas of the image and how the Slog Fix recovers the correct Gamma:
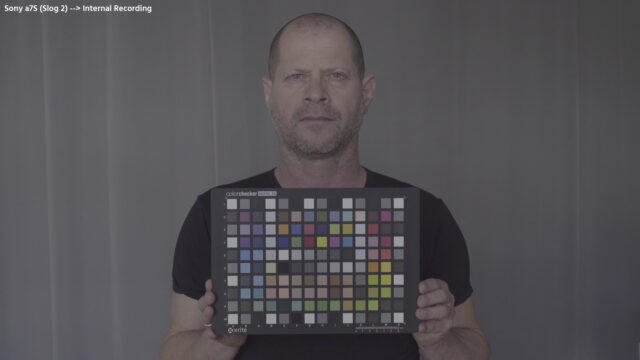
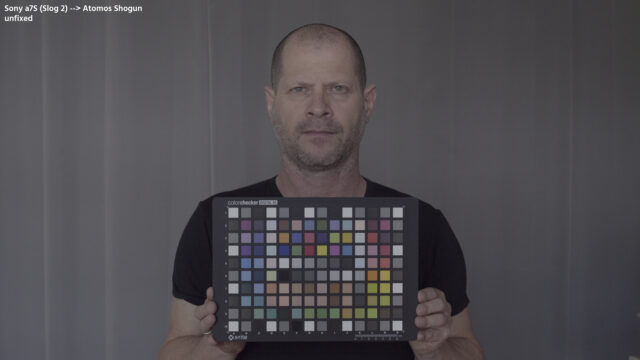
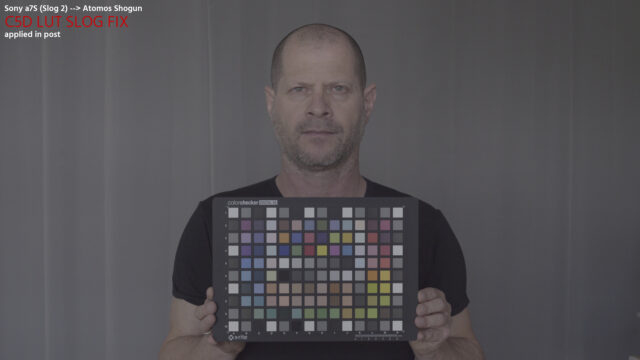
In our tests, an external recording with the C5D Slog Fix LUT on an Atomos Shogun was virtually identical to a file otherwise transcoded in DaVinci Resolve by changing the Video Levels manually (See more sample images below)
Note: We cannot be held responsible for wrong use of the LUT. Please test this yourself before implementing into your own workflow.
We decided not to give away the C5D Slog Fix LUT for free, but if you buy us a cup of coffee it’s yours to use in your projects. We’ll also be happy for a higher contribution if you feel this fix helped you in your work.
[UPDATE:] As cinema5D reader Corey Robson pointed out, there is an alternative method on the Atomos Shogun, that gets you half way to the goal: The Shogun offers a “5D MkIII” Color Corrector option in the “Source” window. While I do not know the science of it, the tests showed that it recovers some of the highlights, but not the true Slog Gamma. If you’re working semi professionally it should be “good enough”, as the highlights are most important. For those who want to use a second LUT as a preview on the Shogun, I would recommend this method instead of the C5D LUT, or alternatively the C5D LUT can be used in post for a 100% accurate result.
Sample Images
FAQ
Do I need this if I don’t use Slog 2 or Slog 3 Gamma?
No. The Slog Problem is only present in external recordings with Slog 2 and 3 Gammas via HDMI.
What about external recordings via SDI?
External recordings via SDI are not affected. Please don’t use the Slog Fix on those.
Will this work even on files that have already been recorded?
Yes. You can use this on files you have recorded with an external recorder in the past. The files were only saved with the wrong metadata and the information can be pulled back with the help of our LUT or the workarounds described here.
Who is it for?
For people who want to retain the original Slog 2 or Slog 3 Gamma in order to grade accurately, match cameras or use pre defined LUTs. If you apply LUTs meant for Slog 2 or 3, you will not get the correct results without fixing your files first.
Do I need this on the Sony FS7 or FS5?
If you’re using an external HDMI recording you will also need this on a Sony FS7 and Sony FS5. If you’re using SDI as an output interface you will not require the fix.
Will I lose color information or quality when I use the LUT on a recorder (burned in)?
No. According to our tests the results are the same as if you would apply the fix in post. Note that in general there is a slight variance between externally recorded colors in comparison to internally recorded H.264 files on Sony cameras. We think the external recordings with our LUT look more color accurate. Download the sample images above to compare them and see the nuances. Make sure you use this workflow properly before burning the LUT into your recorded files.
How do I use this on an Atomos Shogun?
1. To use the C5D SlogFix for monitoring purposes:
- Copy the C5D-SlogFix.cube file to the root folder of your Atomos Shogun Media (An SSD or harddisk)
- Tap the yellow “…” icon at the bottom right hand side of the screen
- Tap on one of the 8 LUT slots (preferably an empty one)
- Tap on the folder icon
- In the new window that opens tap the “C5D-SlogFix.cube” file twice. This will load the LUT onto your Atomos Shogun recorder
- To monitor tap the LUT slot now associated with the C5D-SlogFix and tap the monitoring icon on the top right hand side to switch monitoring on or off
- The C5D-SlogFix.cube file can be deleted from the media
2. To burn C5D SlogFix into your file (RECOMMENDED for a faster grading workflow):
- Follow the monitoring setup of 1
- After your camera is connected, tap the “hdmi” icon in the top left hand corner
- In the window that opens, under the section “RECORD 4KUHDp…” tap on “3D LUT: Off”, so that it shows “3D LUT: On”
- There should be a red, flashing icon in the top right hand corner that says “MON LUT”
- Make sure the C5D-SlogFix LUT is selected in the yellow “…” menu
Download
Click the image below to get the C5D LUT Slog Fix:

