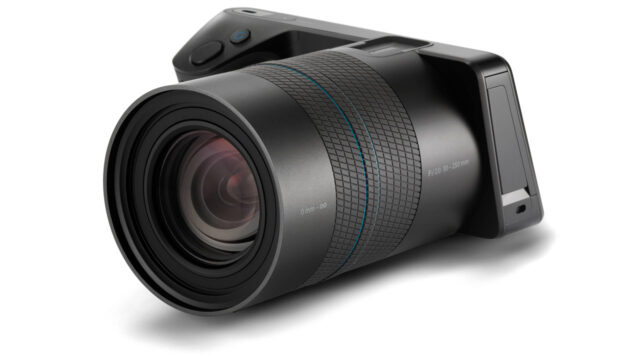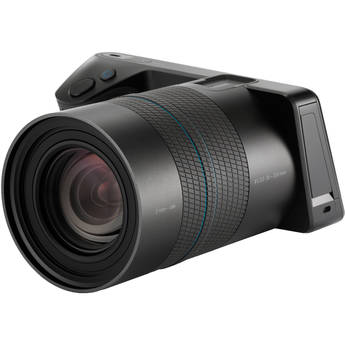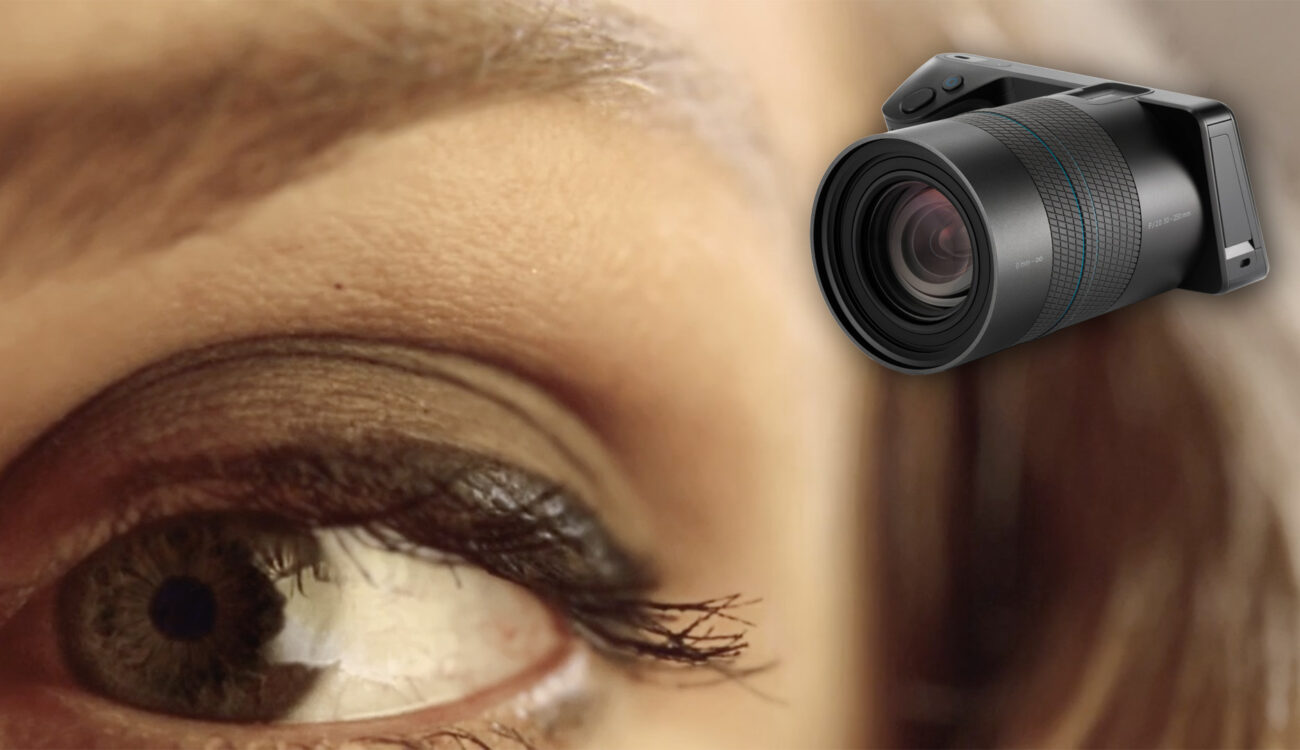
The Lytro Illum is the first camera that enhances light field technology to a professional level. This technology lets you choose the plane of focus in post production as opposed to focusing while shooting. It is a photo camera, but there are some intriguing possibilities for video.
Check out the following guest article by O’Connor Hartnett
Earlier this year, I shot a music video with a light field camera called the Lytro Illum. Compared to traditional cameras, light field cameras are unique because they capture the direction in which light enters the camera’s lens. The Lytro Illum uses this directional data to give you the ability to refocus the image after you take the photo…crazy, right?
However, the Lytro Illum is a still camera, not a video camera. So let’s find out how I turned still images into an immersive light field video.
The Camera
The Lytro Illum has a 40MP sensor with an array of micro-lenses laid on top of it – imagine something like the eye of a fly. It is by way of these lenses that the camera records the direction of the light. An interesting artifact of this micro-lens array is that it allows the camera to capture a stereo image. So, any photo that you take with the Lytro can be turned into a 3D image, or if you are viewing the photo in 2D, you are able to shift the parallax.
The reason we thought that the Lytro Illum would be a viable camera to use for video applications is because you can animate the focus change and parallax in the Lytro Desktop App and then export the animation as a video or image sequence. It is the ability to animate the parallax of the image that sells the look of slow motion video.
It is important to note that although the Lytro Illum has a 40MP sensor, the final resolution of its image is just over 2K resolution (2022 x 1404px). For our use, this was perfect. All we needed to do was crop it to 16:9.
The Software
In order to manipulate the focus and parallax of the image, you must use the propriety Lytro Desktop App which is free to download. Changing the focus is simple. Just as click on the area of interest and the software morphs it into focus. Changing the parallax is achieved by clicking, holding, and dragging on top of the image; it gives the sensation of being able to slightly peer around the objects, like you’re moving your head side to side or up and down.
Animating in the Desktop app is similar to any conventional key framing approach: you select focus point A, set the key frame, move the playhead forward in time, select focus point B, and set the second key frame. Unfortunately, parallax cannot be key framed in this manner. In order to affect the parallax, you have to use one of their built in effects. The one we used (for nearly every shot) was called Wave (which was the lesser of all evils).
In order to create a slow, rolling shift in parallax, the clip’s animation had to be much longer than the intended length of the clip for the final edit. In other words, if the clip length was too short, the parallax effect, “Wave”, would be too drastic. So by extending the length of the clip, our editor could then pluck the specific (slow and smooth) section that he wanted.
Not being able to changing the direction and duration of the parallax shift was the biggest limitation of the software (for our purposes). If you don’t shift the parallax, the animation looks extremely flat; basically, it looks like something you could have achieved in After Effects.
Capturing the Best Focus
Don’t be fooled, you can’t just point, shoot, and refocus with ease later.* Focusing the camera properly plays an important role in being able to refocus with the sharpest detail.
The ILLUM comes with a lens that is fused to the camera and cannot be detached. The focal length range is 9.5 – 77.8mm, but with a 3.19 crop factor the effective focal range is 30 – 250mm. As with any other lens, the depth of field range compresses when you increase the focal length. Oh, and have I mentioned that the camera shoots everything at an f/2.0?
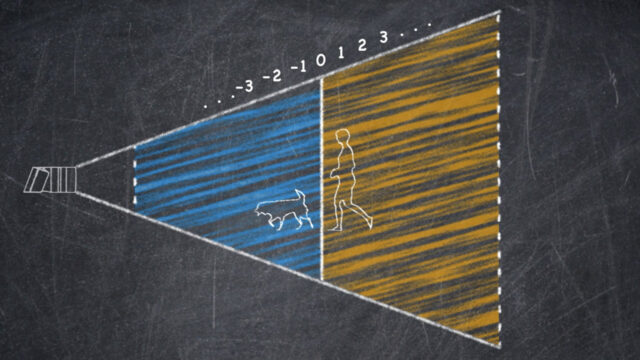
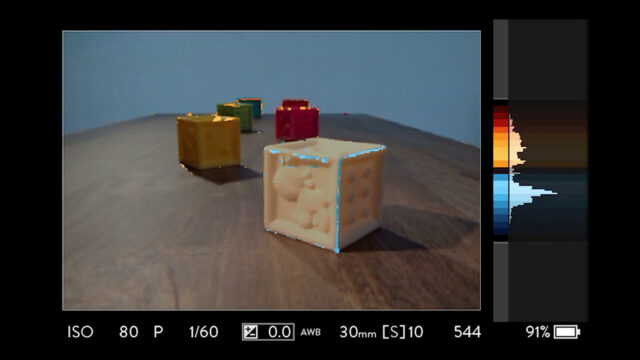
The Lytro Illum has an ingenious focus assist system. With a two color overlay, the Lytro shows you both the close and far extremes to where you will be able to “re-focus” to. Anything outlined in blue rests in front of the optical focus plane and anything outlined in orange, rests behind the optical focus plane. Adjusting the focus ring will shift your optical focus and thus your “re-focusable” range. The brighter the color overlay is on an object, the better chance you have to cleanly refocus to it in post. If the color overlay is dark, you are hitting the max “latitude” of the focus range.
Overall, we didn’t experience any problem. The system works accurately, which is detrimental to successful use of the camera because sometimes when you take the picture, the live-view-image on the LCD is completely out of focus!
Frame, Focus, Shoot
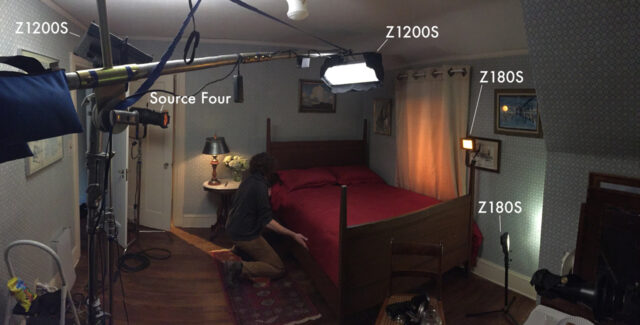
 For every picture we took, we first found the frame that we wanted, and then, using the focus assist system, confirmed that all our points of interest would be “re-focusable.” If we found that the framing could not offer the focus range that we needed then we would work backwards and make adjustments until we were able to harness the proper focus data.
Our camera settings were 320 ISO and 1/50th shutter. Anything over 320 ISO seemed to have considerable noise, especially in the shadows. Since our actors held still for the whole shoot, we could get a way with a slow shutter speed.
One aspect that surprised me was the camera’s ability to focus directly on the front element of the lens. You can put your finger on the lens of the camera and focus to it! We wanted to take advantage of this feature, so for one of the shots, I had our actress, June, place the tip of the knife directly on the lens (don’t worry we had a UV filter for protection).
* There is a button on the camera that you can push to enter an “infinity focus” mode, however I always found the images to be slightly soft in focus. I don’t have the camera in front of me anymore, but I do believe that this infinity focus would only work when the lens was set to its widest (or wider) focal length(s).
Lytro Raw Files
The ILLUM gives you two file types to choose from: Raw and XRaw. Lytro’s support page says the following about the difference,
“Lytro XRAW is identical to RAW, except your camera’s specific pairing & calibration data is added… If you want to provide someone else with a raw image that they can view in Lytro Desktop, you’ll want to give them an XRAW file, otherwise they will not be able to view your image in the highest image quality possible.”
Another important difference is that the XRaw file is a staggering 100Mb per photo, which is double the RAW size…a hefty 50MB. Since XRaw is twice the size, the camera has to buffer after you take the image. For the shots we were trying to capture, this wasn’t a big deal, but it could pose an issue if you were trying to take multiple photos in immediate secession.
File Workflow
We found it best to download the clips manually via your computer’s Finder window, just as you would for a 5D or a jump drive. If you import the photos via the Lytro Desktop App, the Desktop app creates a library that houses the photos. I wasn’t able to find a way to open this library through the computer’s Finder in order to access the individual photos. So, if you downloaded through the app and you needed to share one specific photo, you would need to export it out of the app…ugh. Additionally, what scares me about the library is if it goes corrupt, you essentially lock yourself out of all your photos. So downloading the photos manually gives a method to access and back up the files independently.
Each Lytro photo is accompanied by a grey scale depth map. It uses this depth map as the blue print for refocusing the image. Sometimes there are “glitches” in the photo’s depth map resulting in the inability to properly refocus. However, you can export and clean-up this depth map in photo editing software and then relink it to the photo. My next experimental project may involve editing these depth maps to see what strange/bizarre effects happen when you try to refocus. Something along the lines of “glitch art.”
Post Workflow Aimed Towards the Edit
Our director, Daniel Ryan, and editor, Laurence Bird, had the daunting task of reviewing the hundreds of photos we took (436 to be exact). After the first round of photos were selected, Daniel and Laurence exported these photos as normal jpegs and assembled them in the timeline to music. This was a rough cut used to gauge the order, pacing, and length of each picture as it would appear in the edit. This skeleton edit gave Daniel and Laurence a framework that would then help dictate the speed and length of each clip’s animation.
Exporting
When exporting the animation, you are given the choice of H.264 (in a couple different quality variants) or a PNG sequence. We chose PNG since it is a lossless compression. In a perfect world, we were hoping to export the animation at the full picture resolution 2022 x 1404px and then resize and/or reposition during the edit. However, the Desktop app requires that you export at either 1080p or 720p. This means if you tried to export the entire image without cropping, then your horizontal pixels are limited to 1555px. Not ideal, but you have to work with what you’re given sometimes. So, before we animated any image, we first had to find the 16:9 framing that we were happy with…then we animated and finally exported.
Is the Lytro right for you?
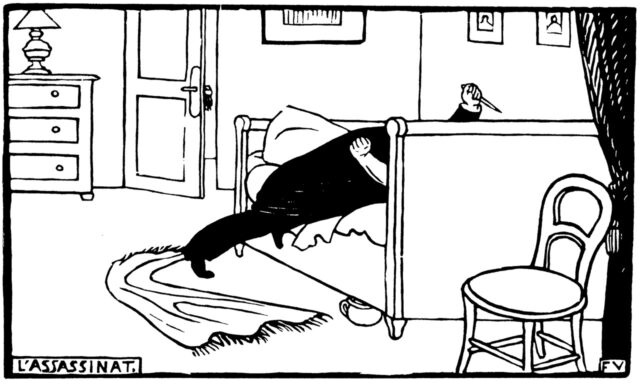
This sounds like a question you’d find on a medical pamphlet at a doctor’s office. As with any question of this nature, its more of a reflective exercise. This aesthetic worked perfectly for our application because the music video’s story line was inspired and derived from a woodcut illustration called L’Assassinat by Felix Vallotton. So we essentially set out to make a “living picture”. A lot of people thought we shot this piece with a high-speed camera. It would have taken a lot more effort, gear, and money to have done this with a high-speed camera.
It is my impression that photo/video market is a little confused about what the Lytro cameras should be used for. No one denies that Lytro’s technology is awesome (and mind boggling), but it often gets pigeon-holed as a gimmick for the photo/video professional. In other words, it is fun to play/experiment with, but when it comes down to using it professionally for light field video, it seems to be accompanied with a big question mark and shrug of the shoulders.
I’m curious to see where this tech ends up. It’s already finding its way into the mainstream via cell phones which seems like a fit for the tech…that is people, who don’t know how to use a camera can let the phone do the work for them.
Lytro’s tech has improved quickly. Their first camera introduced in 2011 only had a 11MP sensor. Four years later they have nearly 4x better resolution. So will this end up in professional photo/video cameras? I think so, its just a matter of time for tech to improve.
Check out the more in-depth behind-the-scenes article on O’Connor Hartnetts blog.
