OSEE Megamon 15 Review – Great 1000nits Portable Monitor with few Shortcomings
March 20th, 20234
The Megamon 15 monitor from OSEE is a 15″ portable production monitor that is small and light enough to bring with you on almost any set. It makes life easier with its 1000nit brightness, so you’re not relying on a tiny built-in camera monitor. The colors look pretty accurate and can also be calibrated, and the included bag/sun hood makes this monitor a great package at $899. Let’s see what the strengths and weaknesses are.
Megamon 15 HDR Production Monitor with V-Mount Kit
all prices excluding sales tax/VAT
NOTE: This monitor is an updated version of the original Megamon 15 Monitor that had 800nits, which you can read about here.
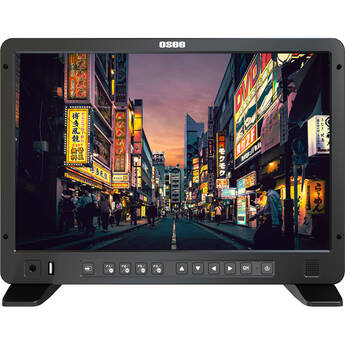
A while back we reviewed the OSEE LCM215-HDR+ 21.5-inch production monitor, and now it was the time to take a close look at the Megamon 15. This monitor uses an LED-backlit 15.4” 1920×1200 Full HD IPS panel with a 1450:1 contrast ratio and a 178-degree viewing angle. You can compare the screen size to most laptop screens, but the bezels are much beefier (the monitor weighs 4kg or 9 lbs) to protect the monitor from damage. Even set at the highest brightness, the colors and contrast look pretty consistent.
This is a 10-bit panel (8+2 FRC) that covers 100% of the Rec709 color gamut. You can color calibrate the monitor using the newly announced OSEE calibrator software (Windows only for now), a separately available USB cable and an X-Rite calibration probe.
Directing Color

Filmmaker, editor and colorist Ollie Kenchington explores how visual language cues, color theory and even color grading techniques can be used throughout the filmmaking process to create a “look” and to enhance storytelling.
Connecting your camera

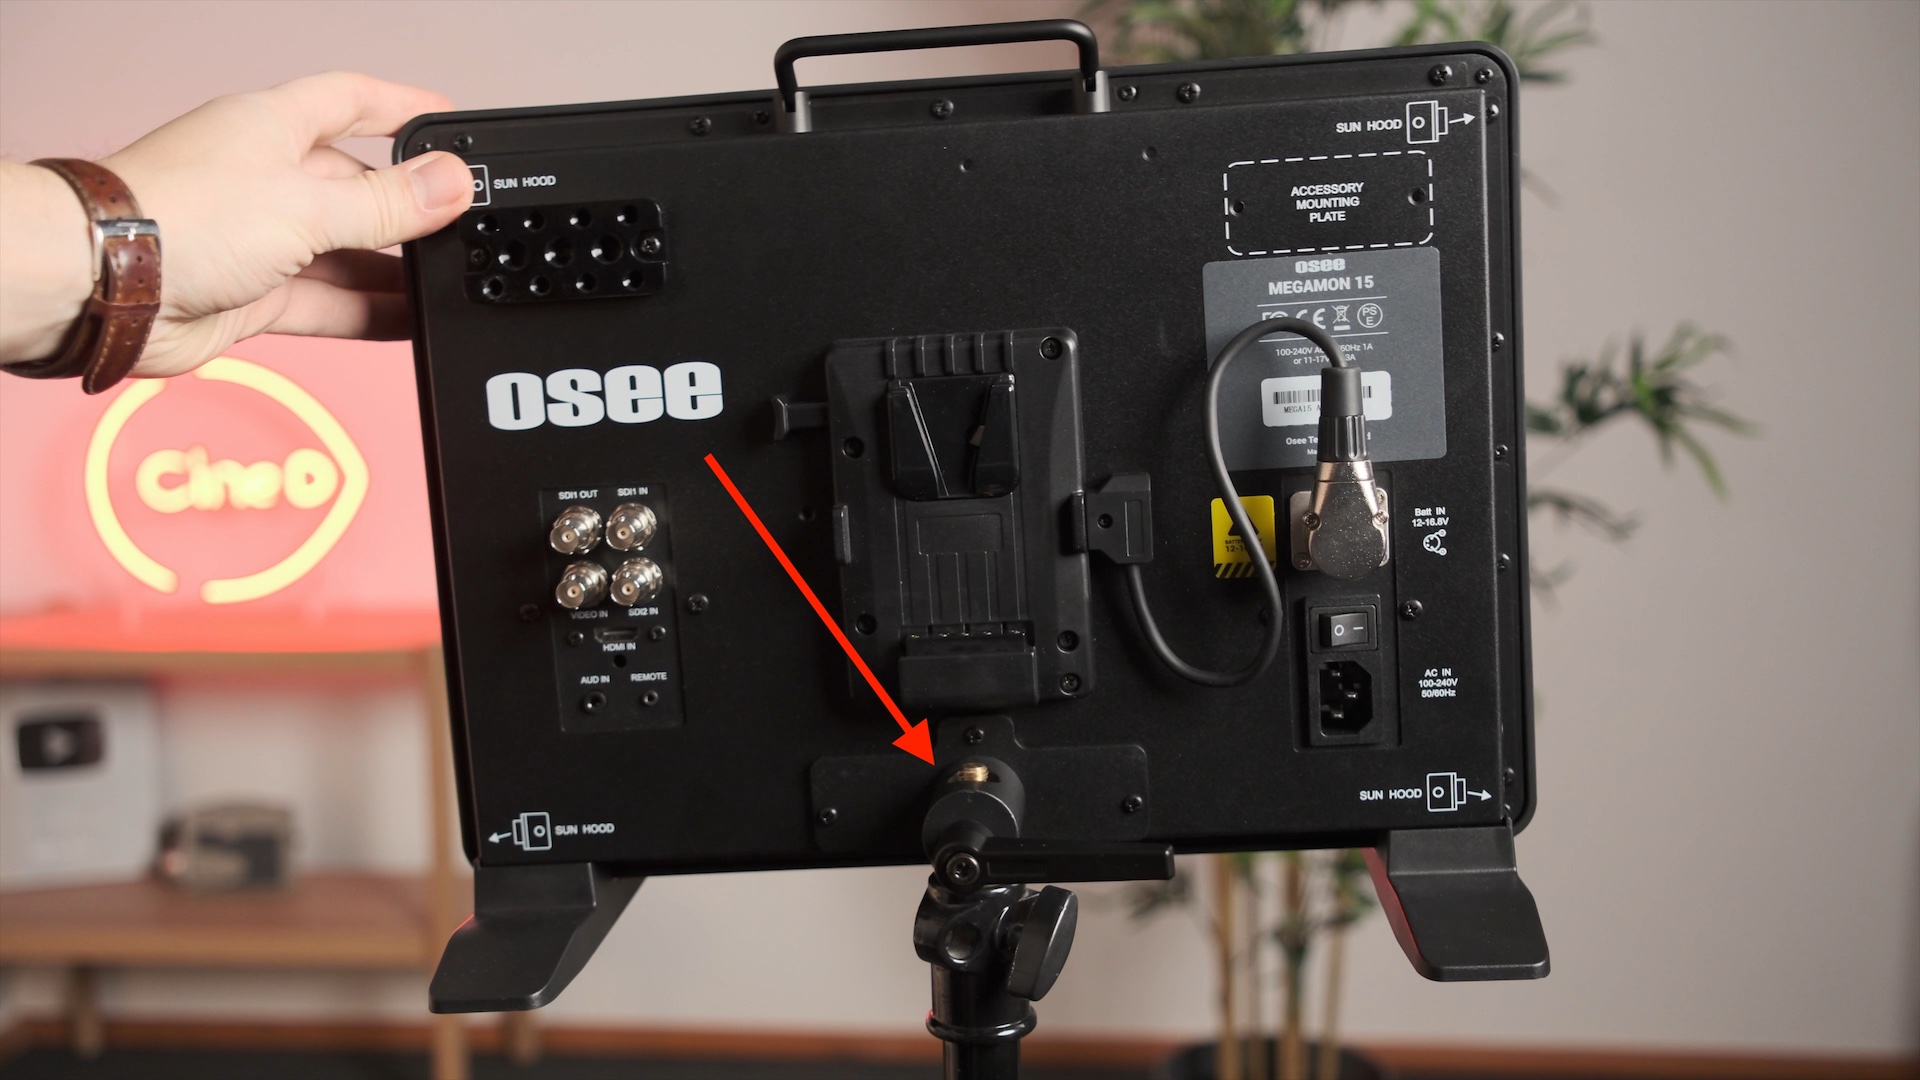
You connect your camera to the back of the monitor using 2x 3G-SDI Inputs or 1 HDMI Input. Unfortunately, you see two inputs side-by-side or picture-in-picture – you only see each individual input full screen.
There is also 1 SDI Output if you would like to send the camera signal to another device, but unfortunately, it cannot cross-convert the image from HDMI to SDI.
There is also an old-school “VIDEO-IN” BNC input, a 3.5mm “Audio In” jack, and a 2.5mm “remote” port.
Powering the monitor

You can power the monitor from an AC wall outlet or a battery via the 4-pin XLR DC-Input. The monitor ships with either a V-Mount or Gold-mount battery plate that attaches via a detachable P-Tap to a 4-pin XLR cable. If your cable breaks, it can easily be replaced.
Daylight viewable
The Megamon 15 has a maximum brightness of 1000nits, which is usable in many scenarios even without the included sun shade. Of course, adding a protective plexiglass in front of the panel makes it more reflective and harder to see your image in daylight.
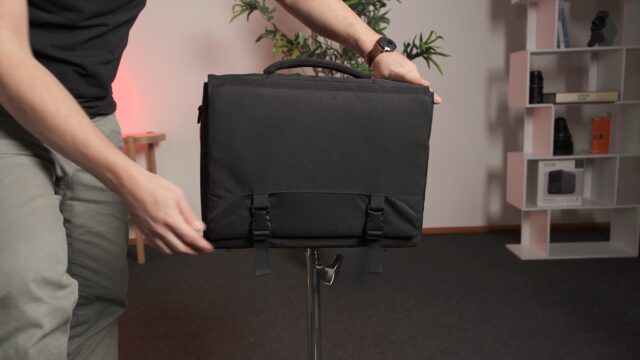
The transport case keeps the monitor safe and can still be mounted on a light stand. Image credit: CineD 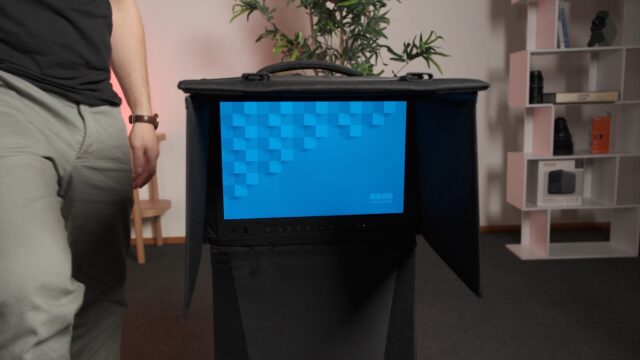
Sun shade deployed with bottom flag open. Image credit: CineD 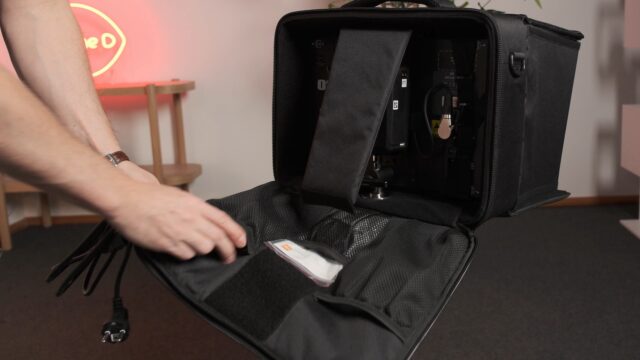
Storage pouches on the back of the case. Image credit: CineD 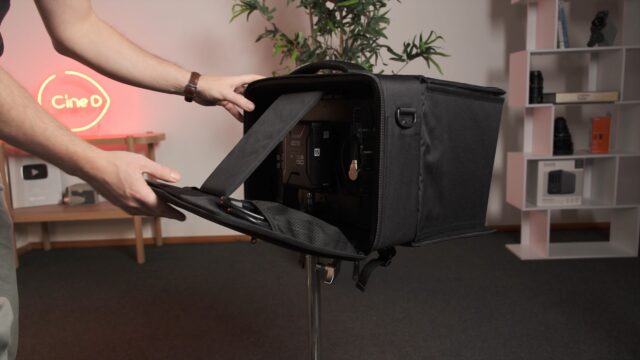
The transport case doubles as a sun shade and storage on the back. Image credit: CineD
Also included is a very convenient protection bag that doubles as a handy sun shade when you’re using the monitor in a bright environment. There is a very clever metal pass-through on the bottom of the bag so you can place the monitor on a light stand, even while it’s inside the bag. You can even store your power and video cables in the pouches on the back. This accessory has been well thought out, and it’s great that it comes with the monitor.
Light stand mount issues
Unfortunately, the included light stand mount on the back of the monitor loosens repeatedly after some use. I tried tightening the screws twice, but after you have moved the monitor a few times, those screws loosen relatively quickly. This appears to be the same issue that my colleague Jeff ran into while he reviewed the larger 21-inch OSEE LCM215 monitor – you can read/watch about his experience in his review.
Signal limitations
One problem I ran into while reviewing the OSEE Megamon 15 is that it only works with HD or 2K signals. When you connect a camera that outputs a 4K signal, nothing happens.

So you either use a camera that can output an HD or 2K signal, or you use a converter box or wireless video system that can convert your signal from 4K to HD. The SDI port can natively process 1080p signals at up to 60fps, and the HDMI port can process signals up to 1080p / 30fps.
In my opinion, this is the biggest downside of this monitor.
Menu operation

You control the monitor with 11 buttons on the front:
- Input button to switch between SDI and HDMI
- 4 Function/User buttons
- 4 directional buttons to navigate the menu
- OK / Main menu button
- Power on/off button
Navigating the menus feels confusing with the directional buttons. The up and down buttons access a quick menu to change the backlight, sharpness, contrast and more. The menus themselves can get confusing, and you sometimes end up using the “back” arrow button instead of the “OK” button, only to notice that the changes you made were not saved.
Configurable function buttons

The Function/User buttons are a bit confusing at first. Here’s how they work:
The F1-F4 buttons can be configured with any of the following tools:
- Waveform – I wish it could go full screen with more value labels
- Histogram
- Vectorscope
- False Color
- Focus Assist
- Peaking
- Zebra
- Anamorphic De-squeeze (0.75x, 1x, 1.33x, 1.5x, 1.66x, 1.8x, 2x, 2x MAG)
- LUT
- Markers
- Audio meters

In the menu, you can change the size and position of most tools and configure all the tools to your specifications. One tool I am missing on this monitor is Focus magnification, which can hopefully be added in a future firmware update.
Powerful user buttons

When you long-press any of the Function buttons, you can select one of 4 available user presets. A preset is a monitor profile that saves your video input, functions, and settings.
You can, for example, have a USER 1 set up with aspect ratio markers, waveform, and false color programmed on a function button. USER 2 can be set up for pulling focus with focus assist, peaking, mono, etc. You simply have to long-press on one of the user buttons and the monitor is set up.
Cooling and mounting features
The Megamon 15 is passively cooled so there are no noisy fans. Hot air simply comes out through vents on the top of the monitor housing.

Also on the back of the monitor are two mounting positions for the included accessory mounting plate which you can use to mount components like wireless video systems. On the bottom of the housing are two openings to attach the included desktop stand feet, and there is also the aforementioned light stand mount included with the monitor.

There are mounting holes for a VESA mount, which I highly recommend you use. There are also alternative mounting holes for the battery plate when you attach the VESA mount.
Price and competition
The OSEE Megamon 15 retails for $899. and therefore lands in the budget category, compared to the higher-end alternatives from SmallHD, TV Logic, or Flanders. There are not many other products to compete with at this price and size of the monitor, but you have to compromise on ease of operation and input signal flexibility.

What is included in the package:
- Megamon 15 Monitor
- Portable Bag
- V-mount Battery Plate
- Light Stand Adapter
- Accessory Cheese Plate
- Desktop Stand Feet
- Power Cable
Conclusion
The Megamon 15 is a very solid monitor to have with you on set. It’s also nice to use it as a small reference monitor on your editing desk (as long as you feed it the correct signal).
The build quality is also very solid, so if you know how to color manage and down-convert your camera signals, then this monitor can last you a long time.
For more information visit OSEE’s website.
Have you used OSEE monitors on set or while editing? Which production monitor do you currently use? Share your experience and opinion in the comment section below!
all prices excluding sales tax/VAT
You may also like ...


Most recent CineD Videos


Megamon 15 HDR Production Monitor with V-Mount Kit
all prices excluding sales tax/VAT


