Portkeys recently released a lightweight and very affordable 5″ on-camera monitor: the PT5. With a maximum brightness of 500 nits only, I was curious to see how this HDMI-only monitor performs. Here are my findings.
PT5 5" 4K HDMI Touchscreen Monitor with 3D LUT Support
all prices excluding sales tax/VAT
Disclaimer: As usual, let me first say that I am not a Portkeys Ambassador. Like every other article on CineD, Portkeys, or any other brand, did not pay us to write this article. However, the company sent us the product to review for free. This review is my unbiased opinion as Portkeys did not modify, influence, or give input about the article before its publication.
Who is Portkeys?
If you’re a regular CineD reader, you’ve heard us talk and write about Portkeys – a Chinese company specialized in creating monitors and viewfinders. Indeed, we’ve reported numerous times about their products that feature an incredible price/feature ratio, including their latest Portkeys BM5 III WR that can control the RED Komodo or the Portkeys LH5P that I reviewed earlier this year.
This new Portkeys PT5 on-camera monitor came out in July 2021 and is the company’s most affordable monitor to date. With a $169/€150 price point, I was skeptical at first regarding what this monitor has to offer. However, I soon realized I had nothing to worry about.
Directing Color

Filmmaker, editor and colorist Ollie Kenchington explores how visual language cues, color theory and even color grading techniques can be used throughout the filmmaking process to create a “look” and to enhance storytelling.

Packaging and unboxing
The Portkeys PT5 comes in a small box. Open it, and inside you’ll find a Pelican-style hard case.
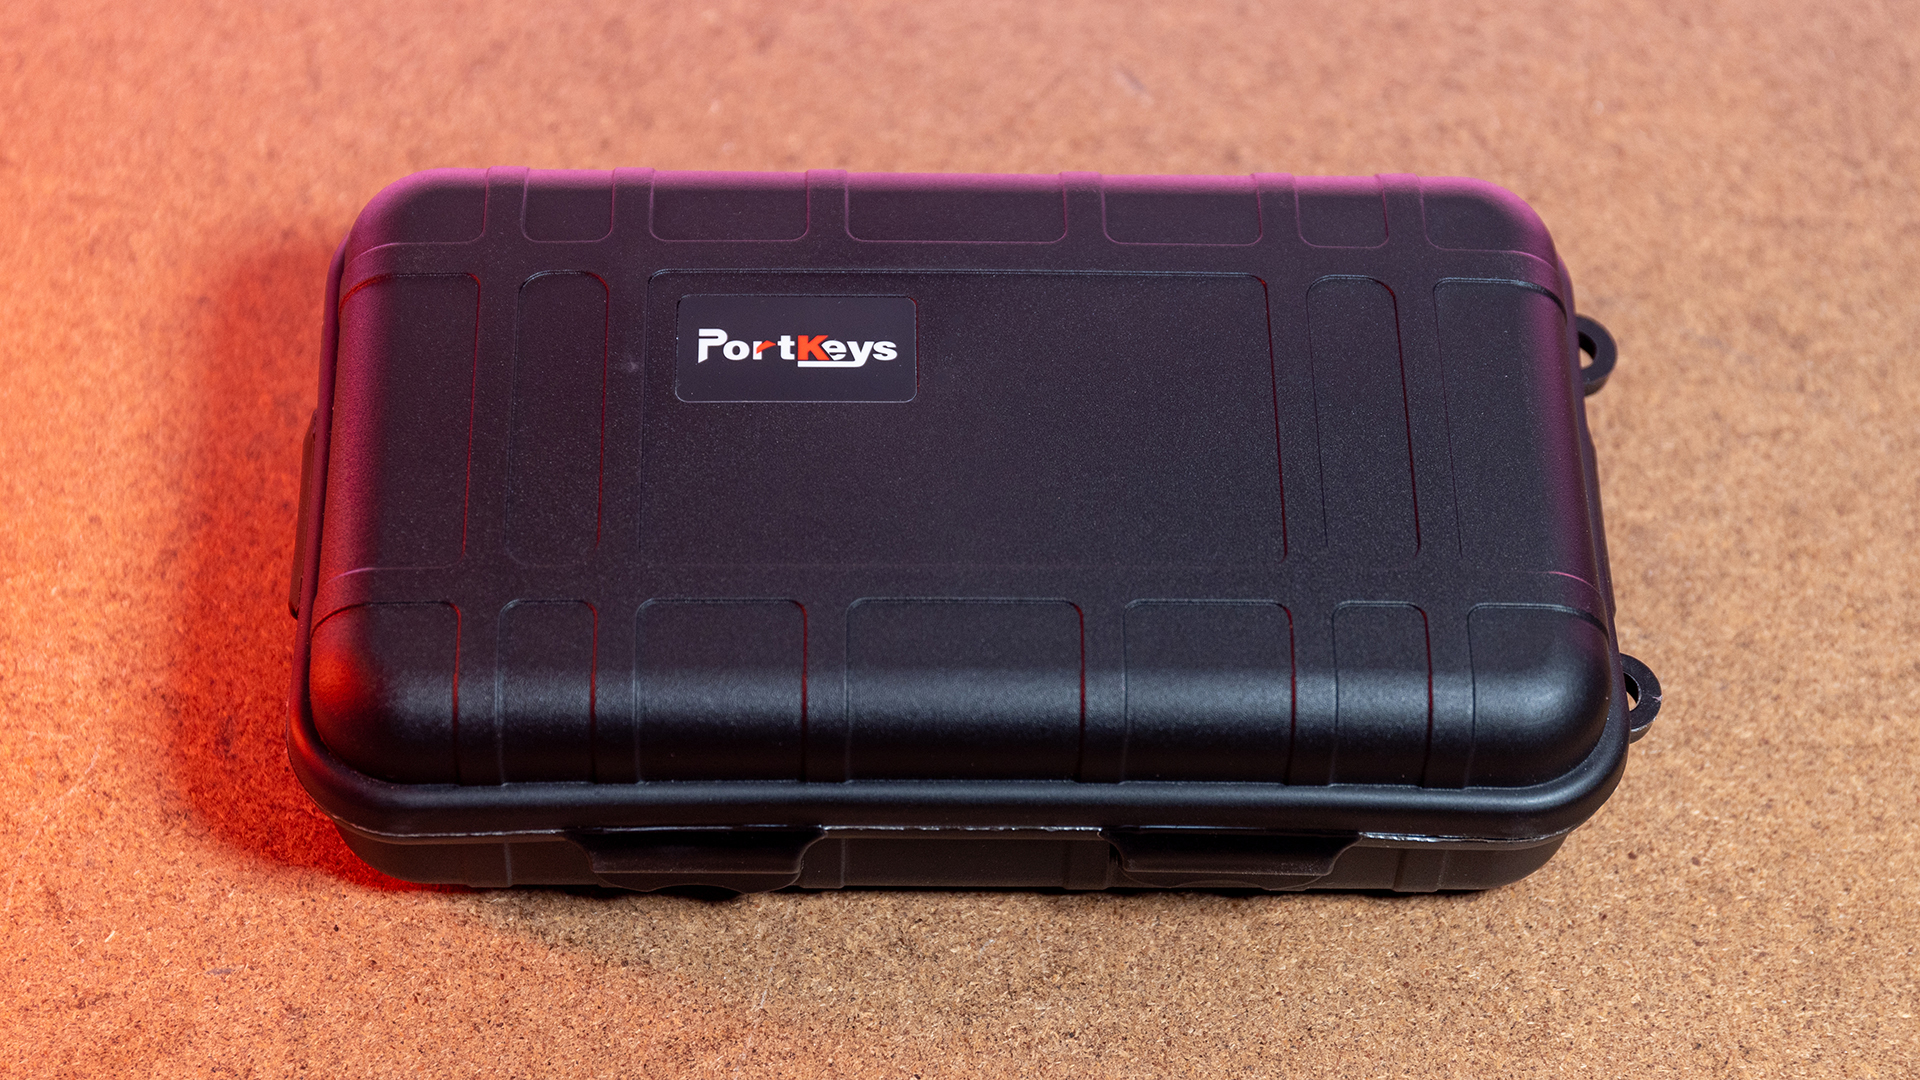
This type of case is similar to most – if not all – Portkeys monitors. However, I was pleased to see that this case is more prominent than previous cases.

In the photo above, you can see that the PT5’s case is bigger than the one included with the Portkeys BM5 III WR (pictured) or the LH5P. That was one of the main complaints I had with these previous small cases. Indeed, you could only store the monitor inside, which is a bummer, as you’ll always want to carry at least video cables or some accessories along with your monitor.
I’m glad to see that Portkeys listened, and you can now store the PT5 with all its accessories inside the case as well – good job!
Included accessories
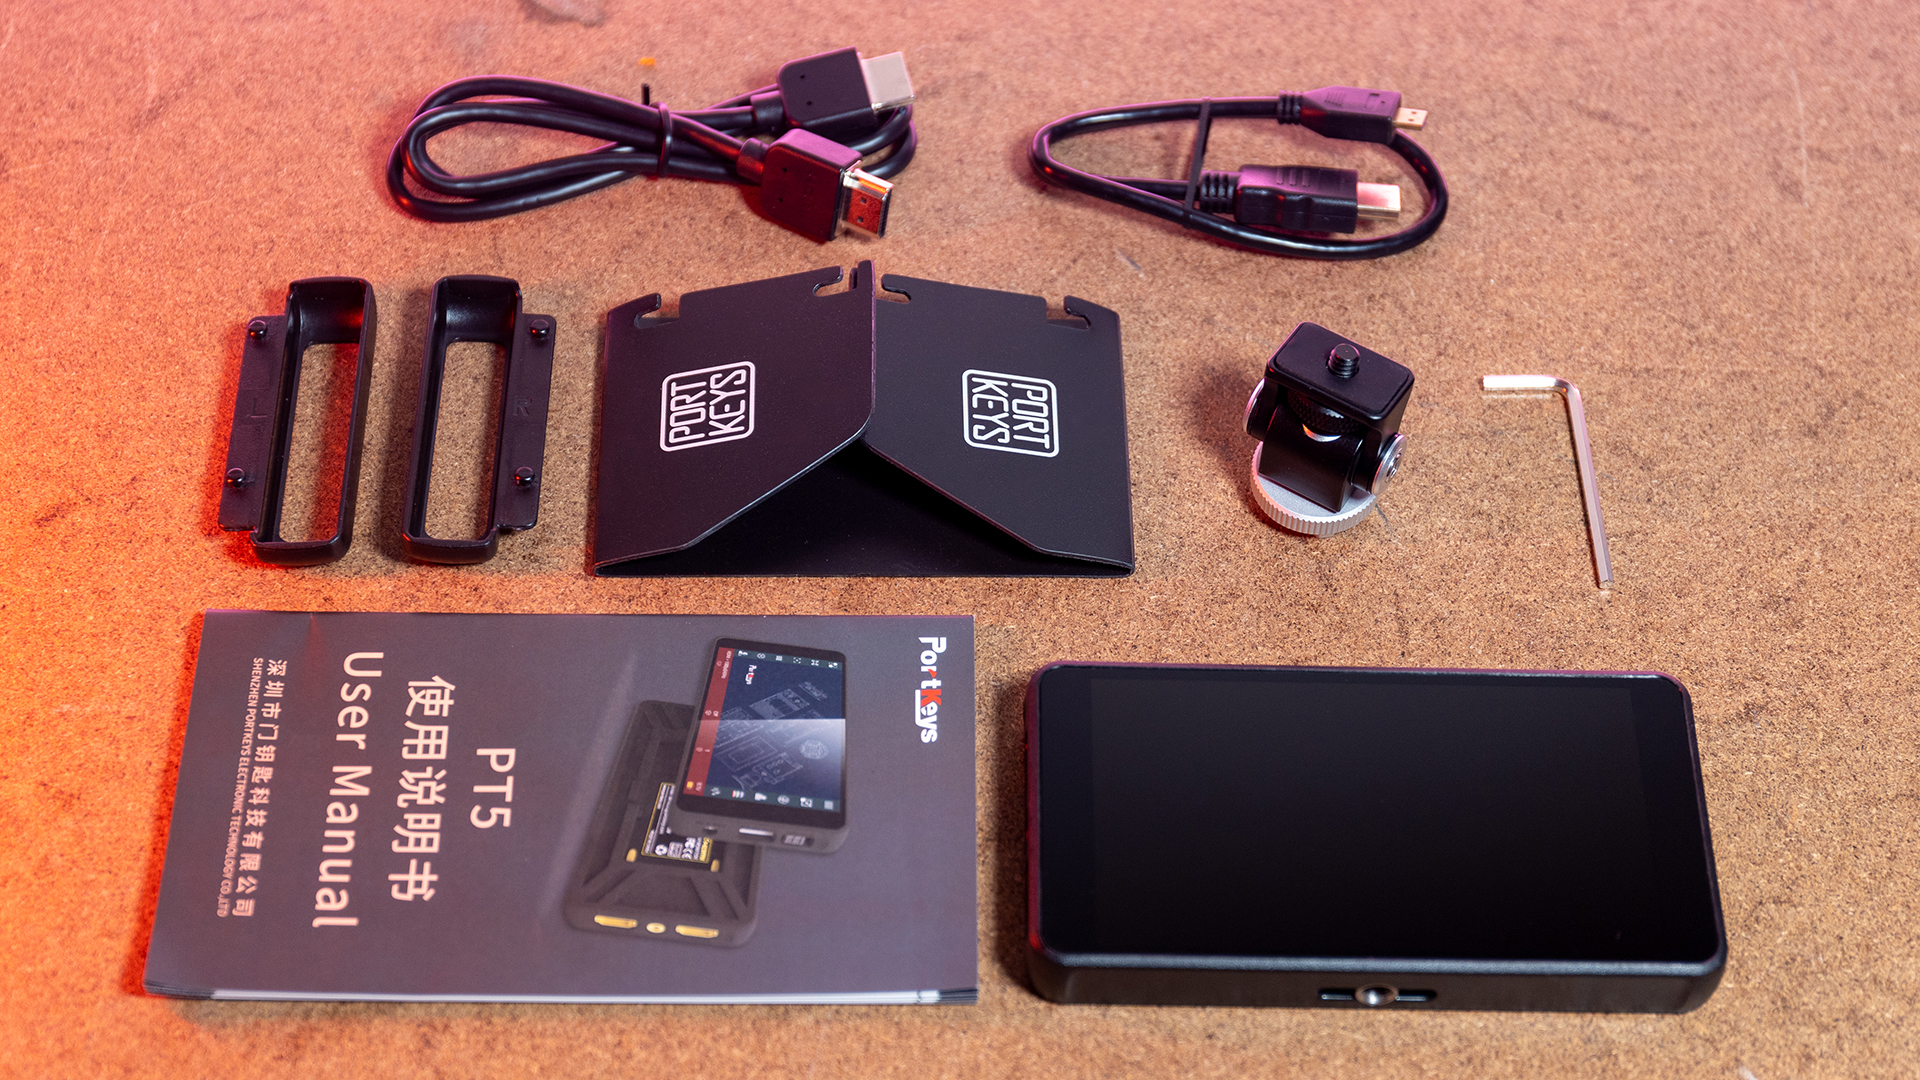
As a filmmaker, I usually stand by the saying, “you get what you pay for.” So I was pretty surprised with the number of included accessories. Inside the case, you’ll find:
- The monitor
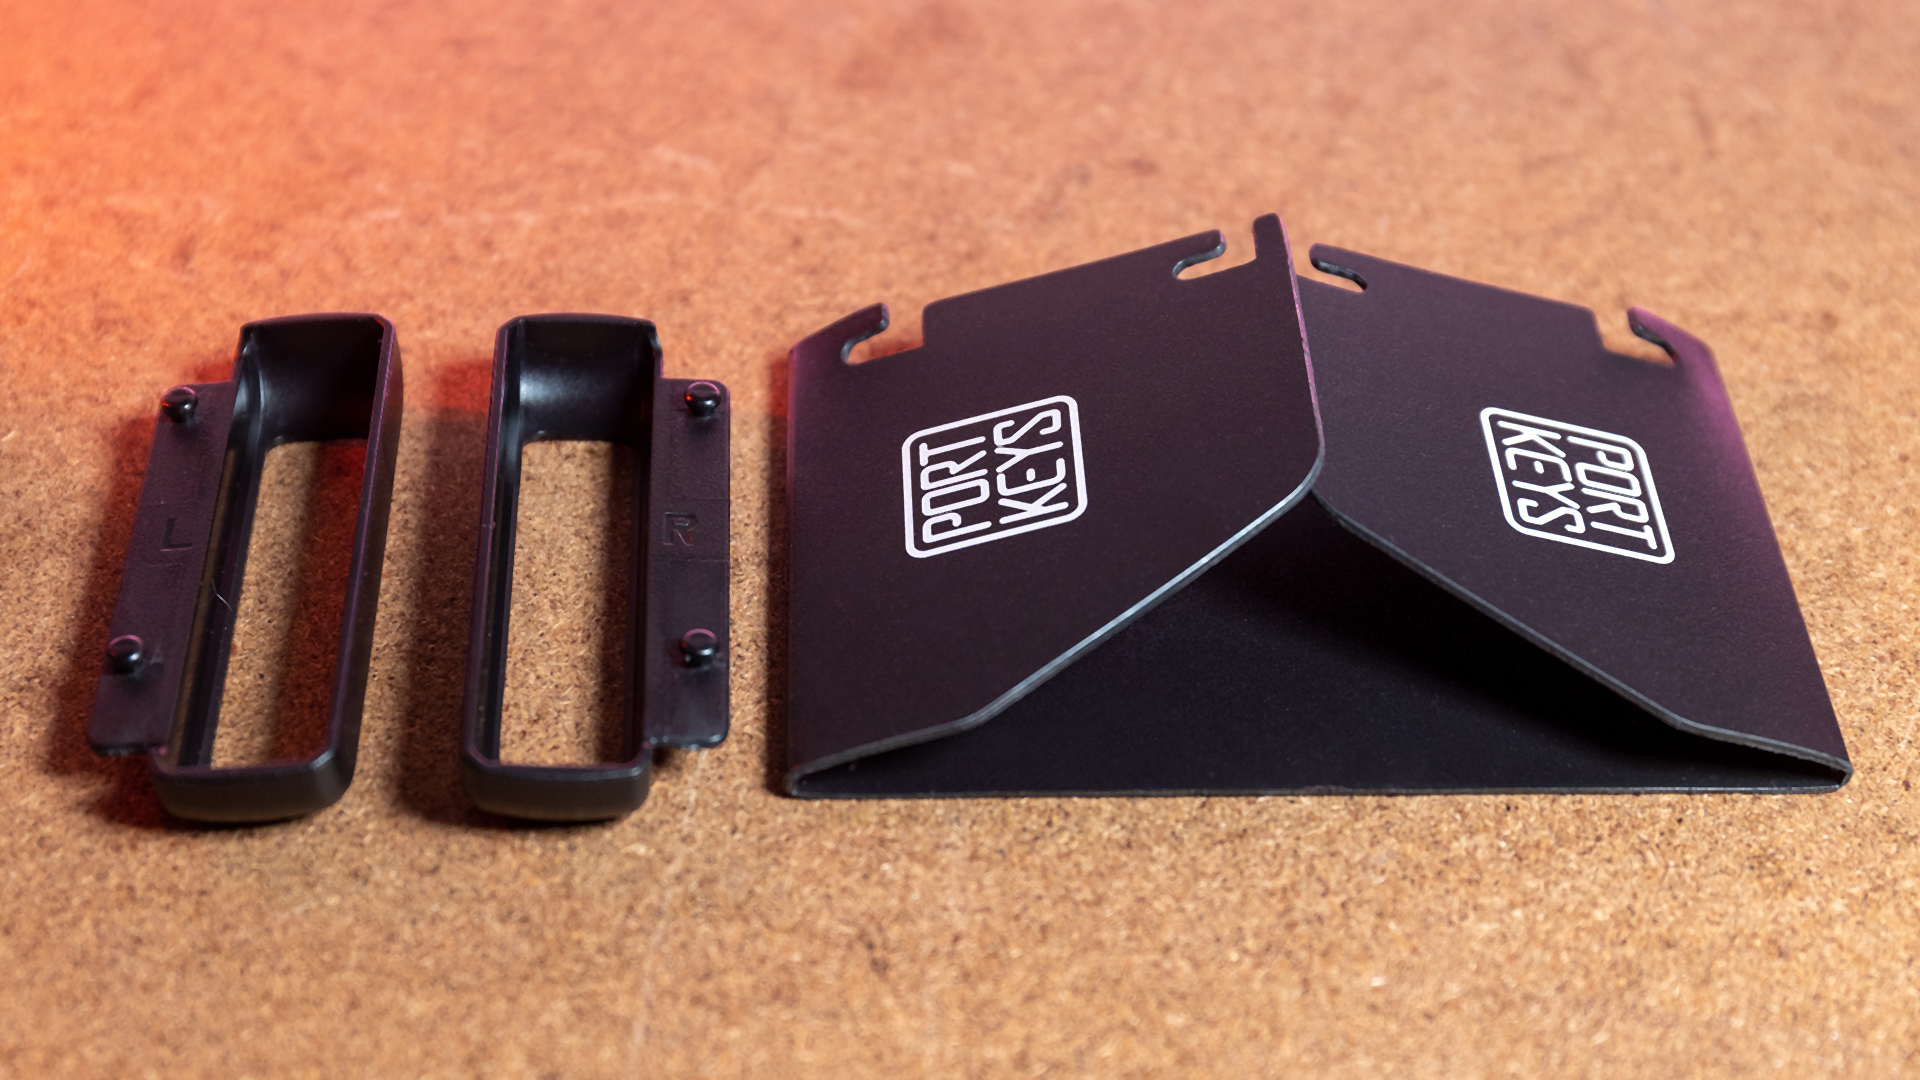
- A foldable sun hood
- Two sun hood brackets
- One full-size HDMI to full-size HDMI cable
- One micro-HDMI to full-size HDMI cable
- A monitor mount with a hex key
- A printed user manual
That’s many included accessories for an entry-level/budget monitor and even more than some previous and more expensive options Portkeys has to offer.

The monitor mount is decently made; it’s mainly made out of aluminum.
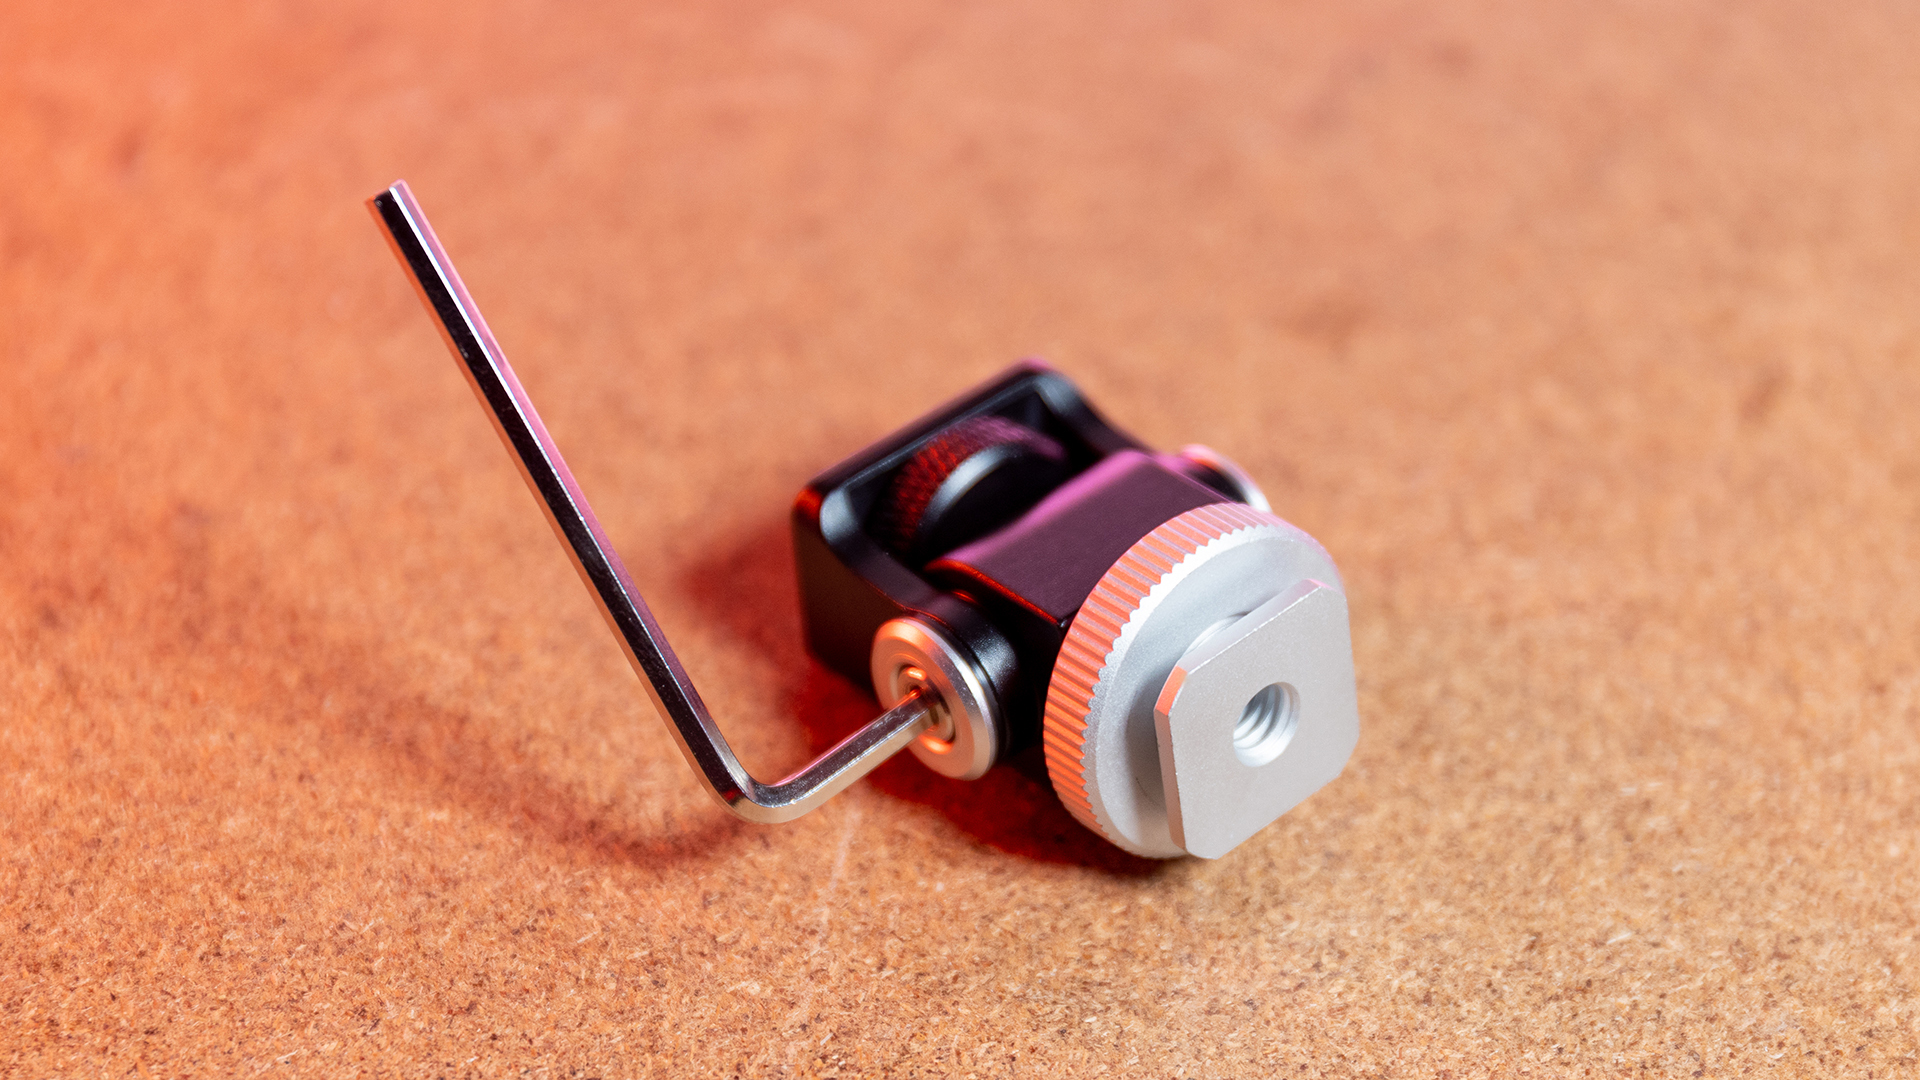
You’ll find a cold-shoe mount at the bottom of the monitor mount with a 1/4 “-20 threaded hole. The hex key is used to adjust the tension/friction of the tilt axis.
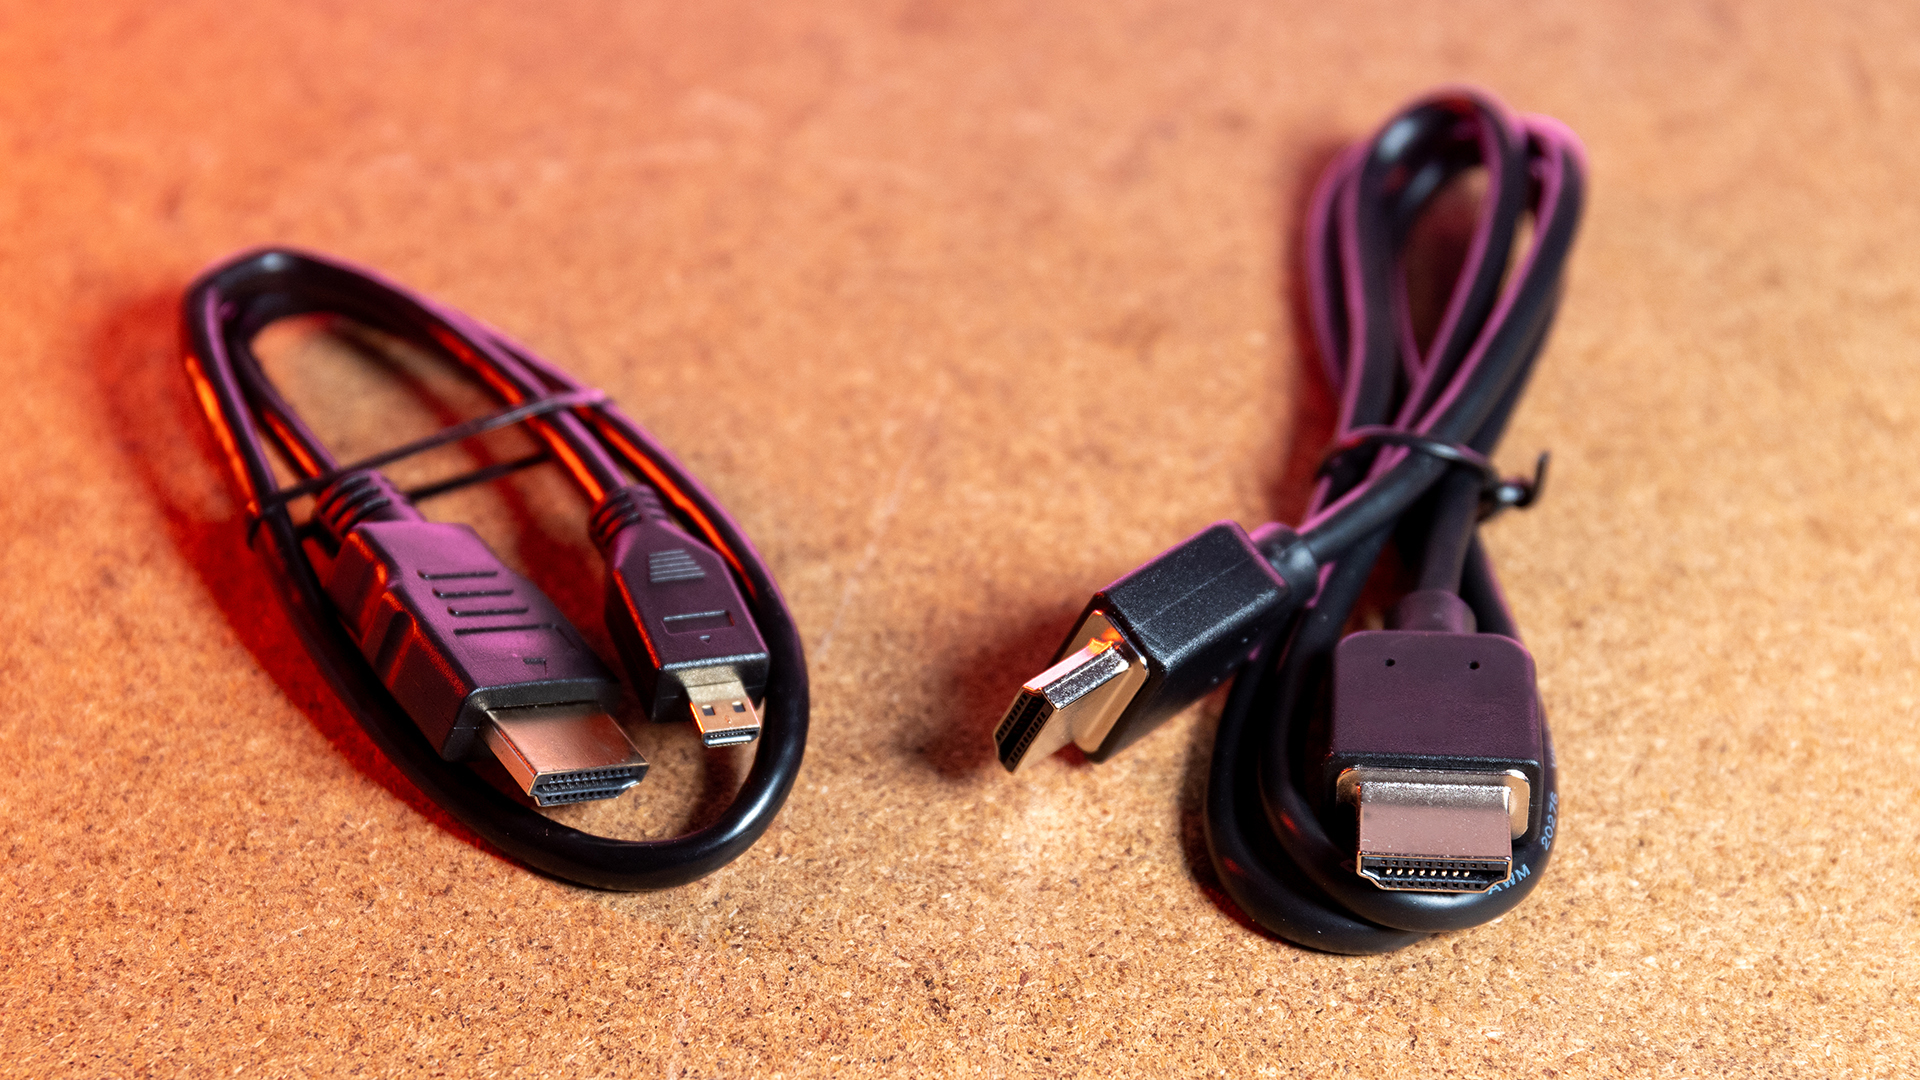
The HDMI cables are pretty thick, and while I prefer slim cables, they are of good quality, especially the full-size to full-size HDMI cable.
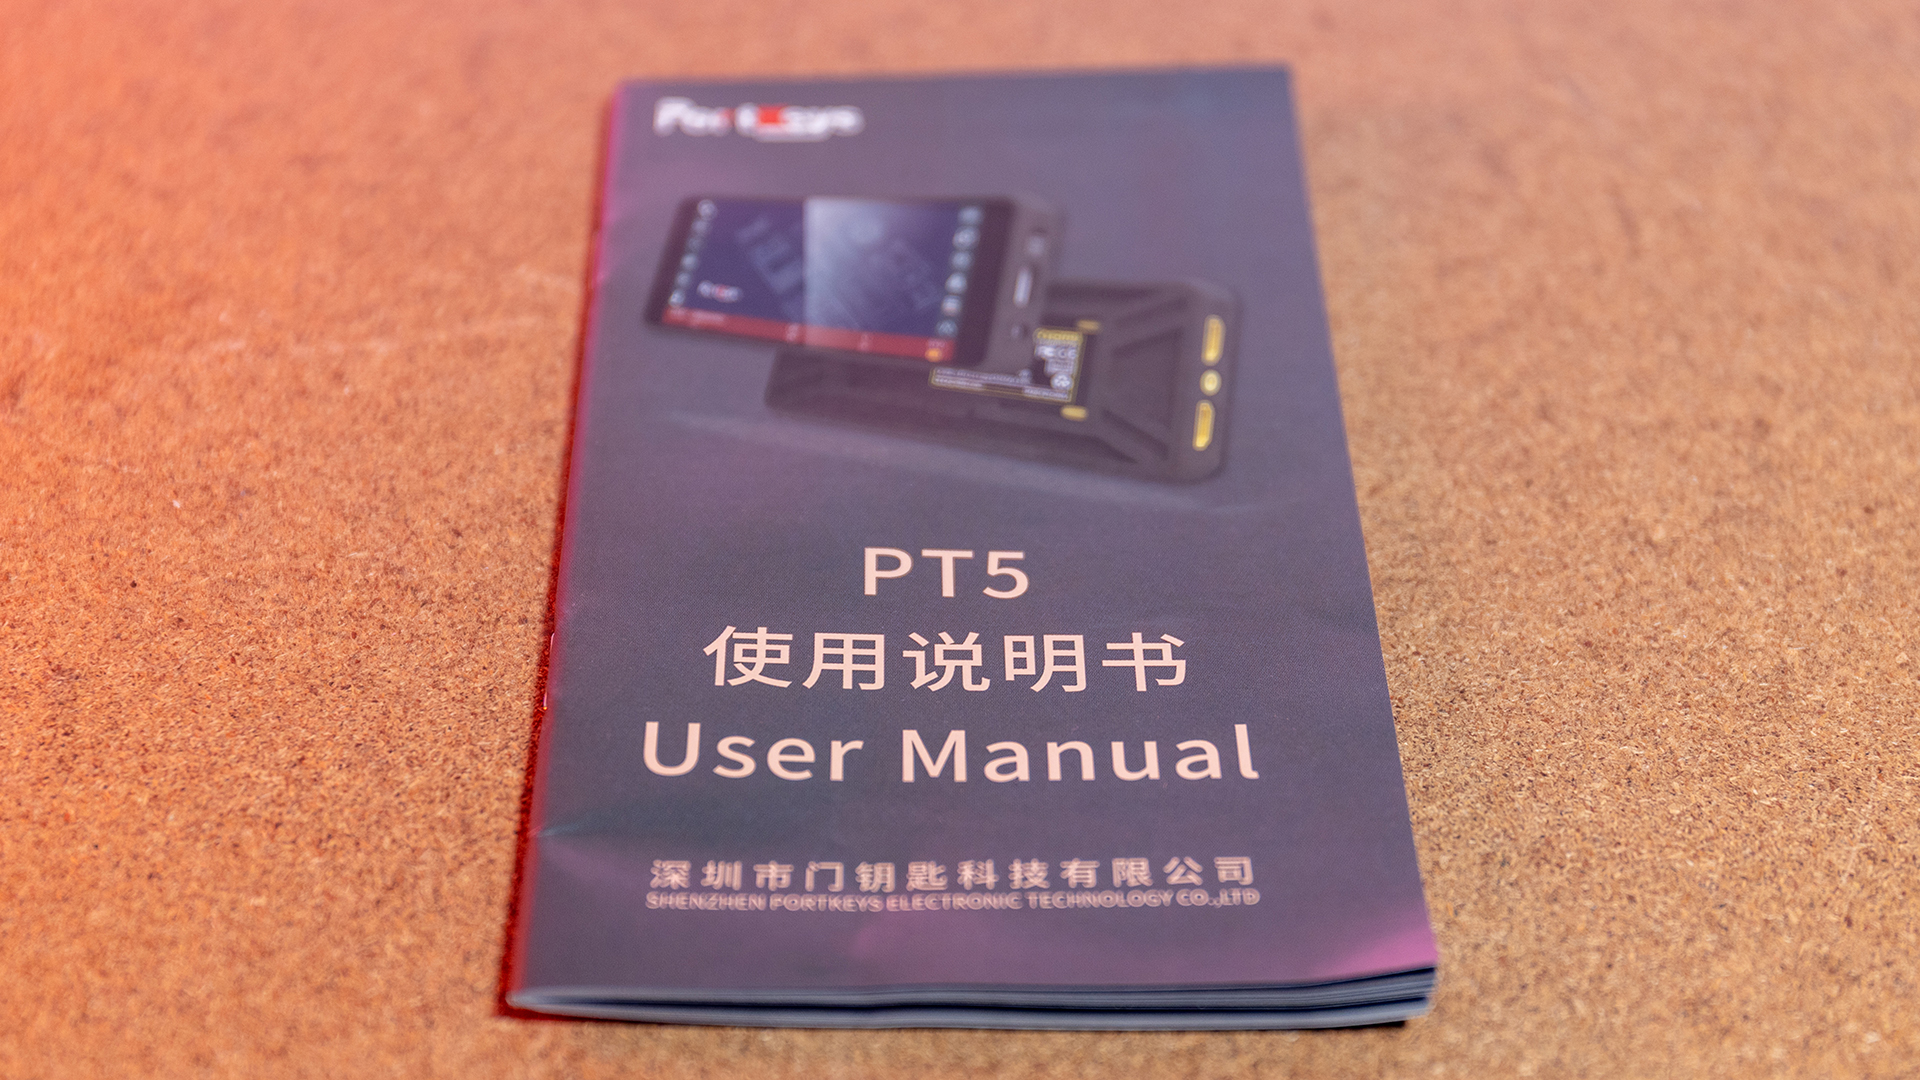
I was also pleased to find a printed user manual (finally!) with everything you need to know to get started and navigate through the menus.
Sun hood
The Portkeys PT5 has a glossy and quite reflective screen, so the included sun hood is a must if you plan on shooting outside (more on that later.)
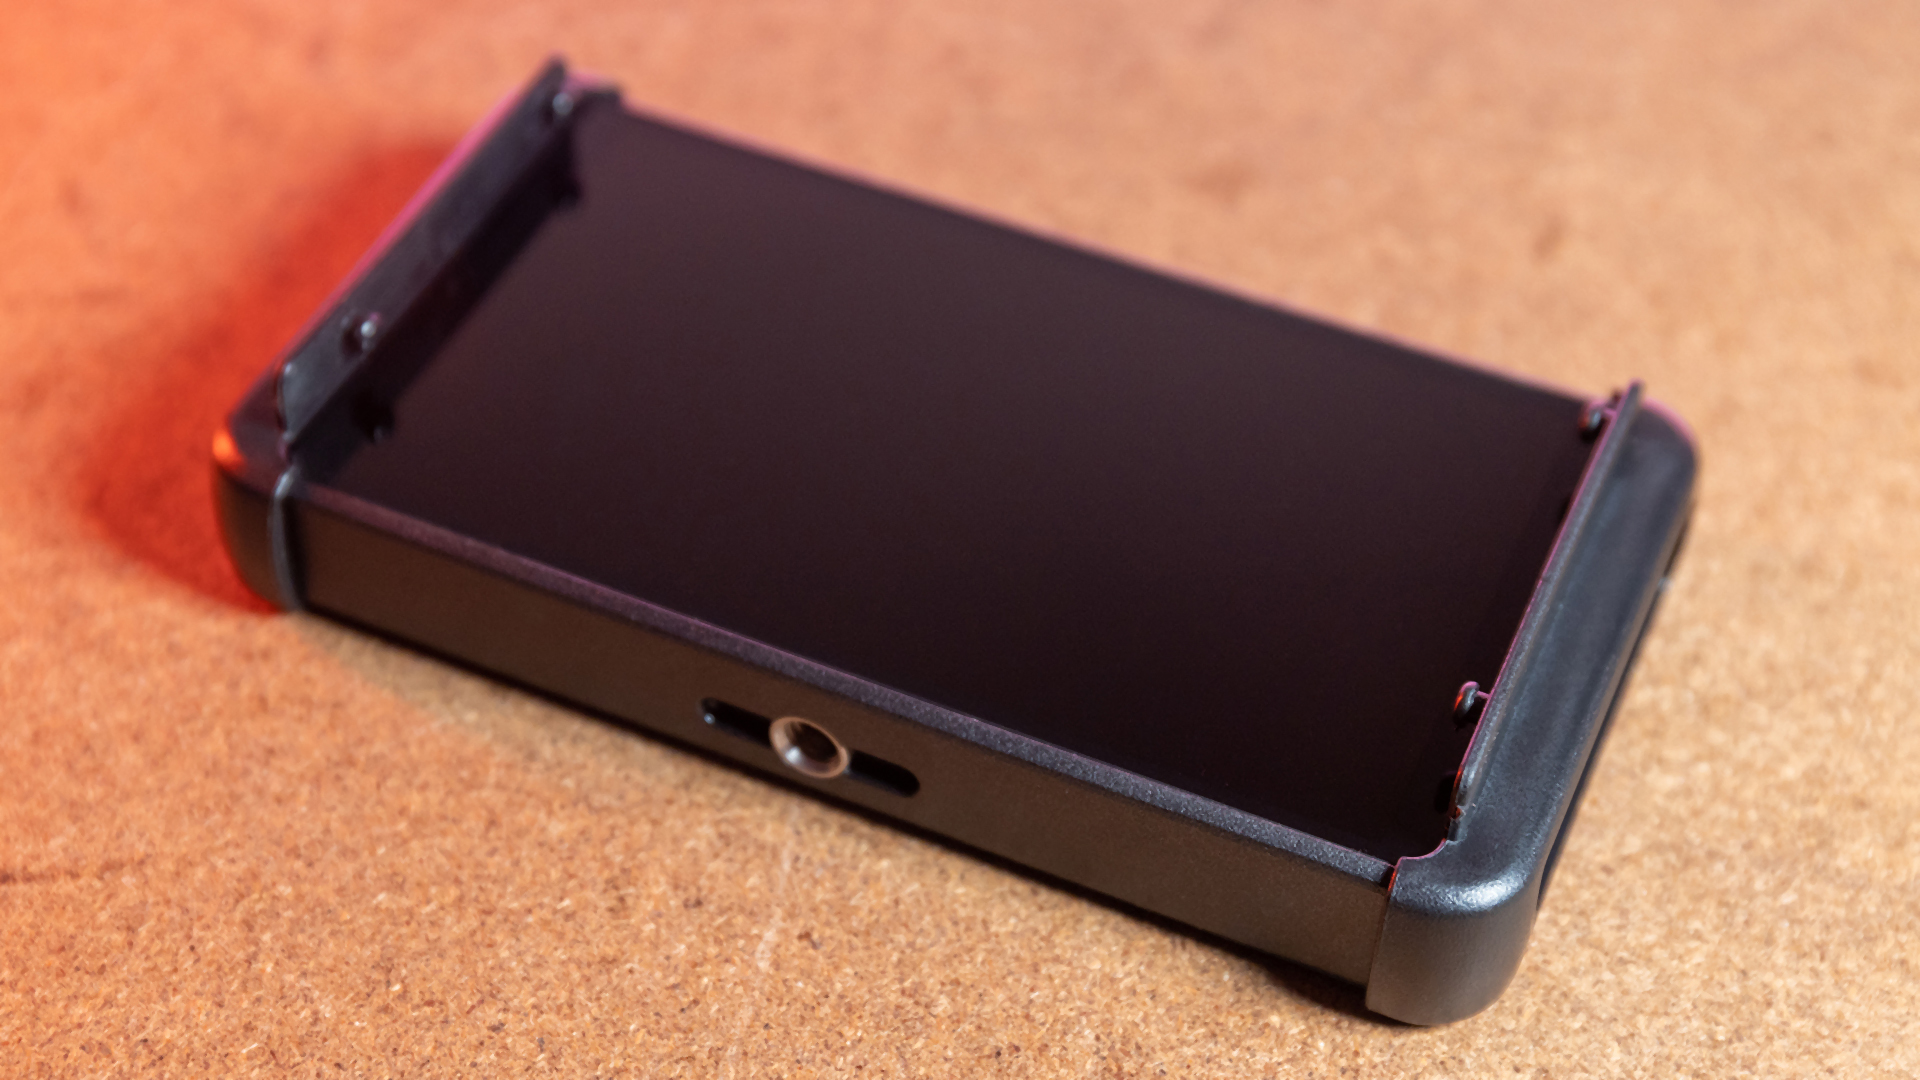
To mount it, slide the sun hood brackets on the left and right sides of the monitor.
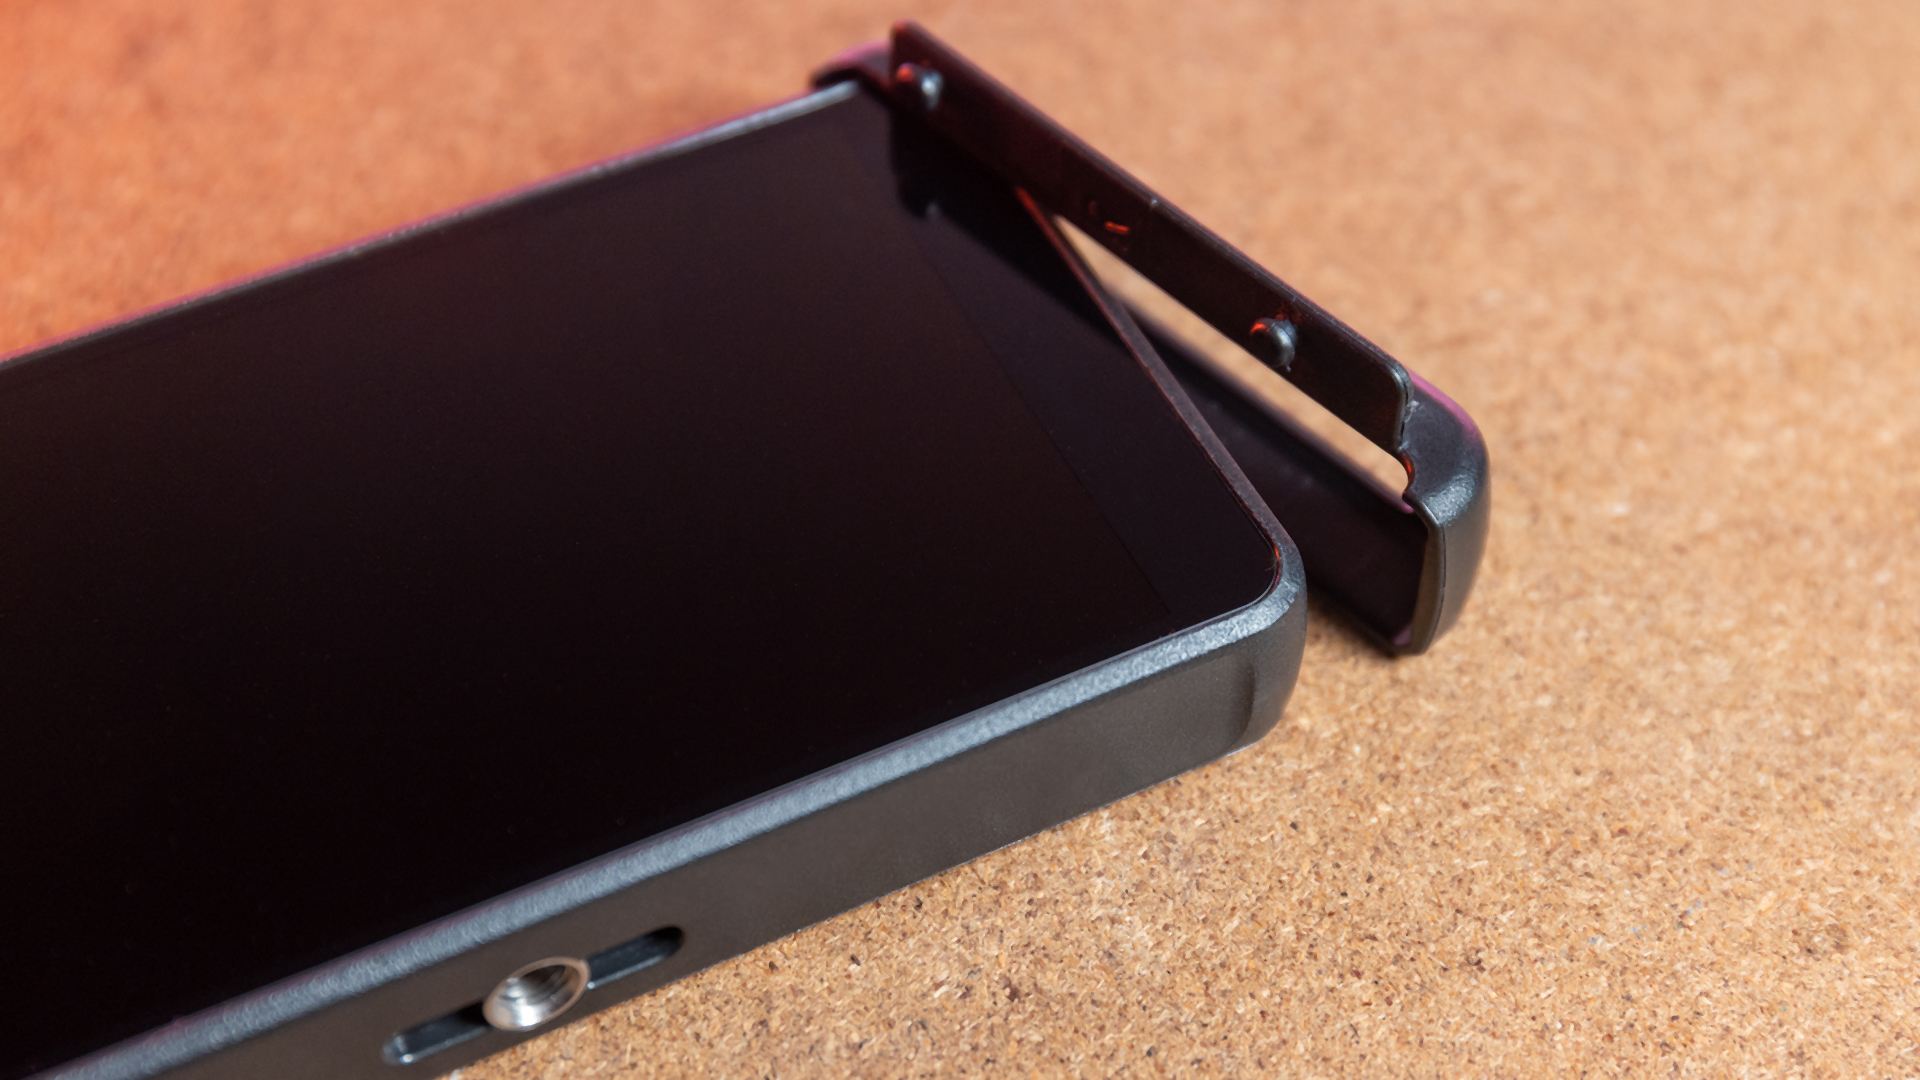
There are tiny grooves on the monitor itself, so both frames stay in place firmly.
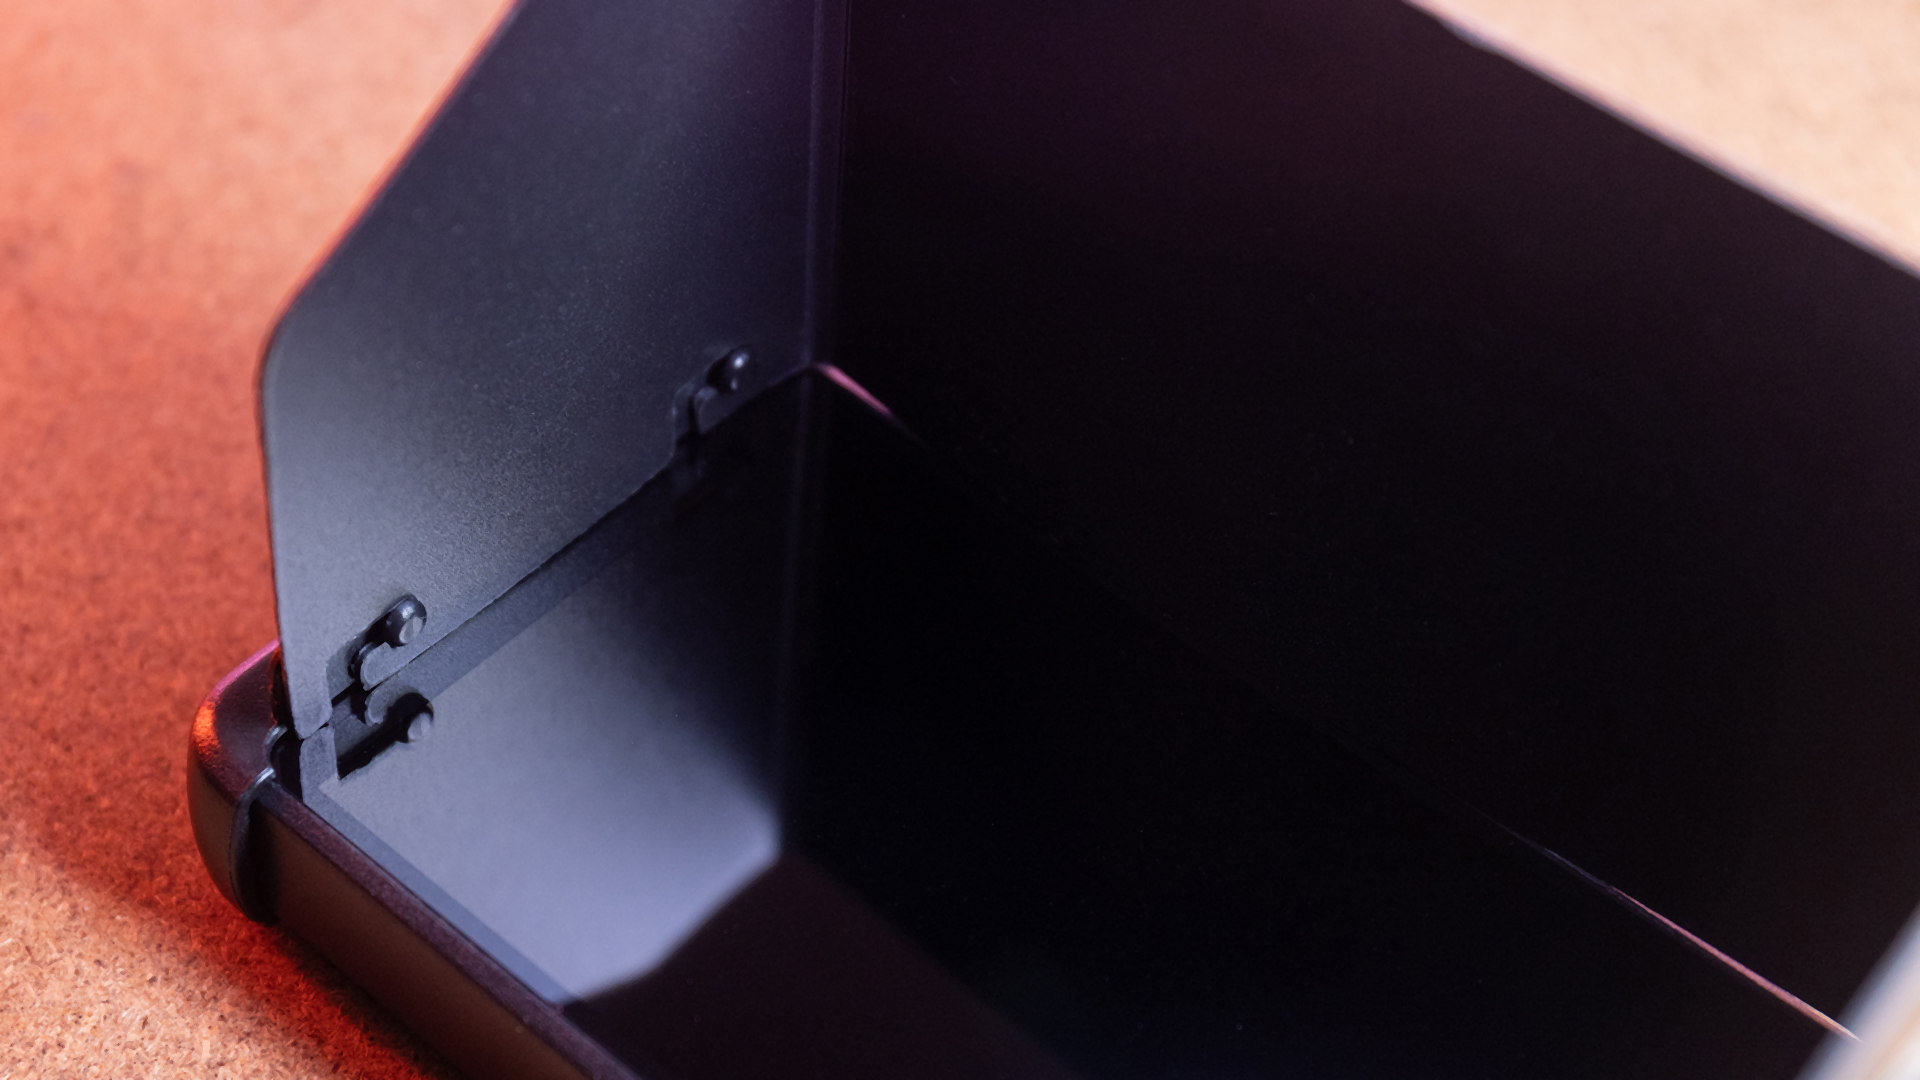
Then, you can clip the sun hood in the brackets, and you’re ready to go. The quality of this sun hood is okay, but I’m not sure it will last very long, and you’ll have to be careful with it.
However, the sun hood blocks the sunlight pretty effectively, there are minor light leaks on the edges, and it’s quick to set up. It’s definitely nice to have it in the package!
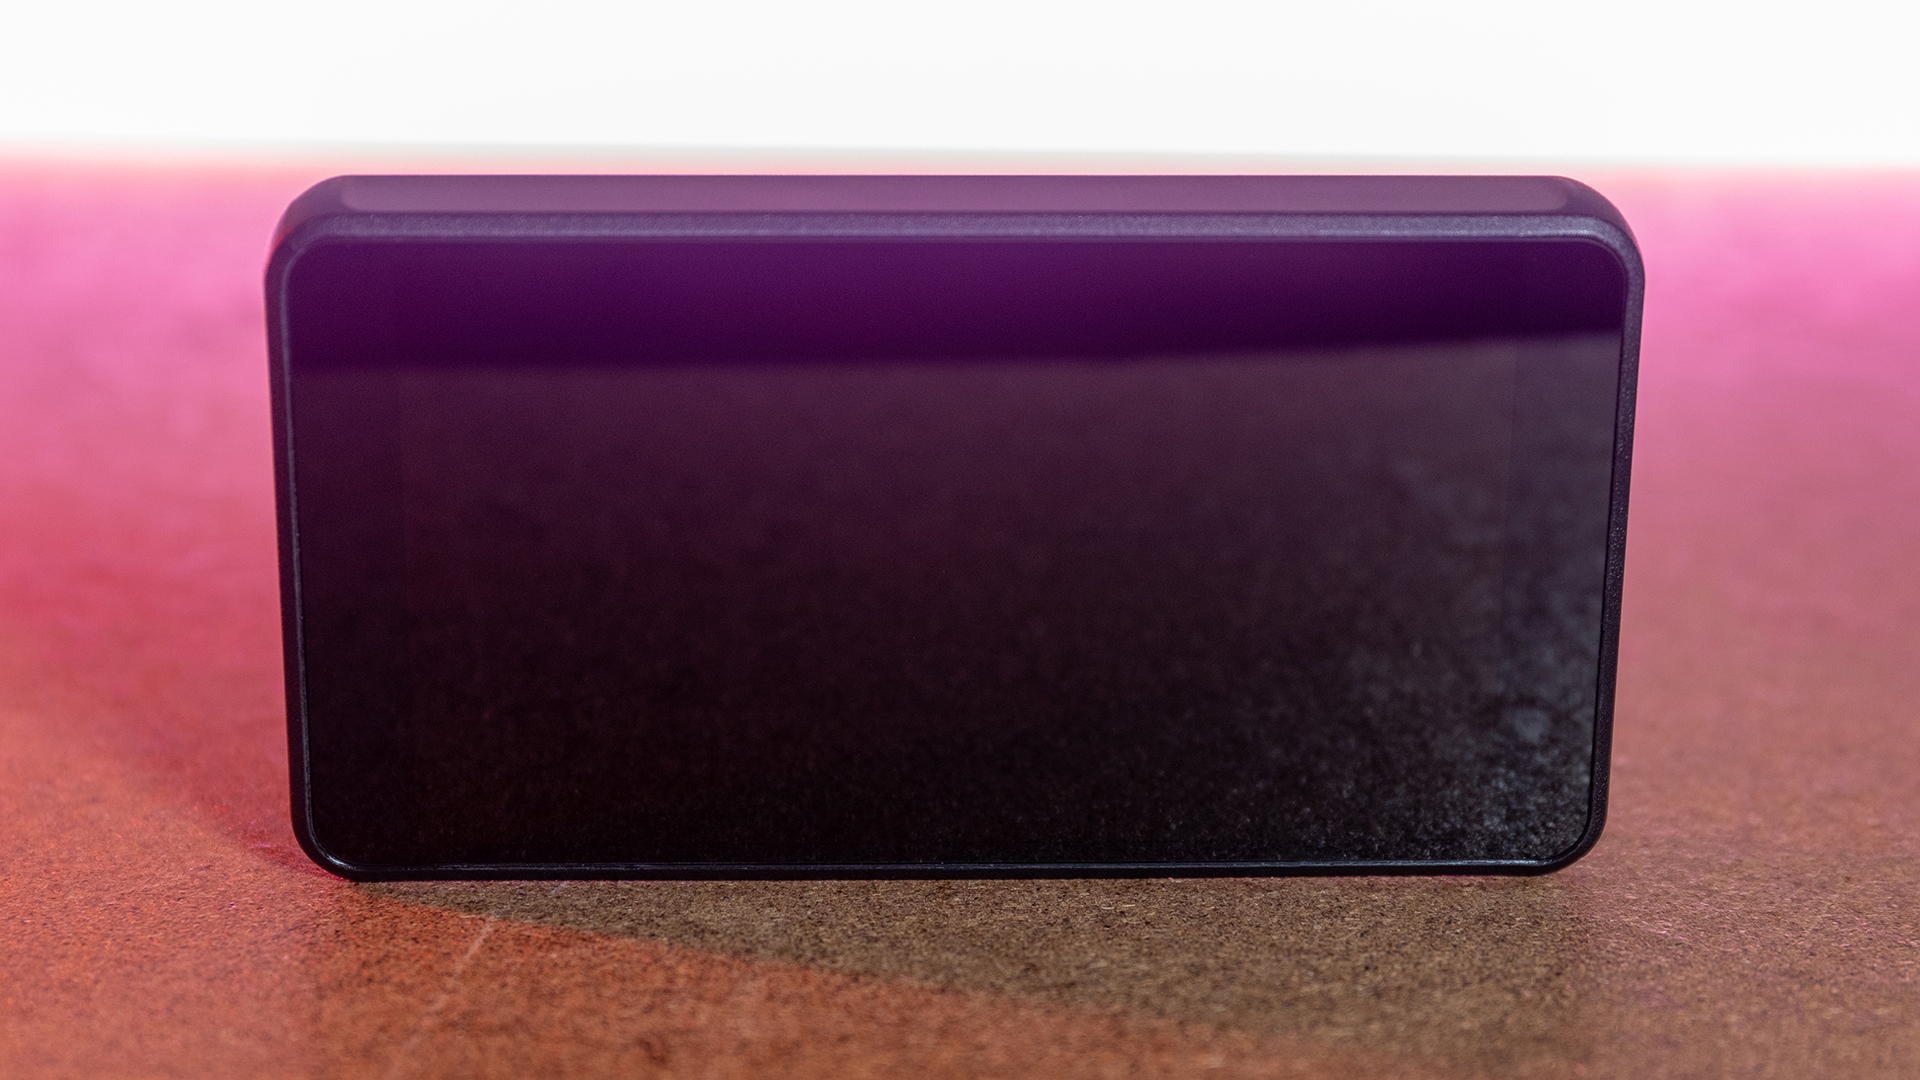
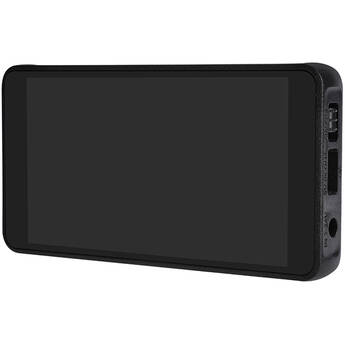
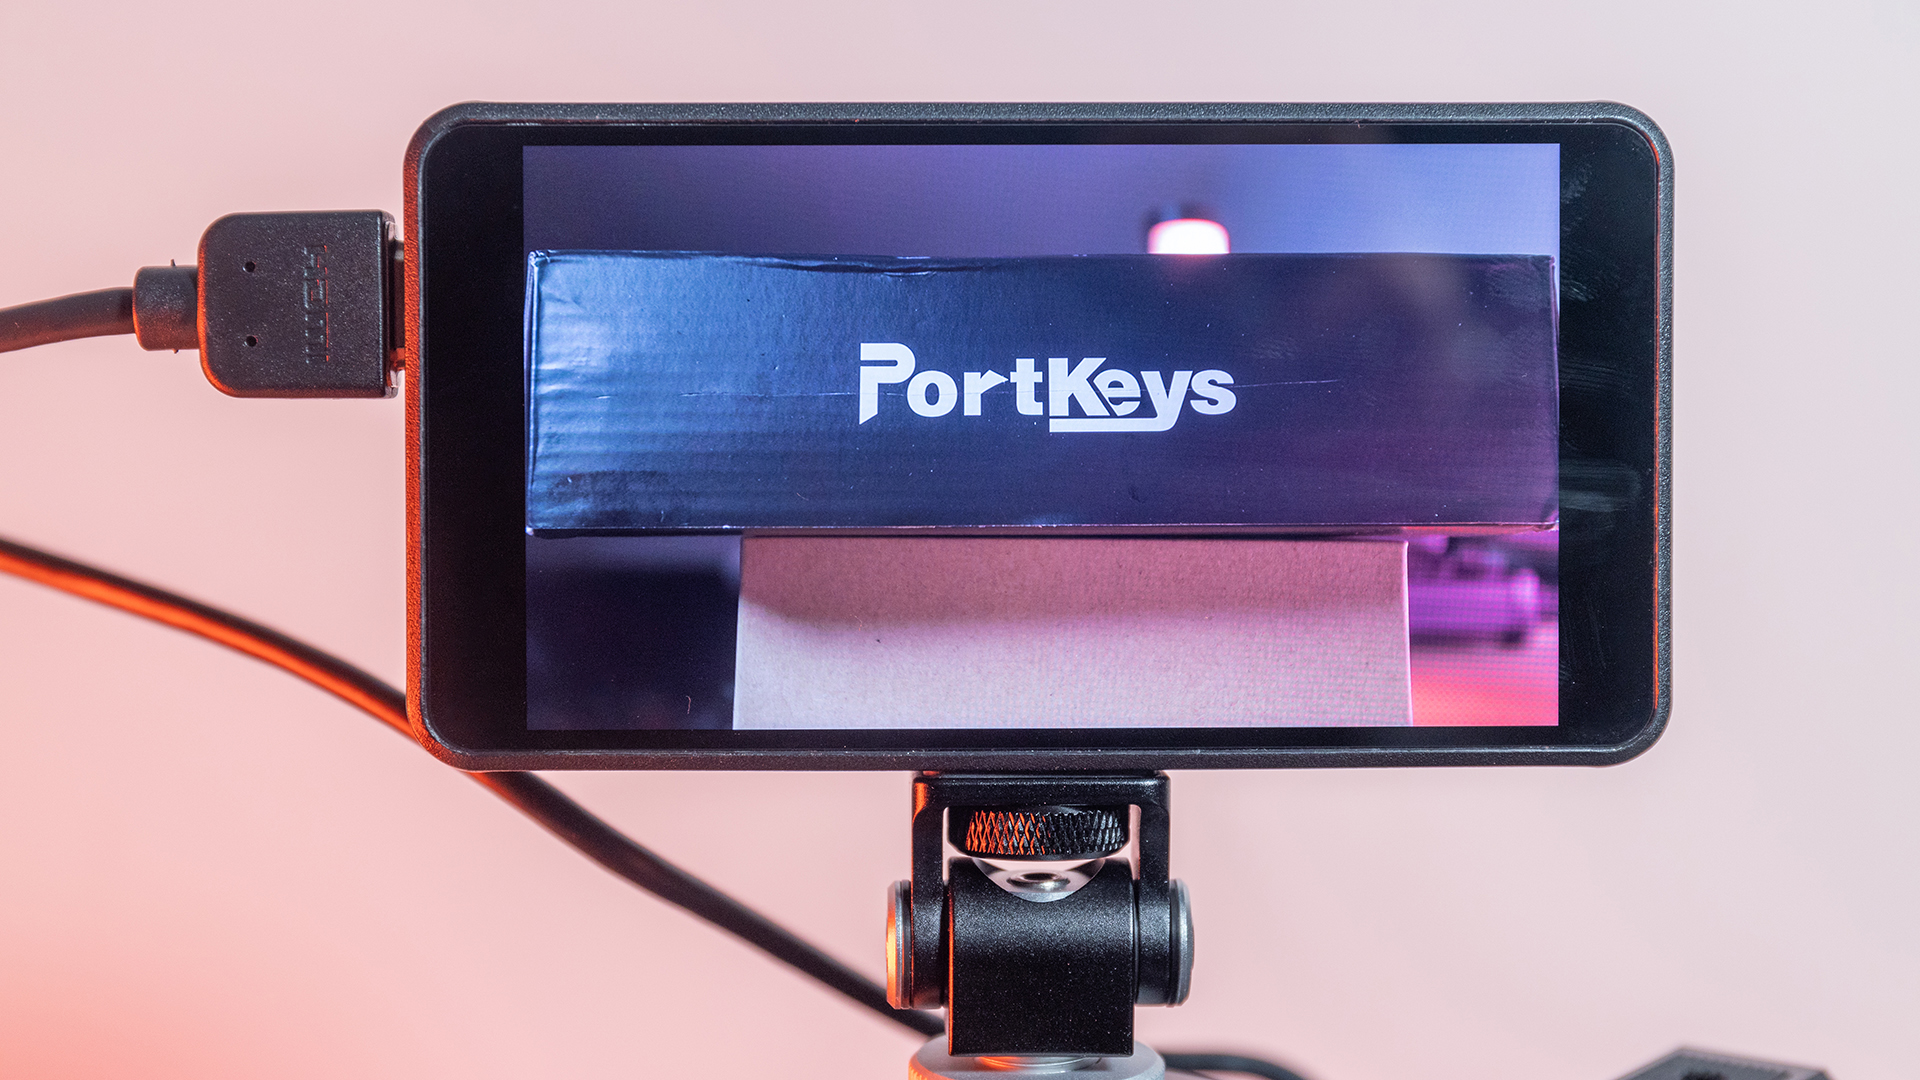
Design, size and weight
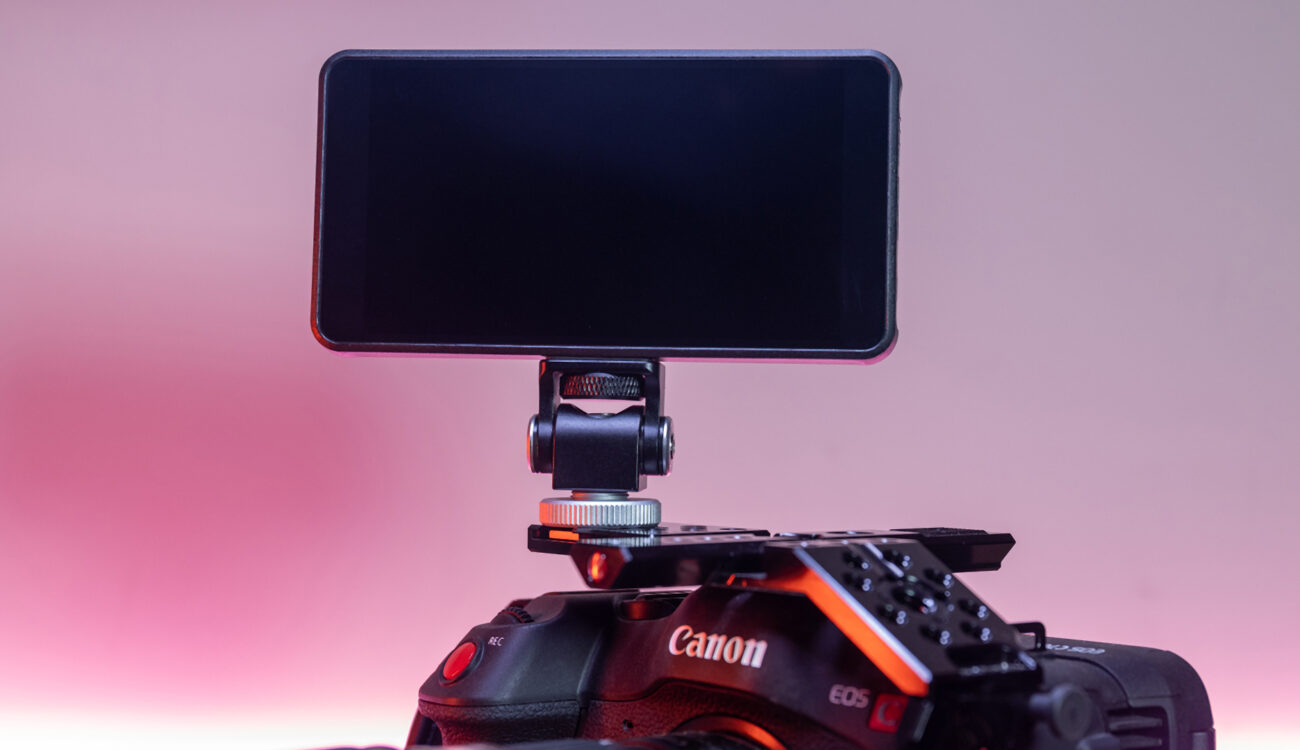
The design of the Portkeys PT5 is minimalistic, and I love it. It looks a lot like an Apple iPhone.
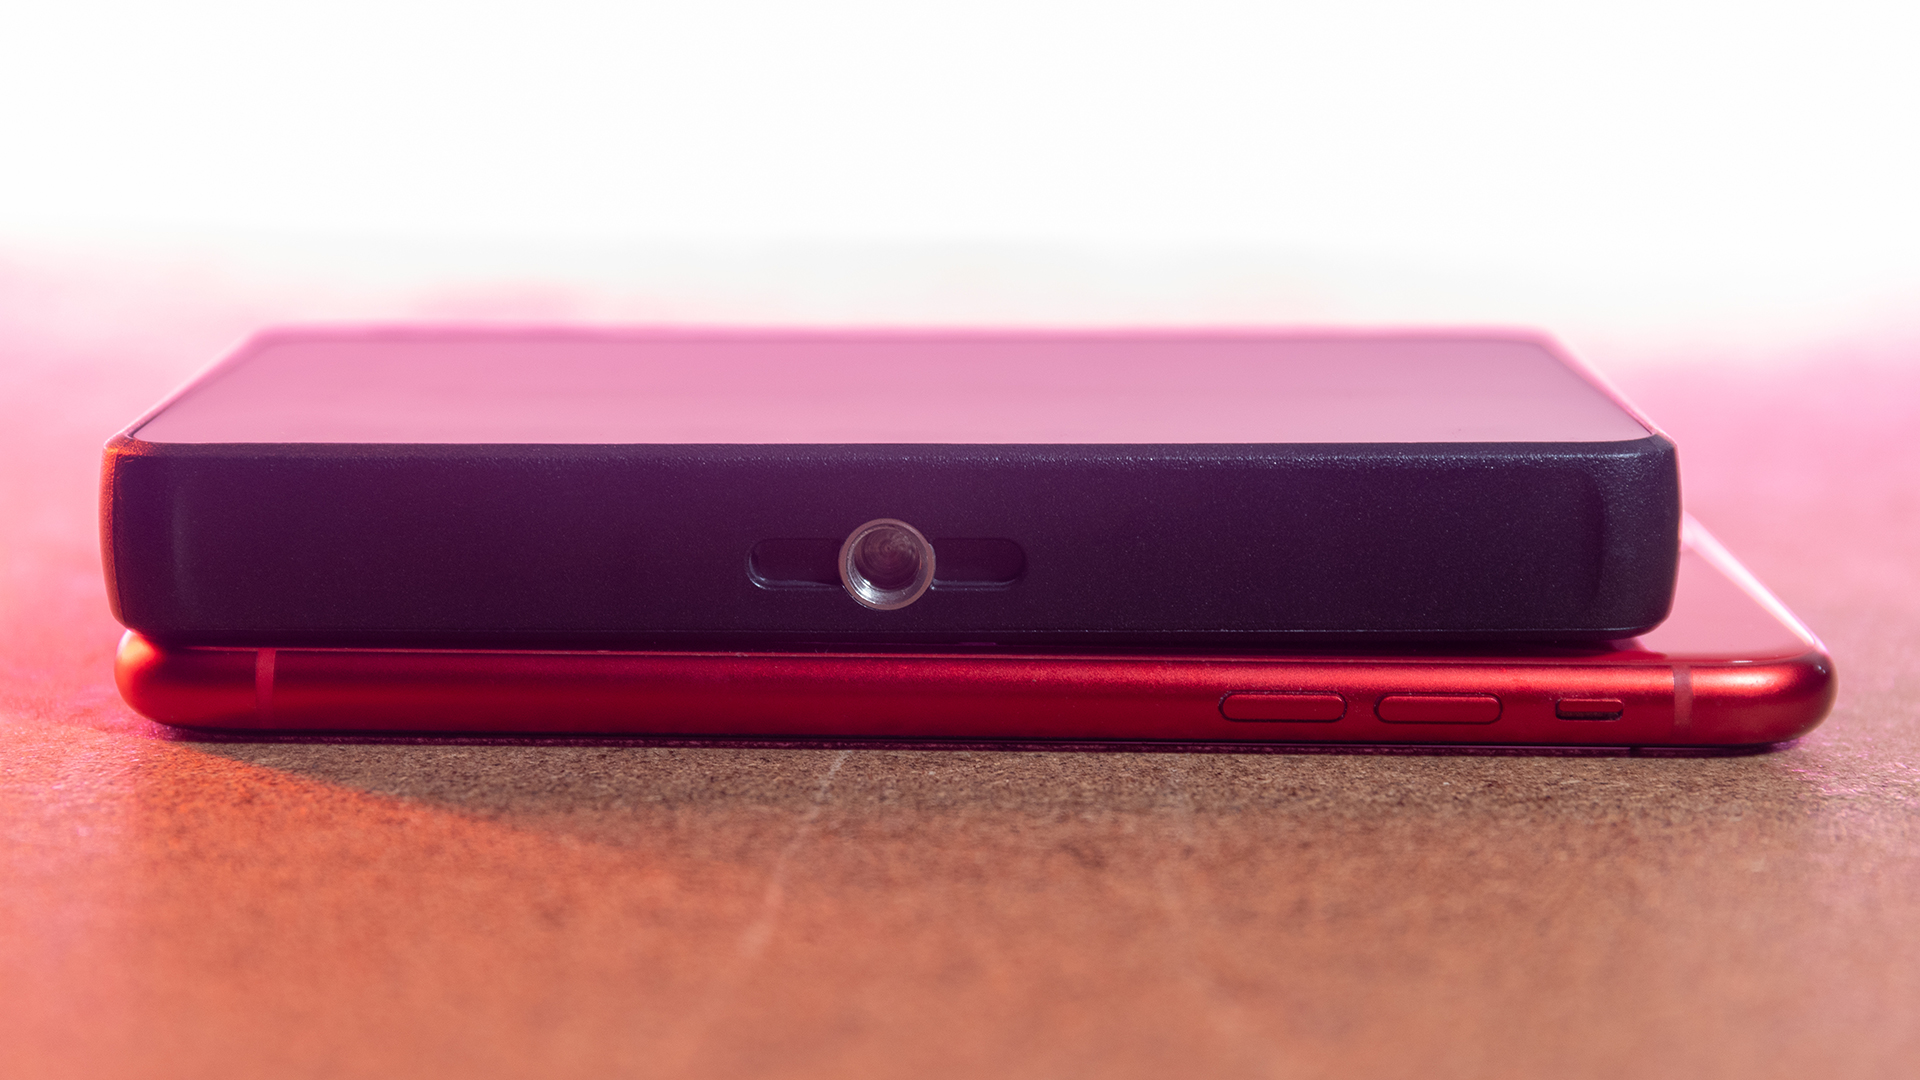
As you can tell, even my iPhone 11 is more significant than this monitor! Indeed, the Portkeys PT5 has dimensions of only 136 x 72 x 17mm for a weight of 130g/0.28lbs. I was shocked at how light it is when I took the PT5 out of the box; it weighs almost nothing, mainly because the casing is made of ABS plastic.
Now let’s take a quick tour of the monitor:

- Bottom: one 1/4-20″ mounting point with locating pins.
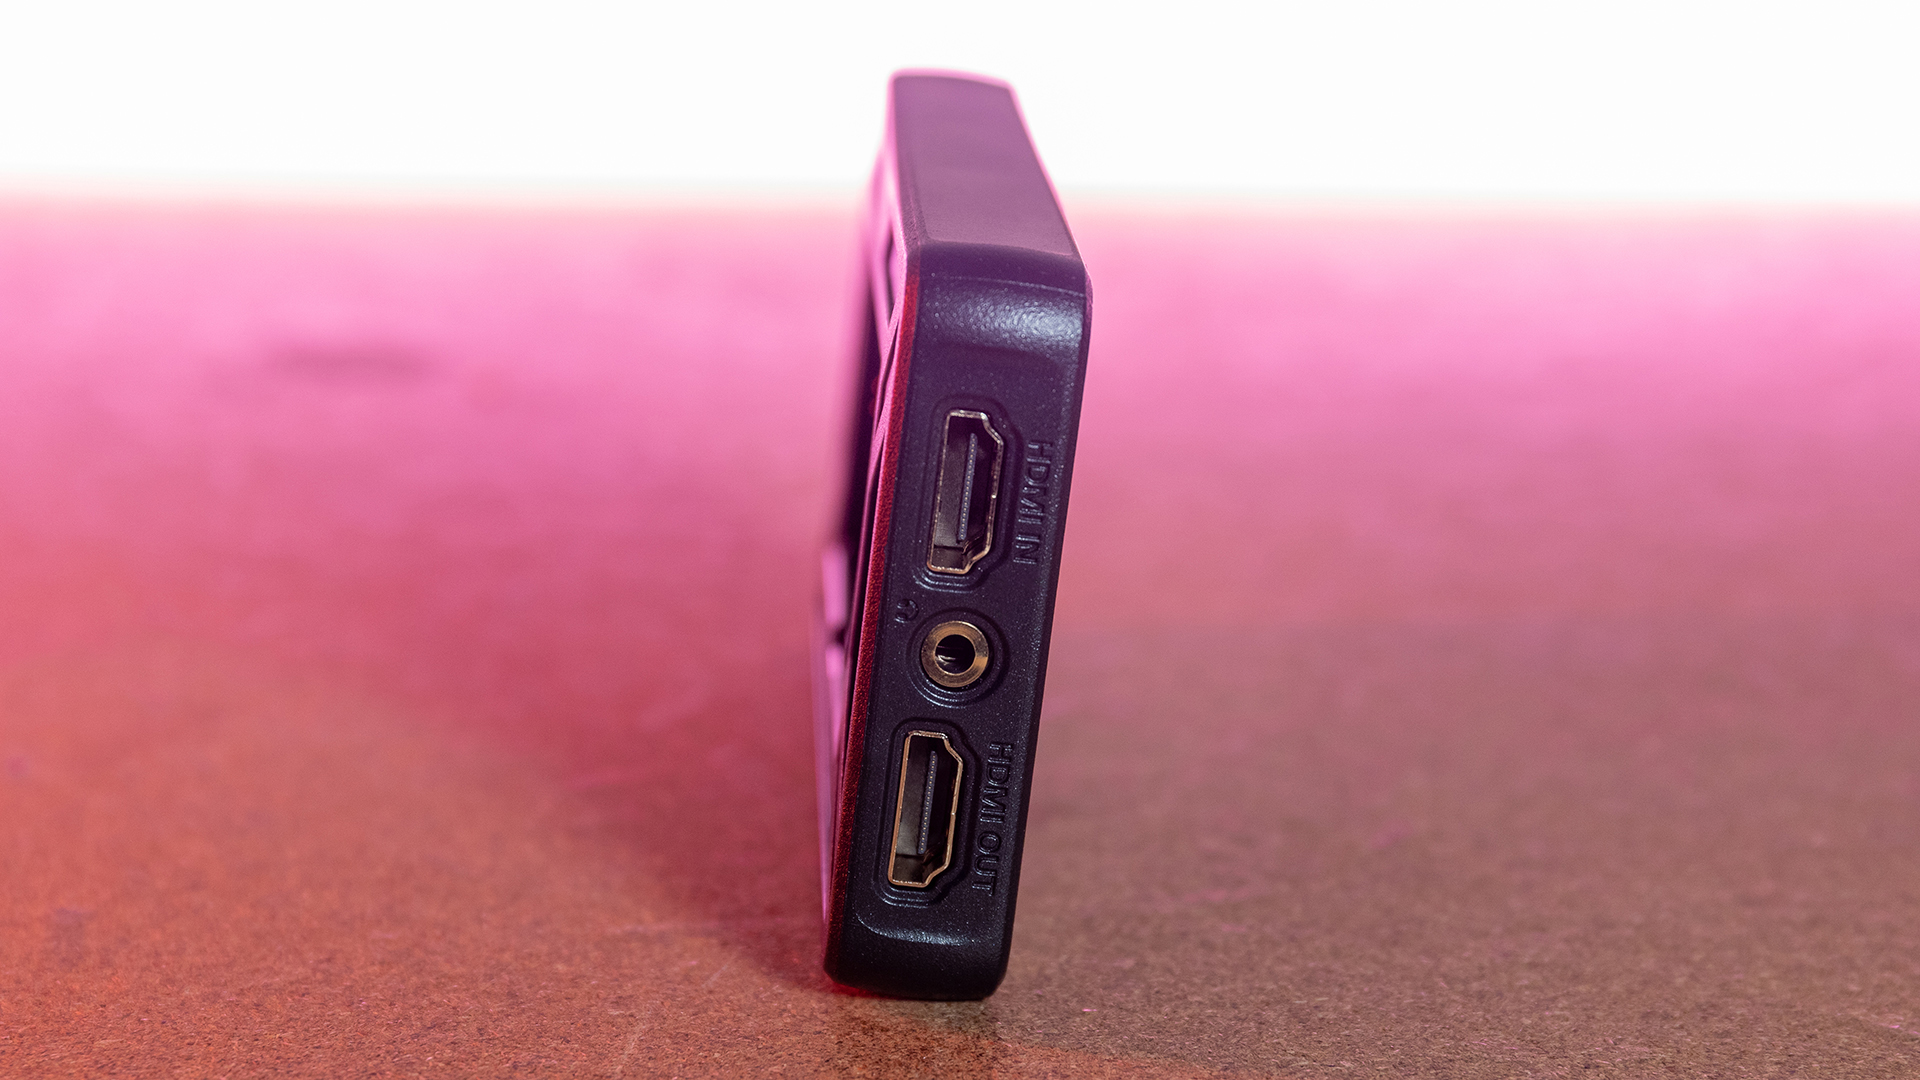
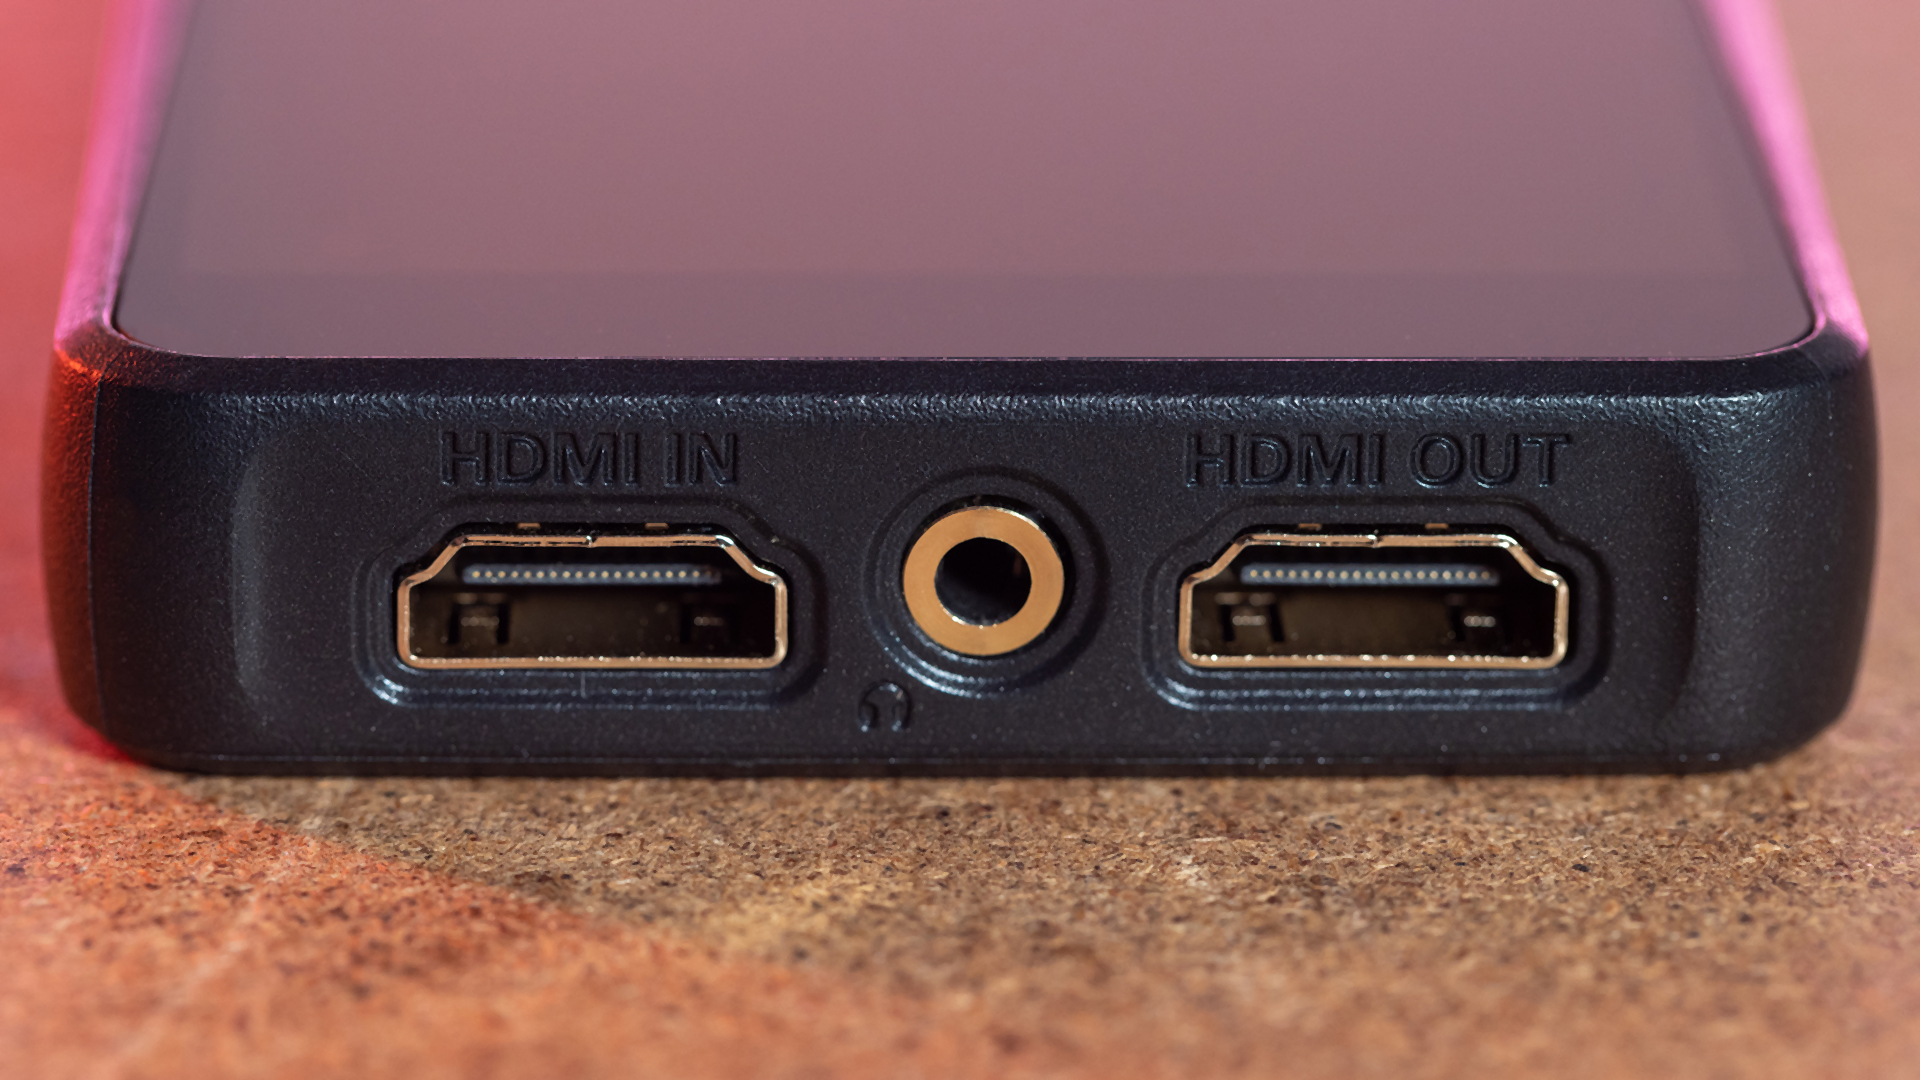
- Left side: one HDMI input port, one HDMI output port, and a 3.5mm headphone jack.
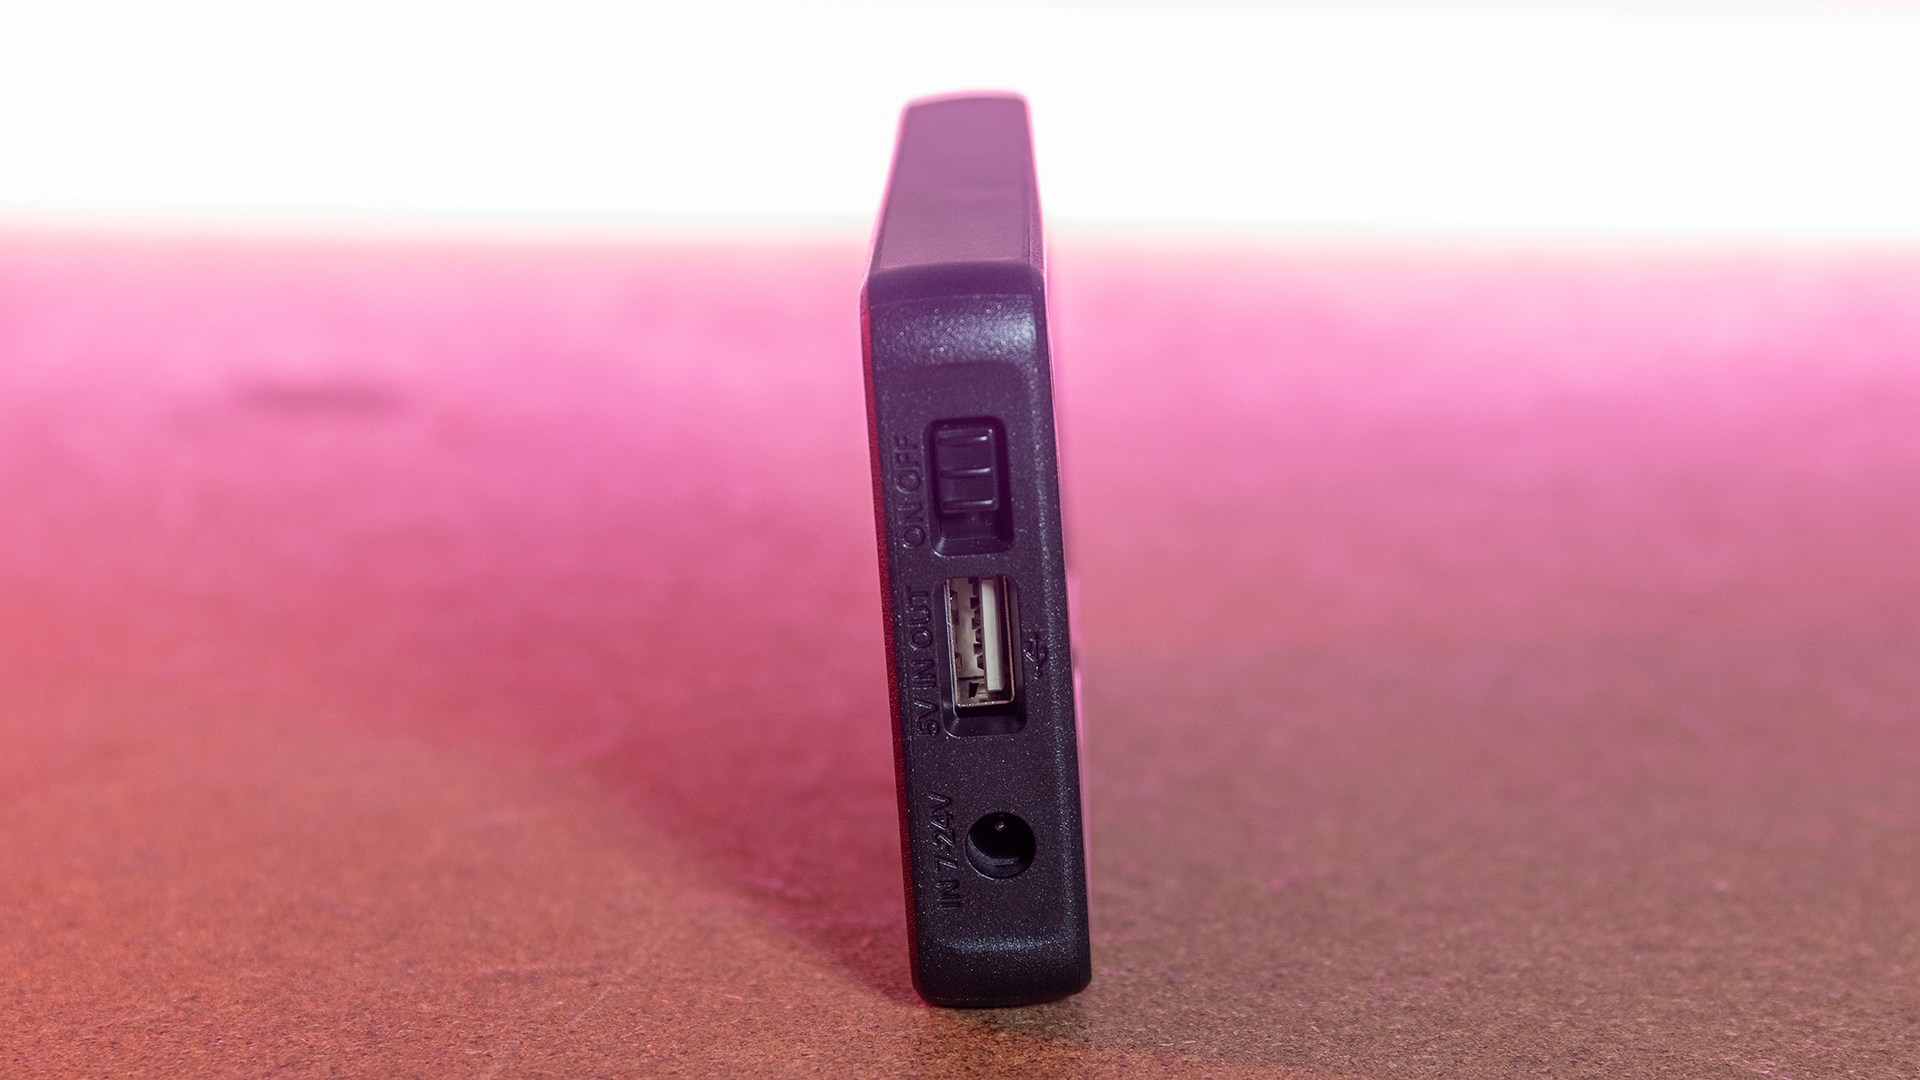
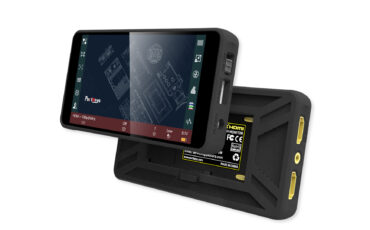
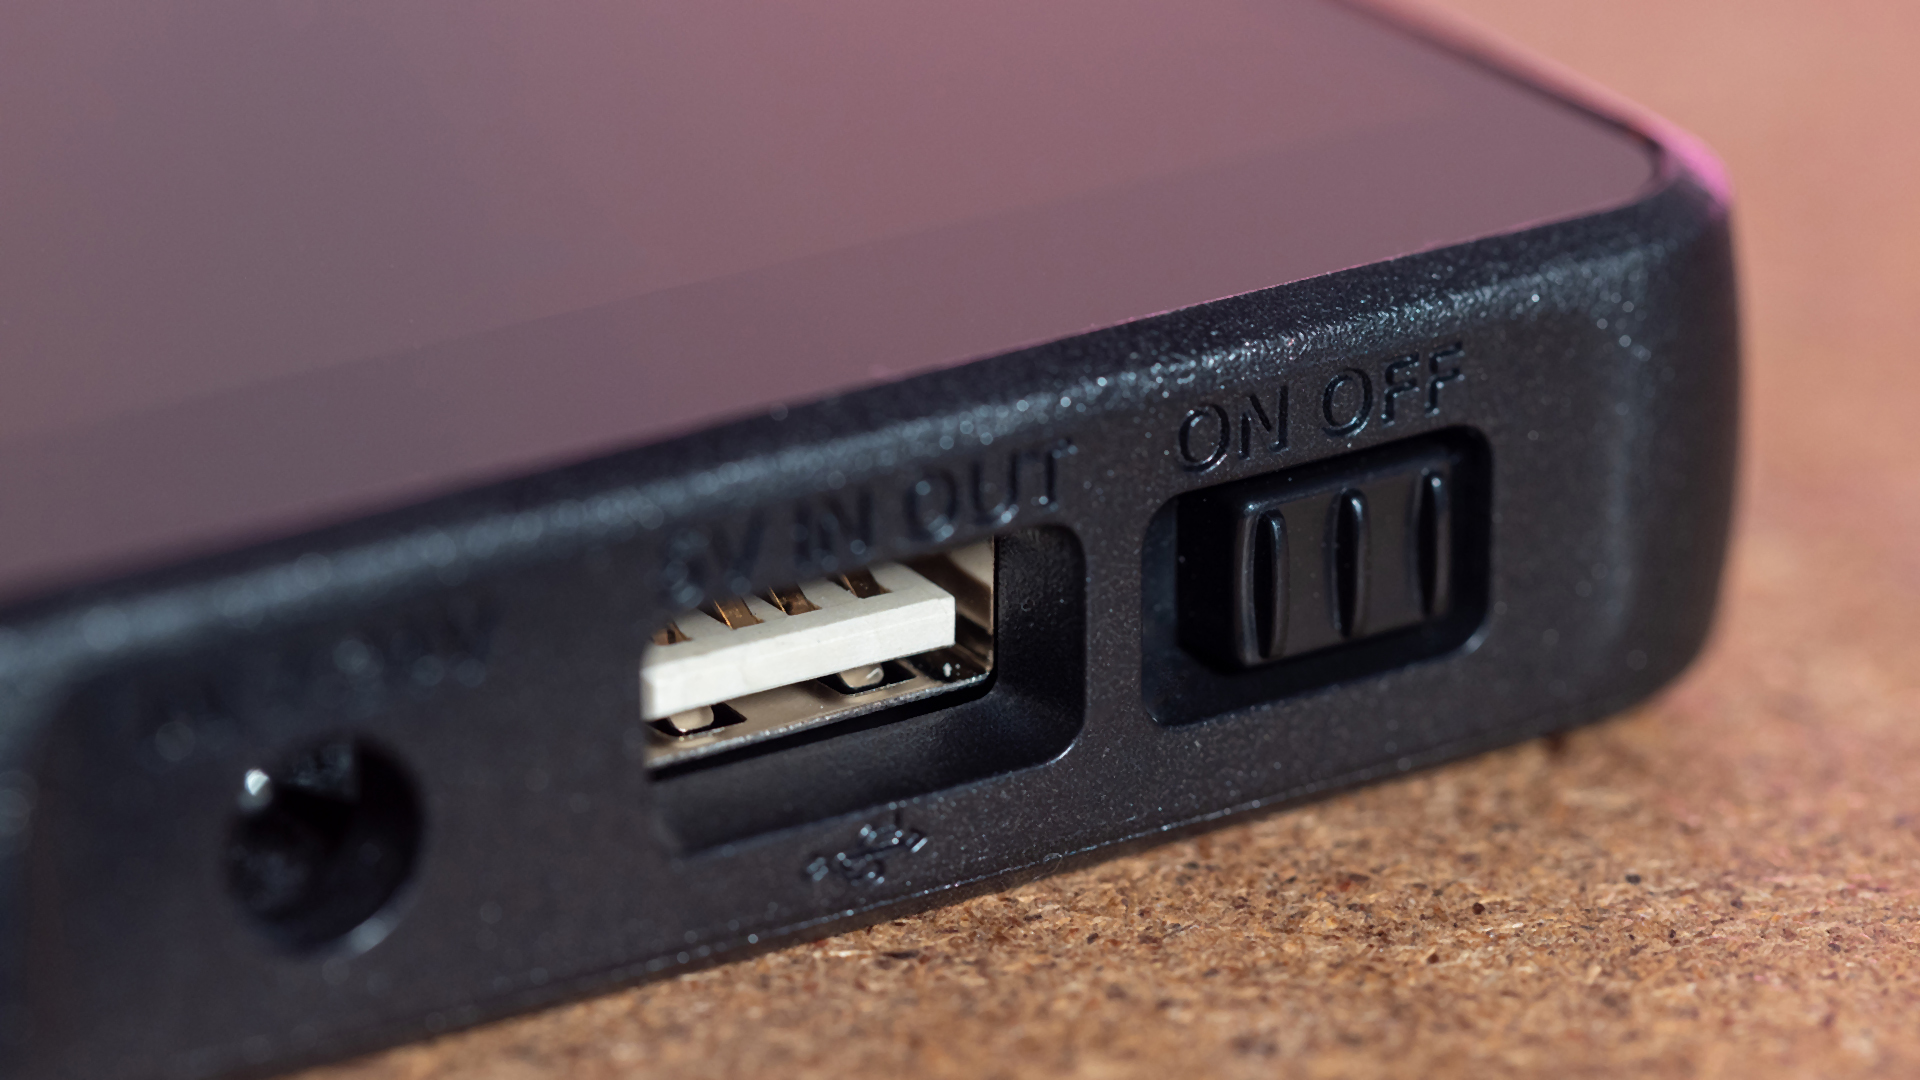
- Right side: a power switch, a USB Type-A port, and a 7-24V power input/output port with a barrel connector.
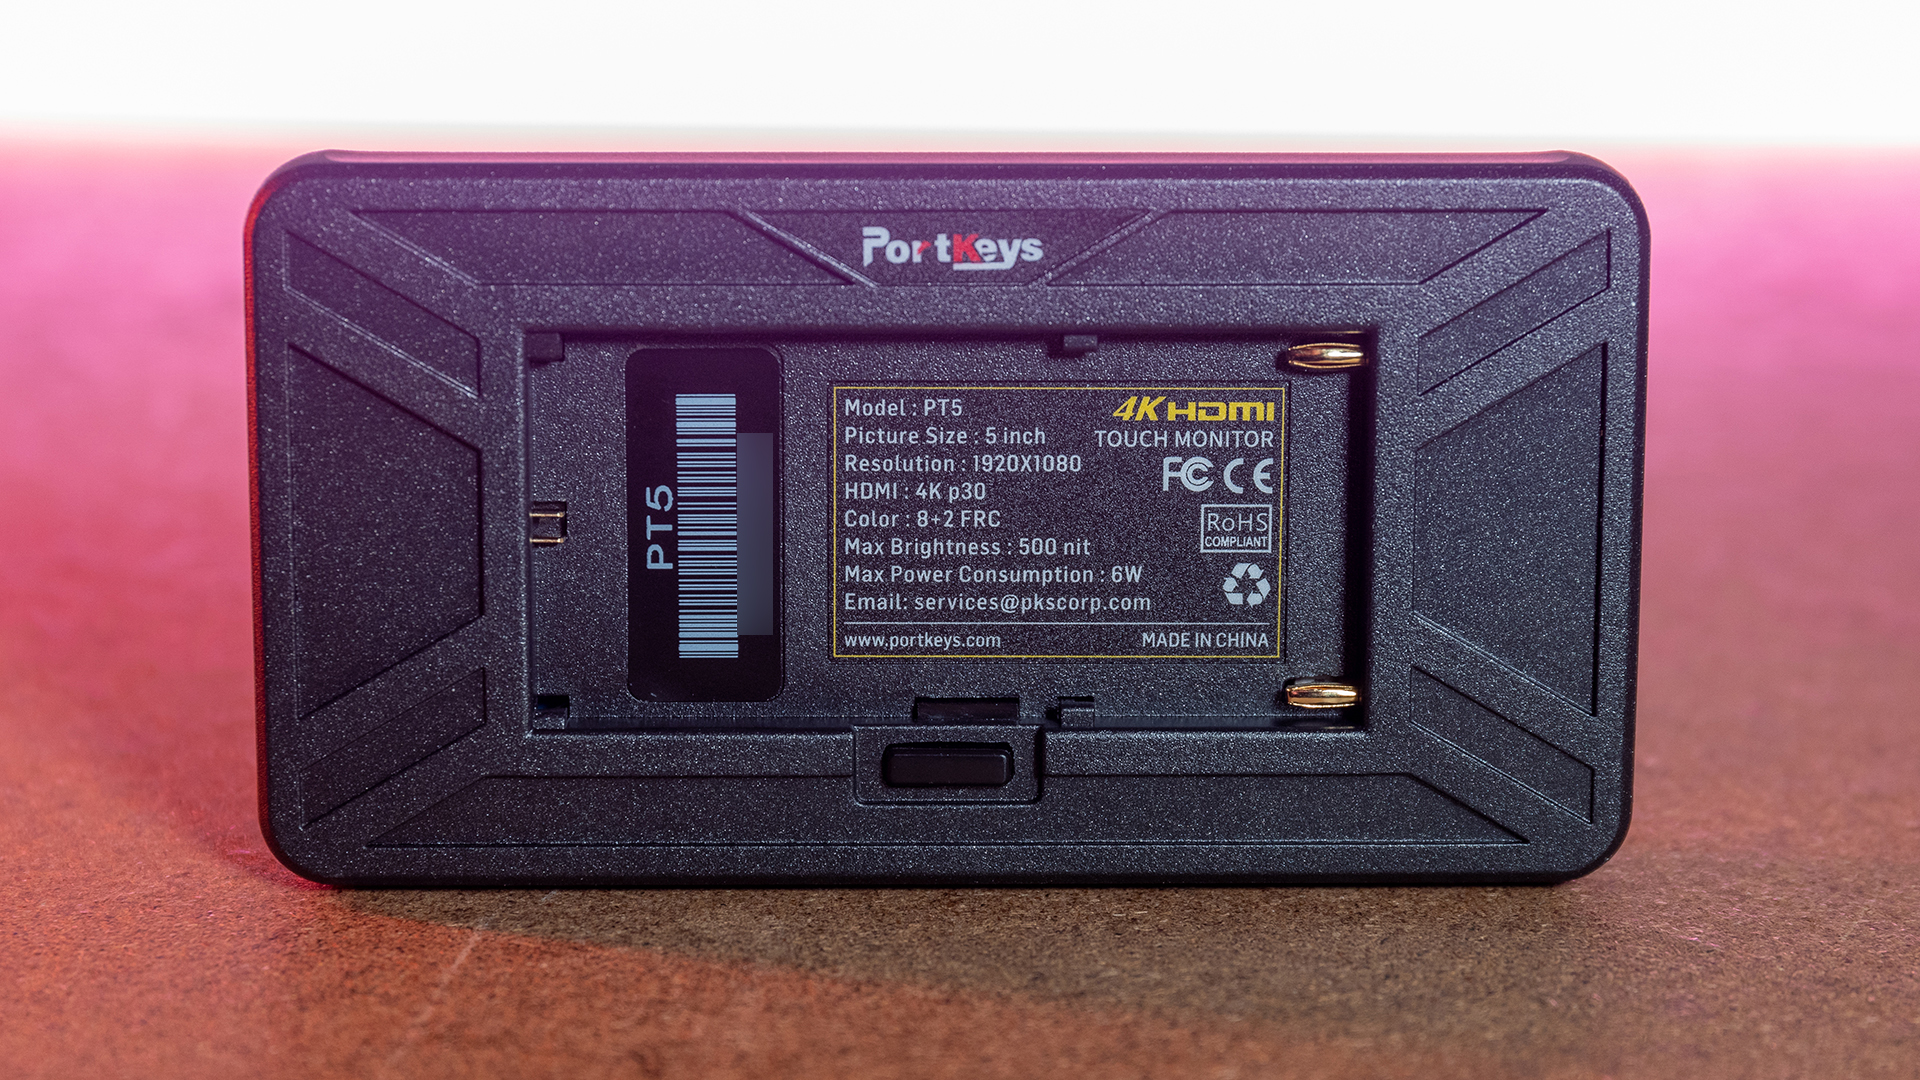
- Back: the Sony NP-F/Canon LP-E6 battery plate and a battery release button.
Build quality and mounting points
As I mentioned earlier, the Portkeys PT5 casing is made out of ABS plastic. It feels like good quality plastic, but I wouldn’t want to drop the monitor just to check if it survives.
Let’s be clear: the PT5 is not a rental product; it is designed for owner-operators or filmmakers starting out, and at this price point, you can’t complain that it’s not built like a tank that you can throw at walls.
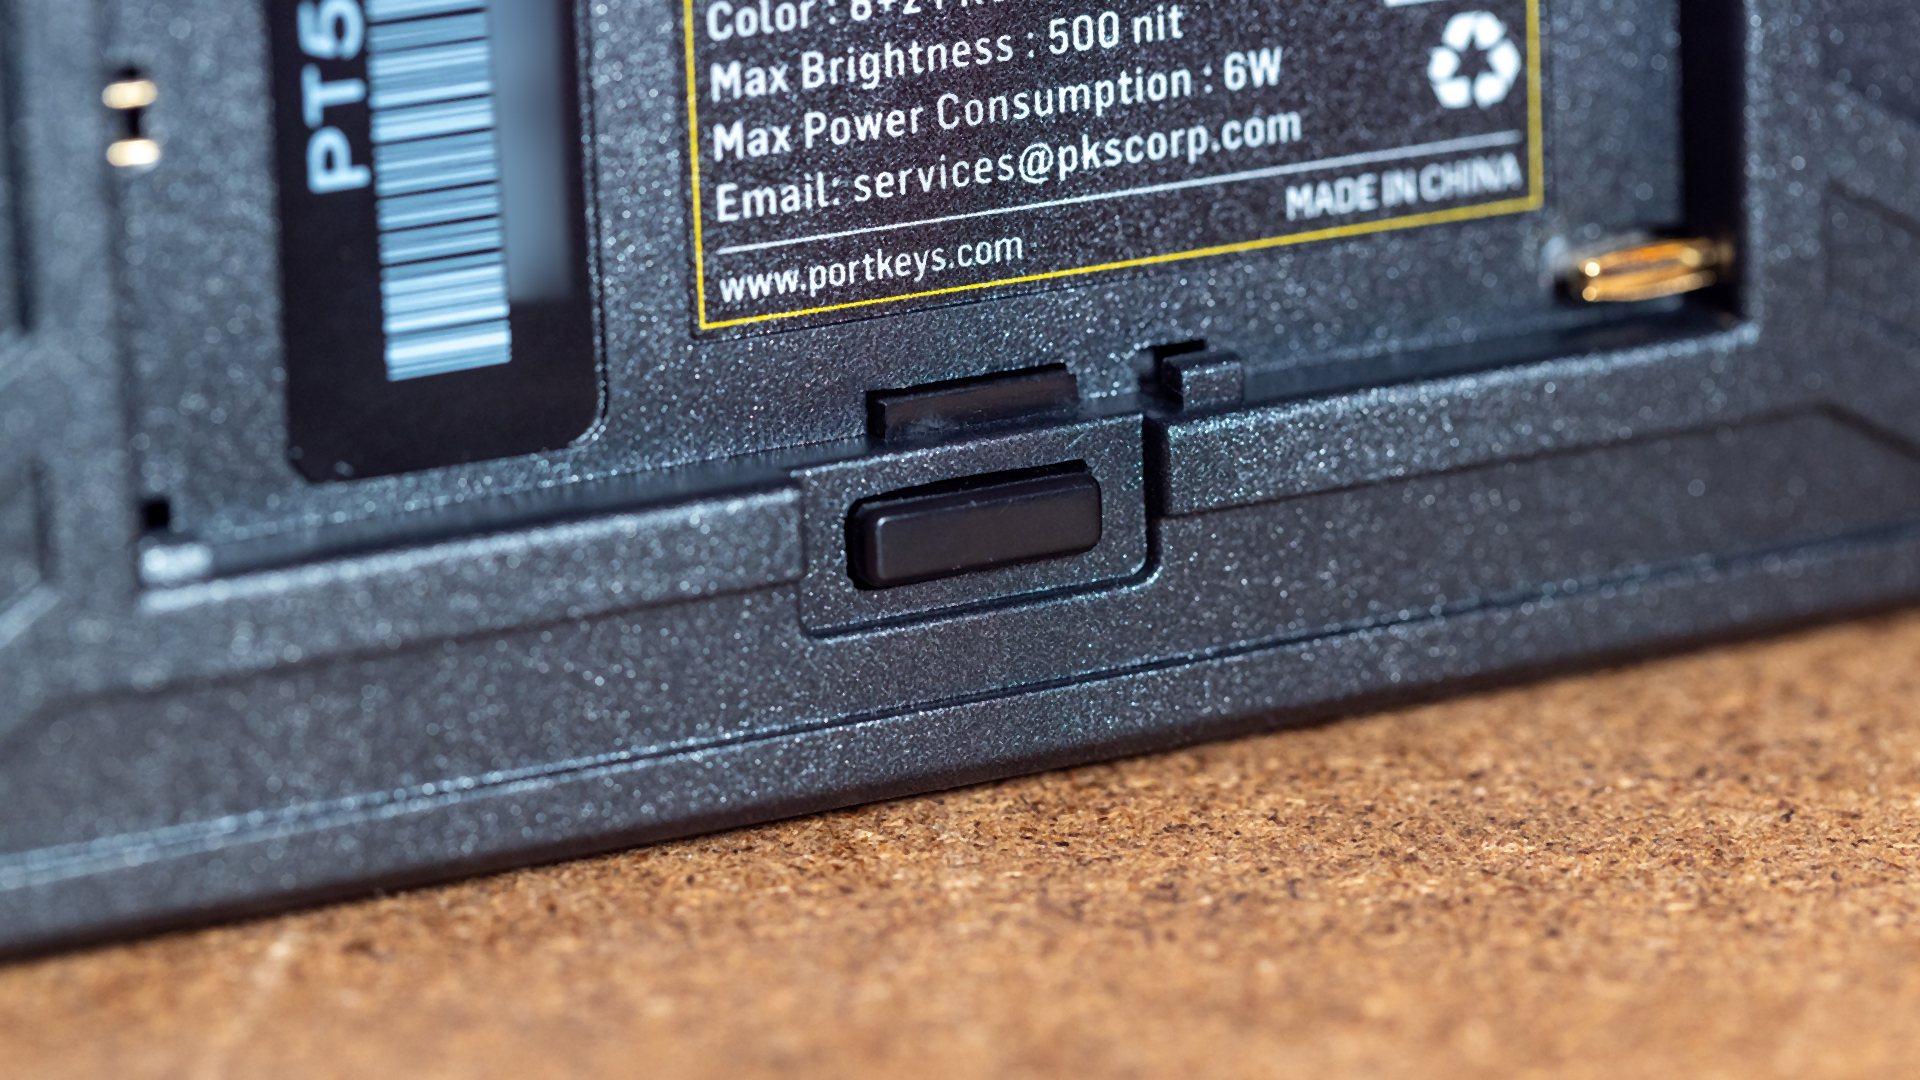
The battery fit at the back of the monitor is snug. The battery goes in and out smoothly; no issues here. There is a battery lock to keep everything nicely and securely in place.
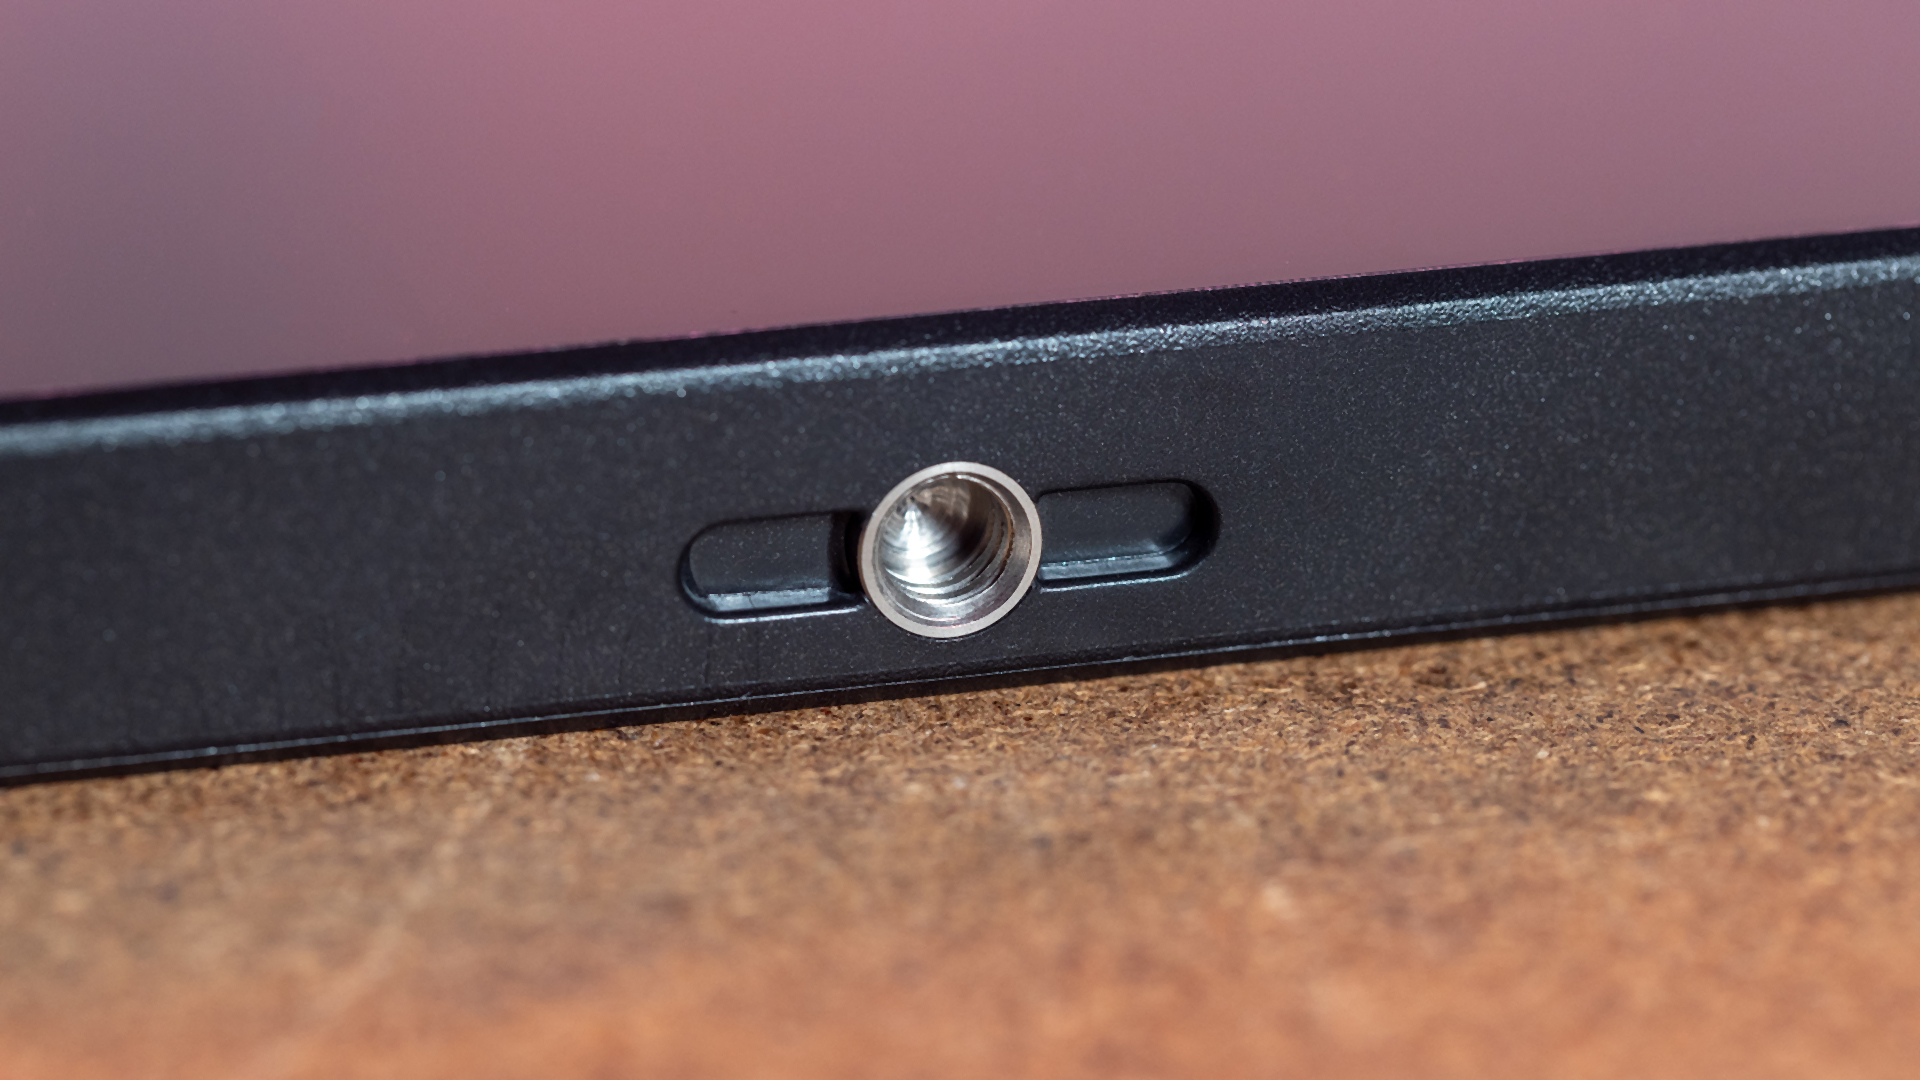
The Portkeys PT5 only has one 1/4-20″ mounting point at the bottom, which is the same as the LH5P that I already reviewed, so that I would have the same complaints: one mounting point is often not enough for an on-camera monitor, and 3/8-16″ mounting points with ARRI locating pins are more versatile. Indeed, 1/4-20″ with locating pins mounting points are not “industry standard,” but 3/8-16″ with locating pins are. But, again, to me, Atomos did it right with their Ninja V/V+, and a lot of camera monitor manufacturers should follow the trend.
Input and output ports
On the Portkeys PT5, there are one HDMI input port and one HDMI output port. The monitor supports a maximum input resolution of DCI 4K at 24p, 4K UHD at up to 30p, and FullHD at up to 60p. I tested all three with a Canon EOS R and a Canon EOS C70 and did not have any issues, may it be on the input or output side.
Also, there is a 3.5mm headphone jack if your camera doesn’t have one or if you want to monitor your audio signal directly from the PT5, which works fine.

Powering options and battery life
At the back of the PT5, there is a built-in Sony NP-F and Canon LP-E6 battery bracket.
To use a Canon LP-E6 battery, slide it to the left. To use a Sony NP-F battery, slide it to the right. That’s very smart, and I love it.

A monitor of this size and weight makes a lot of sense to use with a small and lightweight battery, like a Canon LP-E6 pack, which is around 50 grams. Indeed, for example, a Sony NP-F 970 battery is 350g, which is twice the monitor’s weight; it looks a bit ridiculous. Also, Canon LP-E6 batteries are the same I use to power my Canon EOS R. I only have to use and carry one type of battery on set.
According to Portkeys, the PT5 only draws 6W of power. To give you a rough idea, as these results can vary a lot depending on the age/state of your battery pack, I did a quick test with a fresh Canon LP-E6N battery pack (14Wh). I got away with around 3 hours of battery life at the maximum backlight setting. To me, this is a decent battery life for an on-camera monitor powered by a small battery. However, if you do the maths, a big Sony NP-F970 battery could theoretically run the PT5 for more than 12 hours!
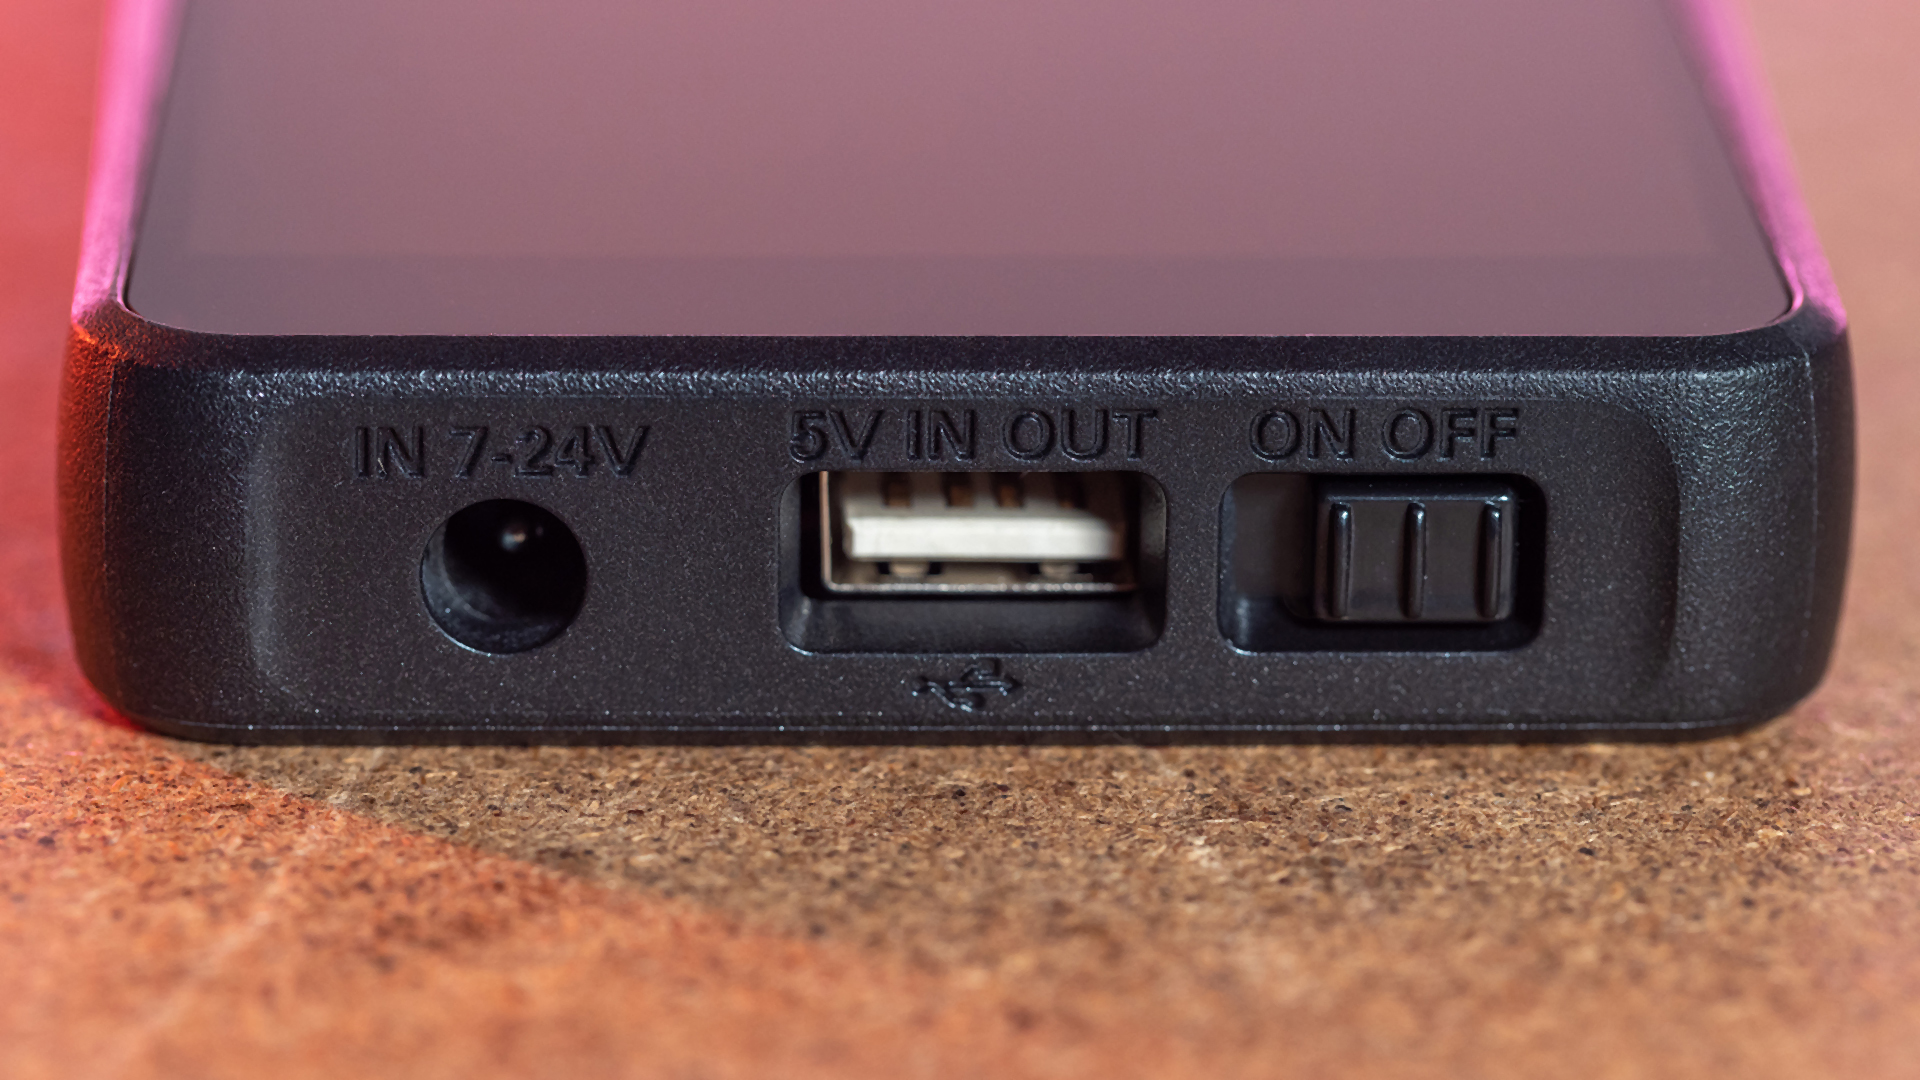
Also, there is a USB Type-A port on the right side of the monitor that you can use to power the PT5 via a power bank (5V/2A). If you power your monitor with a Sony NP-F or Canon LP-E6 battery, this USB port doubles as a 5V/1A power output that could easily charge your smartphone at the same time.
Finally, there’s a 7.4/24V power input/output port with a barrel connector that you can use to power the PT5. Unfortunately, a D-Tap or any other powering cable isn’t included in the kit, but you can easily find one at an affordable price. Last but not least, this port can feed a 7.4V camera accessory if you power the monitor with a Sony NP-F/Canon LP-E6 battery, but I did not try it.
In total, there are four ways to power the Portkeys PT5, which is quite impressive for an entry-level product.
Fan noise and heat
The Portkeys PT5 is passively cooled, so it does not have a built-in fan. Also, it means that the monitor doesn’t make any noise when it is on.
In terms of heat, I found that even after a one-hour runtime at maximum brightness, it was slightly warm to the touch but not hot. The plastic housing helps with heat dissipation, as there are no air intakes/outtakes around the monitor’s body.
Display and boot-up time
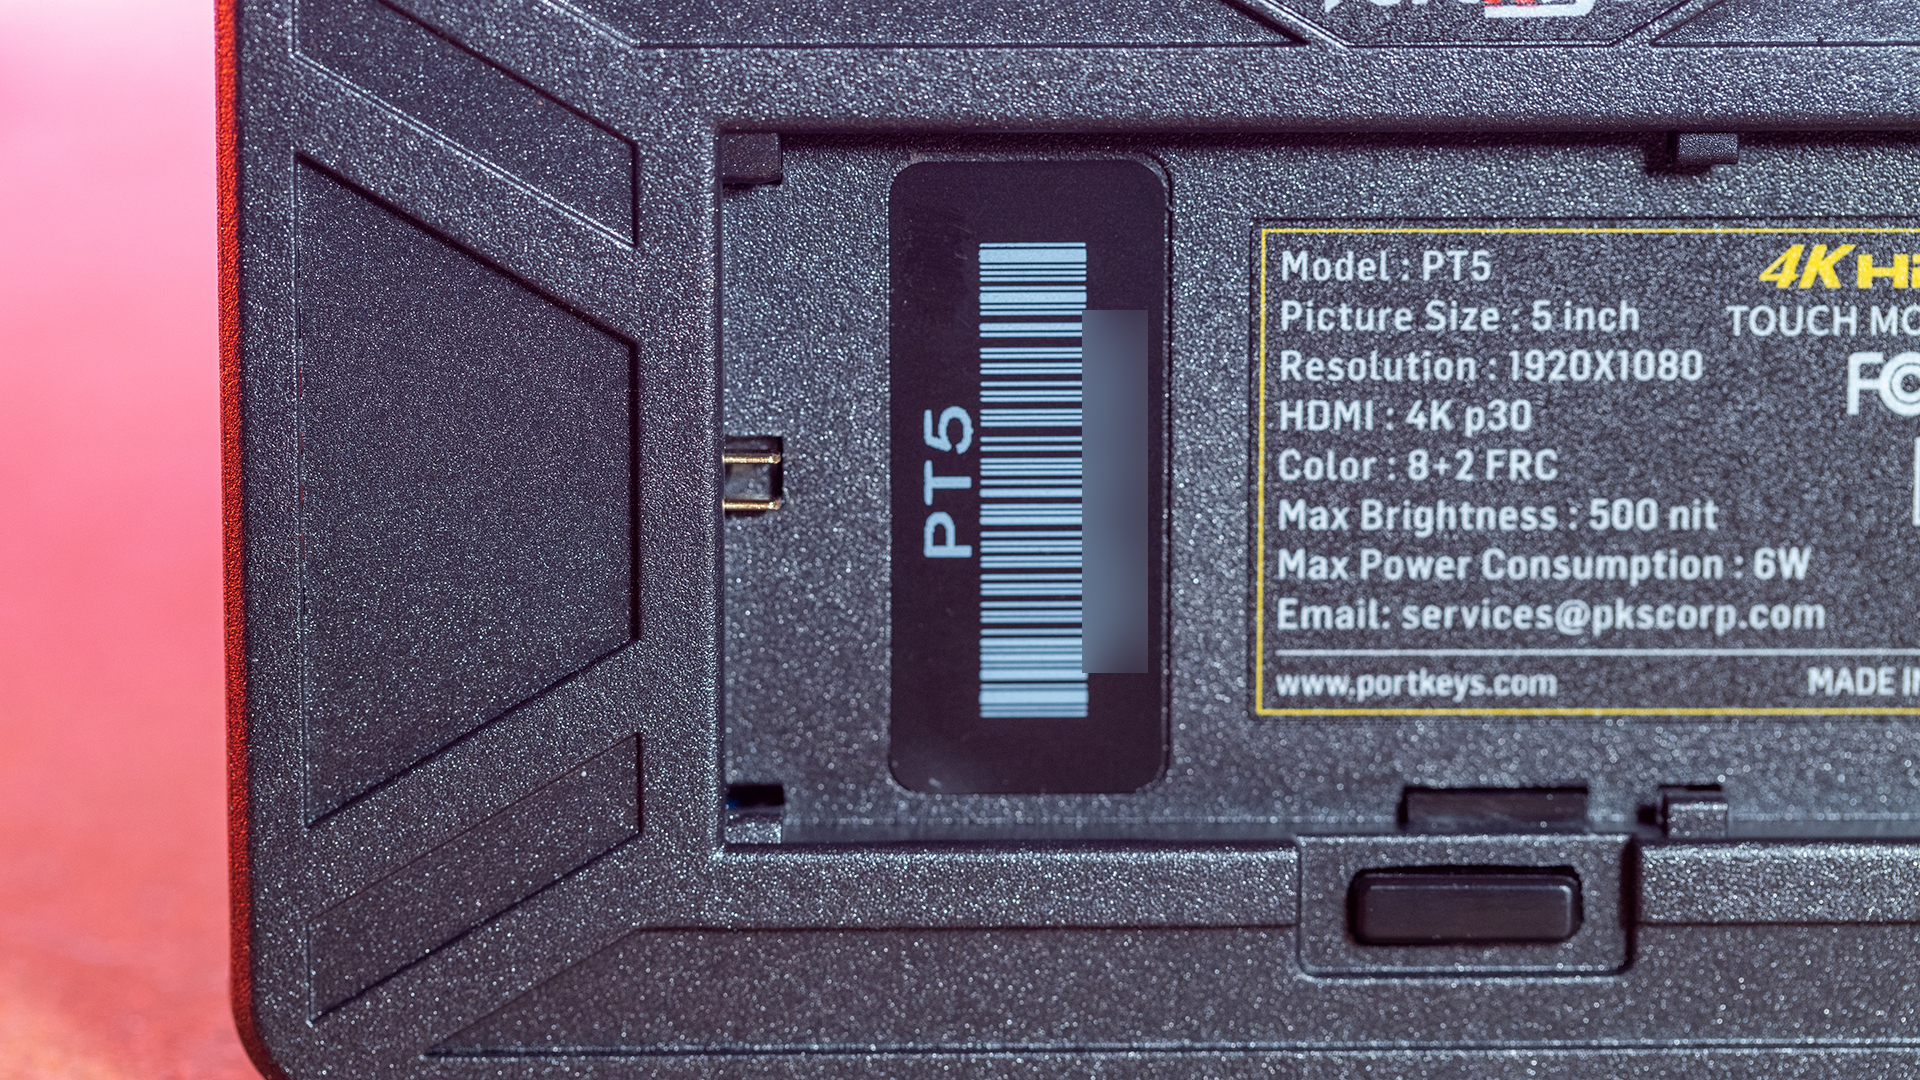
The Portkeys PT5 LH5P features a 5″ WLED display with a FullHD 1080p / 1920 x 1080 resolution. The display is a touchscreen and the only way to navigate inside the menus.
The PT5 has a claimed maximum brightness of 500nit, which is not daylight-viewable like monitors with a brightness under 1500nit. It does not mean that you can’t use it outside with the included sun hood, but you’ll have a hard time in direct sunlight. The glossy display doesn’t help with that, but we’ll talk more about that later.
The monitor has a contrast ratio of 1000:1, and the panel itself is 10-bit (8+2 FRC), so not “true” 10-bit. An 8+2 FRC panel is less expensive for manufacturers to produce, as it’s based on a “software trick” to simulate 10-bit on an 8-bit panel. I’m simplifying things here, but keep in mind that even some of the most expensive monitors from SmallHD or Atomos (except NEON) use the same technique.
Once you switch the power button on, the monitor takes around ten seconds until it is operational, which is acceptable.
When the PT5 is up and running, you can adjust various display settings inside the menu, including:
- Backlight settings from 1 to 10
- Brightness, contrast, chroma, sharpness, tint
- Anamorphic de-squeeze, color temperature
- The headphone volume output, image flip, OSD language/transparency

Monitoring tools
A good monitor is nothing without great monitoring tools. These tools allow you to judge your exposure, focus, white balance, and so on. This is useful to make creative decisions and adjust your camera settings.
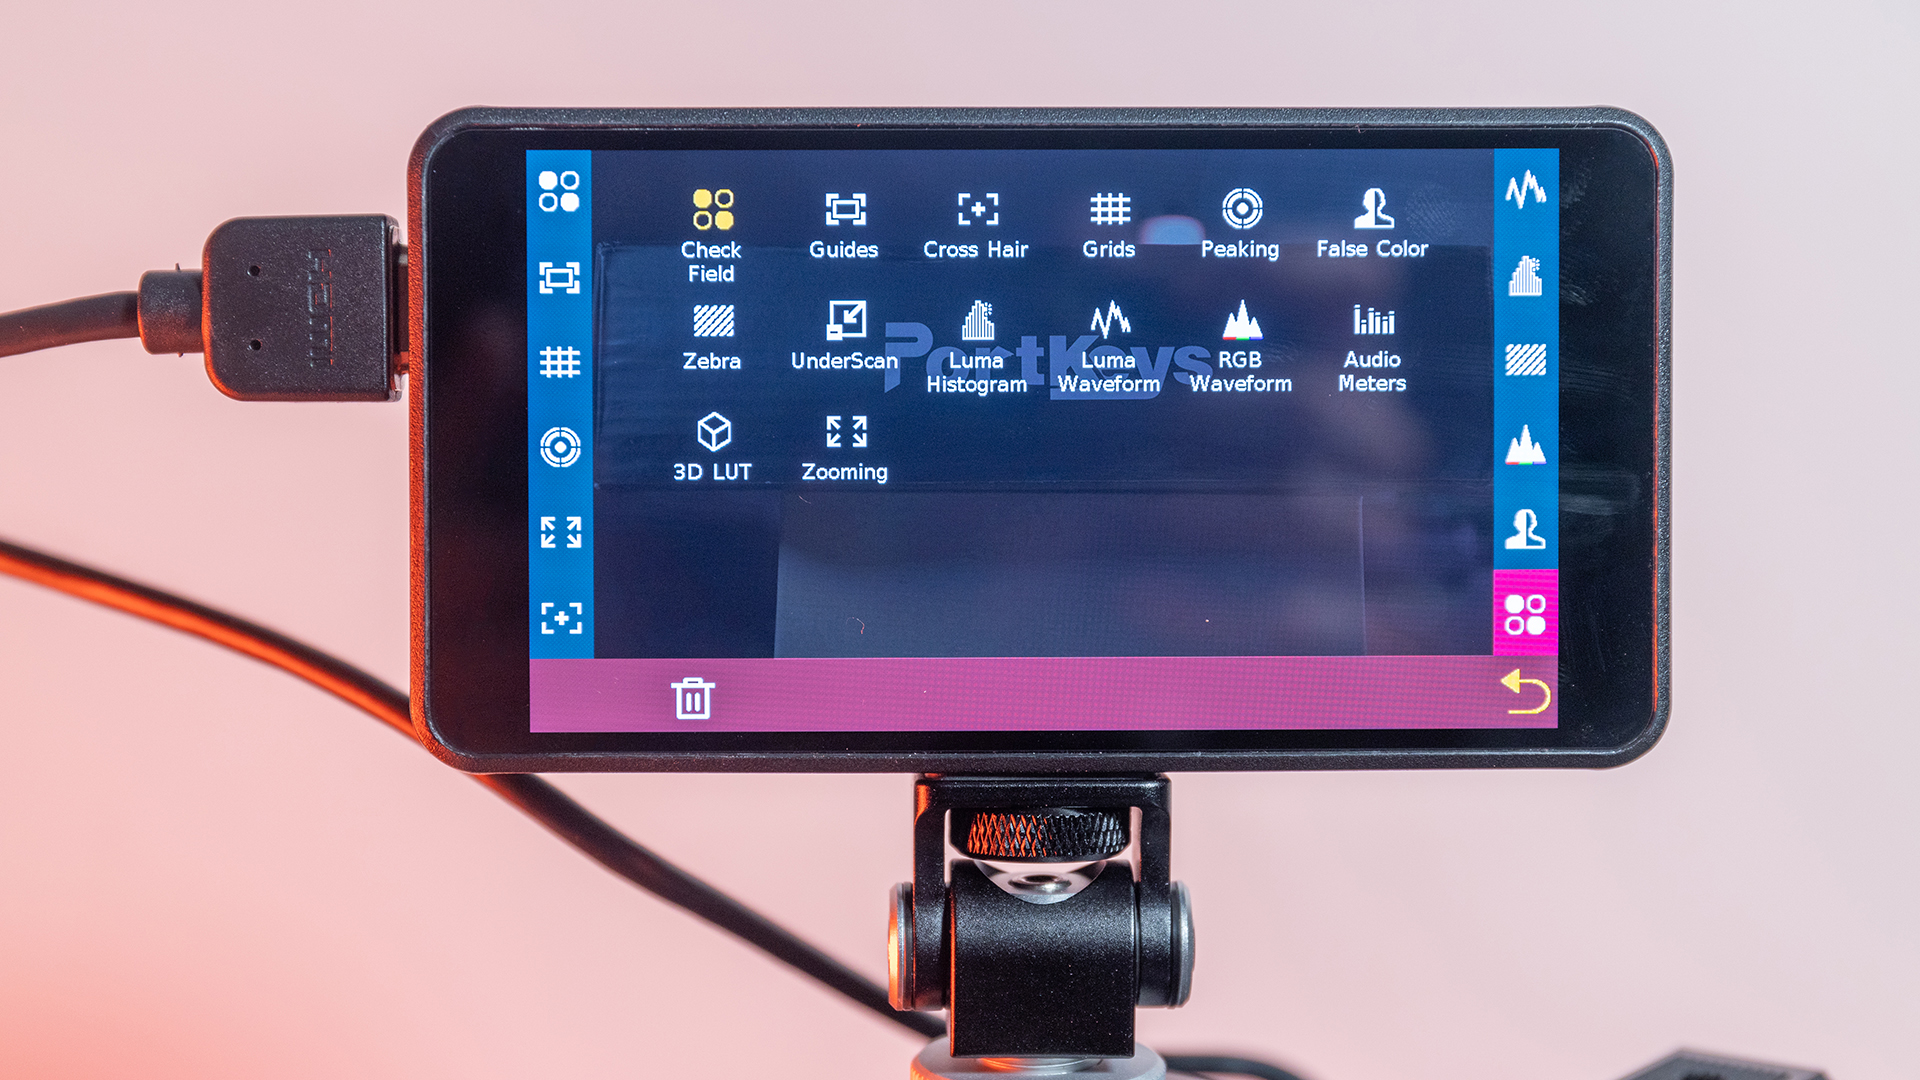
On the Portkeys PT5, here are the built-in tools:
- Check Field, Guides, Cross Hair, Grids
- Zoom, Peaking
- False Color, Zebra, Underscan, Luma Histogram, Luma Waveform, RGB Waveform, 3D LUT
- Audio Meters
These tools are pretty much everything you need to judge the image on an on-camera monitor.
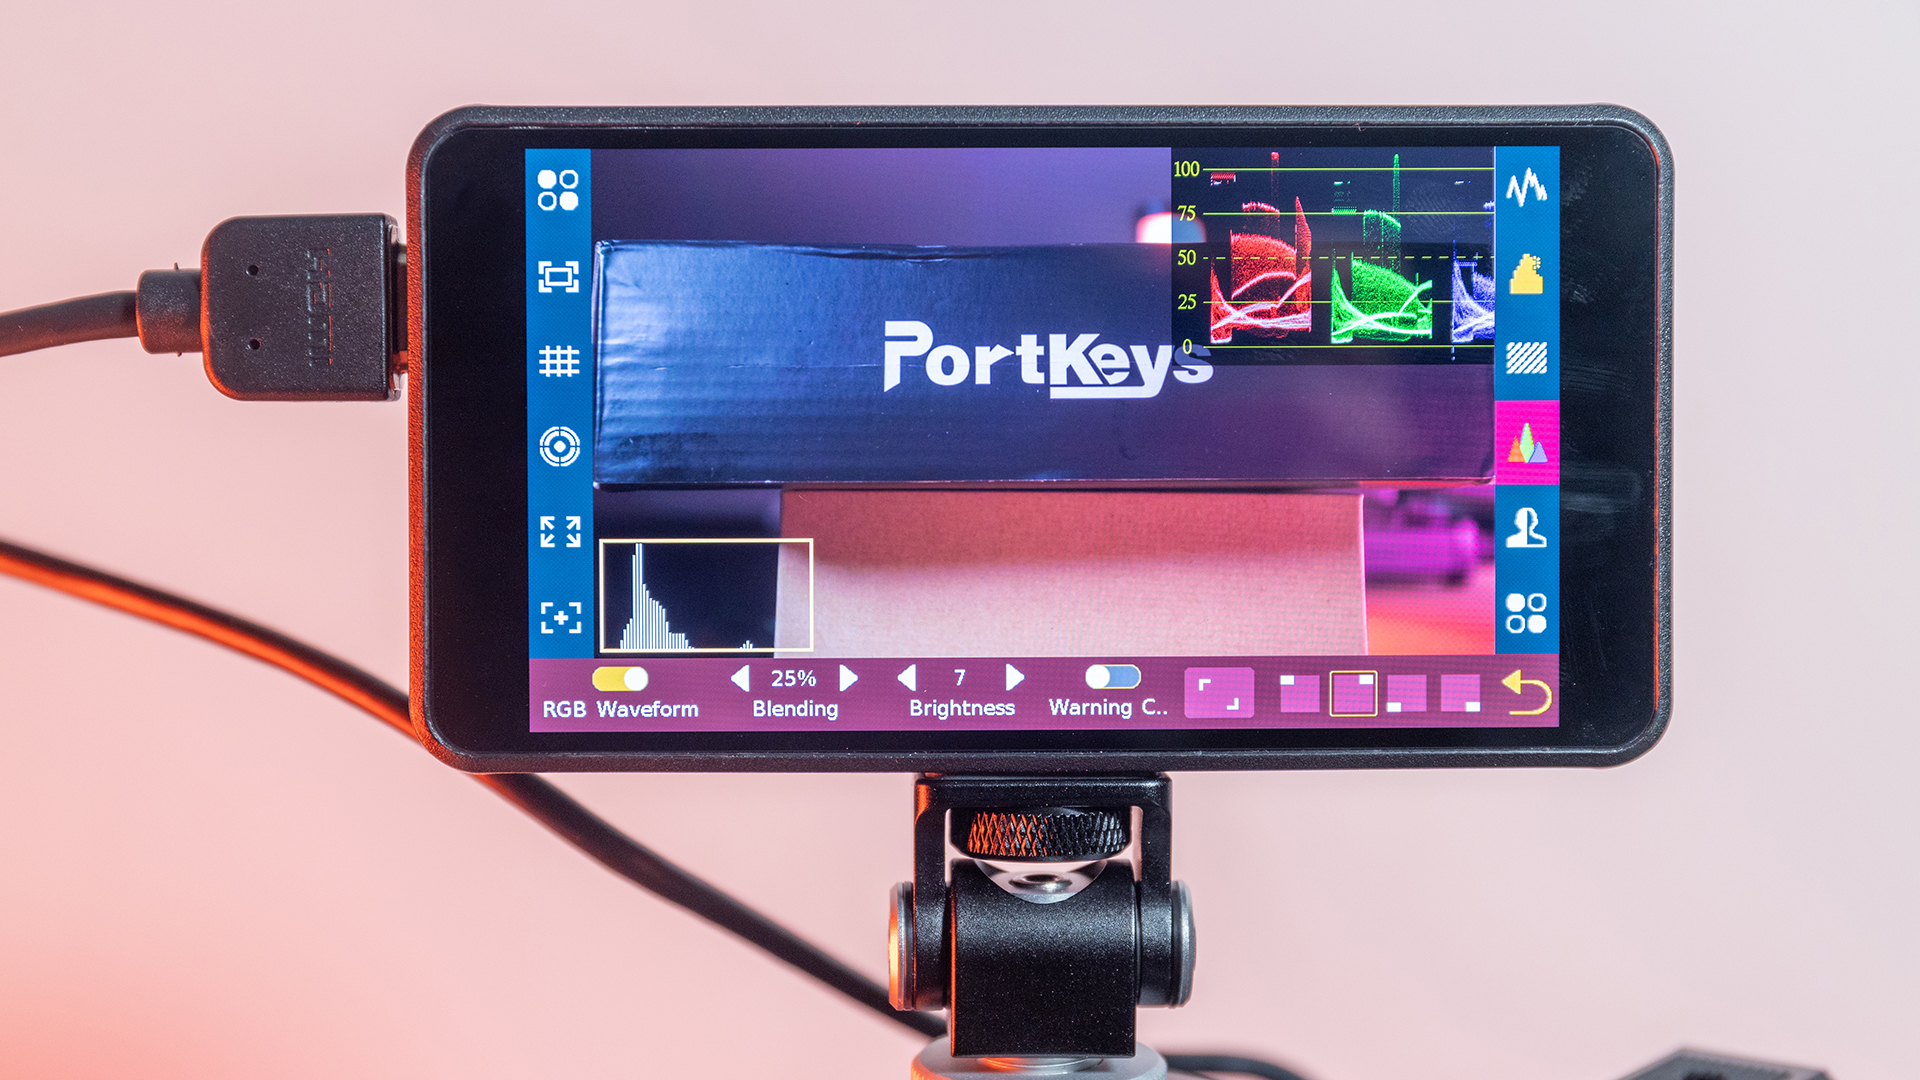
You can activate numerous monitoring tools at the same time to help you. I’m not sure if i’s a bug or something regular, but you can “only” activate two scopes at the same time between Luma Histogram, Luma Waveform, and RGB Waveform. You can’t start all three at the same time. However, you can activate two scopes and peaking/guides/grids at the same for example. All in all, monitoring tools are fine.
Portkeys PT5’s user interface
Portkeys put some work towards its user interface, and it is now much easier to use, especially on the PT5.
The user interface consists of two pages. When you start the monitor, it shows you your image or the Portkeys landing page if no source is connected. If you touch the screen, the image scales down a bit and the Function settings page pops up on the sides of the display. All your monitoring tools are on this Function page.
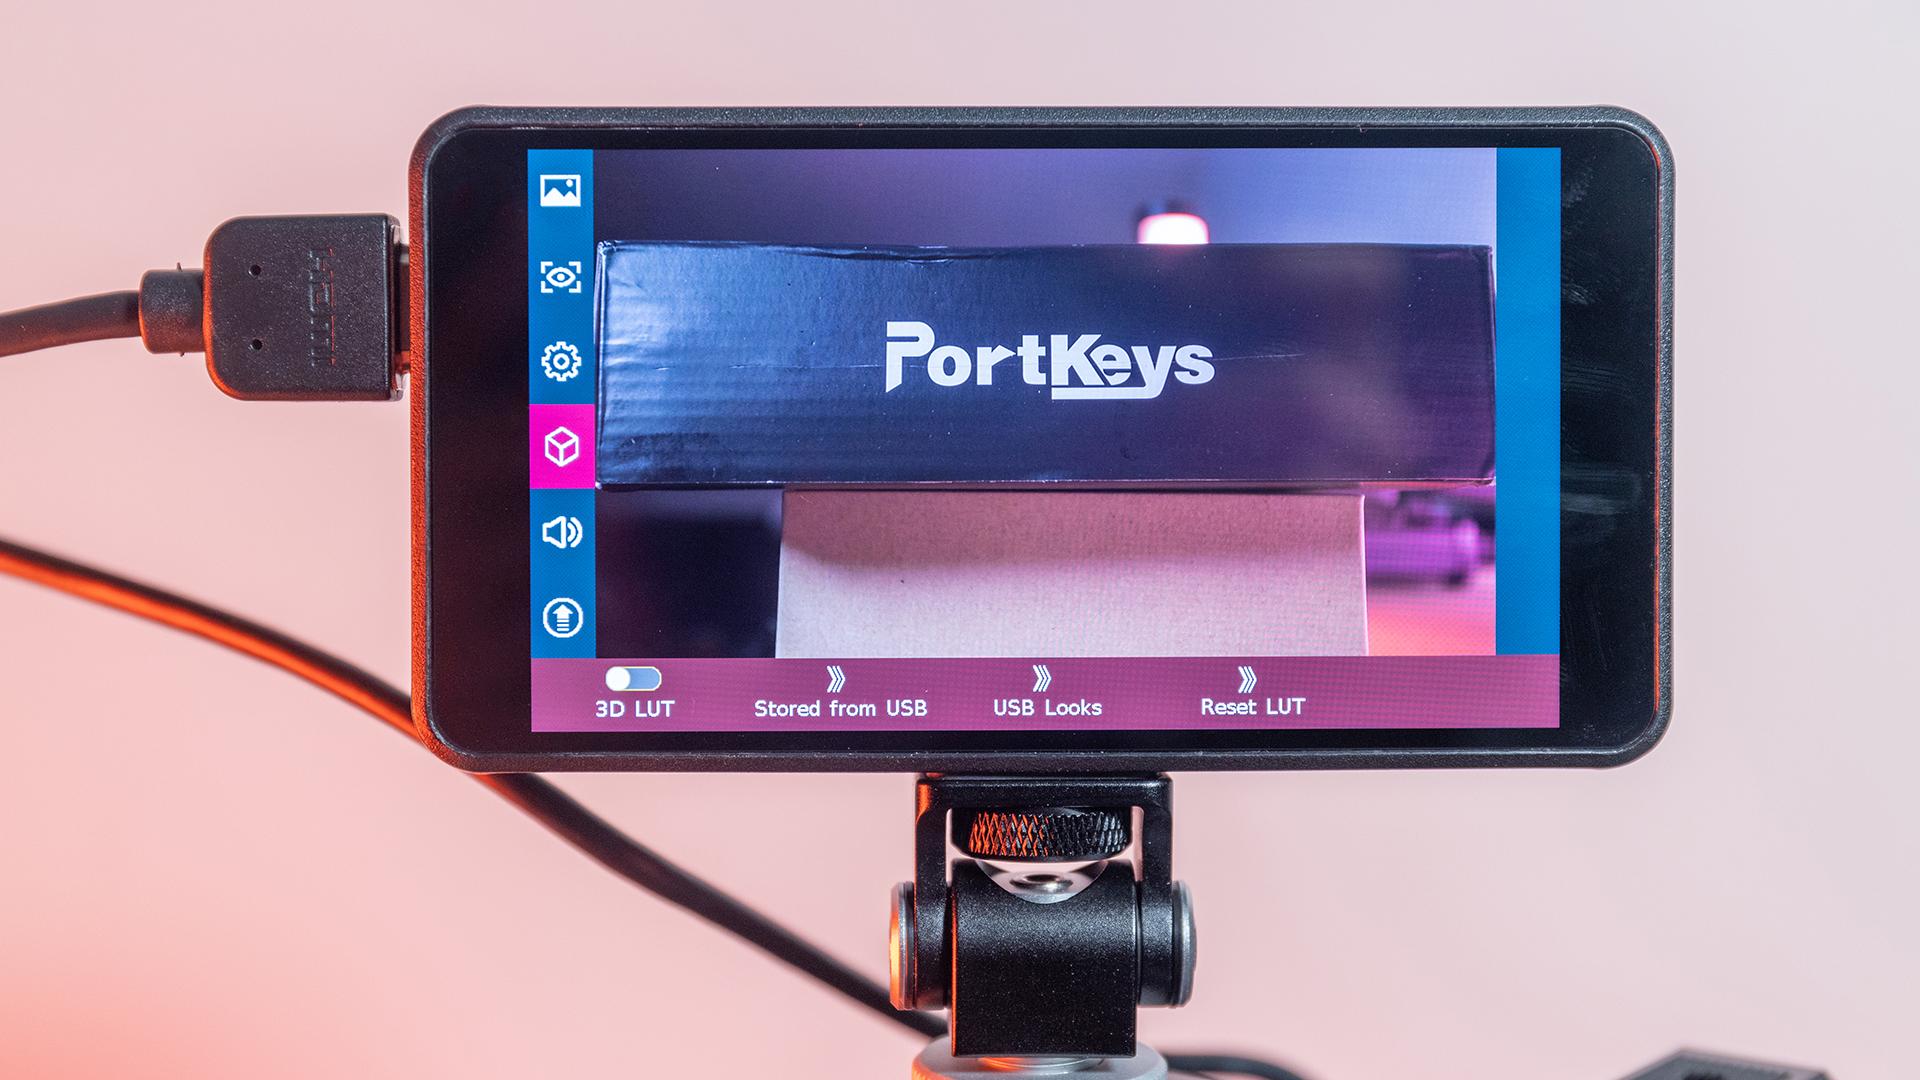
If you swipe to the left or right, you can access the System settings page. This page is where you can adjust the display settings, audio output, LUT, firmware update, etc.
Back on the Function page, you’ll find a little “+” icon on the left. Press it, and you can assign any of the monitoring tools as a shortcut in the toolbar.
In total, you can put up to twelve monitoring tools on the sidebars. Then, when you’re set, all you have to do is press an icon to enable/disable this tool. In addition, you can long-press on a shortcut to change it or remove it from the side.

You can adjust the scale/position/settings of each tool via the touchscreen. However, you have to press the monitoring tool you want to change for a second and slide it to the side. I have to admit that this manoeuver is sometimes tricky, and it takes some time to get used to.

Then, a sub-menu will pop up at the bottom of the screen, and you can change your monitoring tools’ settings.
As I mentioned, the Portkeys PT5 does not have any physical buttons, and all the navigation is via the touchscreen. I’m glad there are only pages, as it is relatively easy to operate and understand, but there are also some drawbacks like the numerous fingerprints the screen will accumulate.

Screen image quality
Not all monitors are created equal, and the quality of the display behind them may vary significantly. A great on-camera monitor must be as color accurate as possible and close to “what you see is what you get” as possible. If your monitor colors are incorrect, you won’t see your footage the way it’s supposed to be. For example, when a monitor’s colors are wildly inaccurate, it can happen that you see orange when you’re supposed to see yellow or red. It can affect how you set your camera’s white balance or exposure, for example.
Most of the time, you can’t use a probe or spectrophotometer to adjust your on-camera monitor. It means that you’ll have a hard time trying to calibrate it correctly by hand with only a few built-in picture adjustment tools at your disposal in the menu system. In short, on-camera monitors must be as good as possible out of the box with minimal color adjustments needed by the end-user.
Out of the box, the colors and images coming out of the PT5 are extremely good, and I would say close to being 100% color accurate. I only lowered the saturation by 3-4, and that’s it. I was delighted by what I saw, and I would not be that surprised if Portkeys calibrate each monitor out of the factory. The image is crisp and clear, which is impressive for an entry-level product.
On most on-camera monitors (the ones that are not OLED), if you crank up the brightness to its maximum setting, the display tends to lift the image’s black parts. In short, blacks are not black anymore, but more on the grey side, and the picture becomes a little washed out. However, on the Porkeys PT5, I found that even at maximum brightness, the image doesn’t shift a lot, and blacks are still pretty dense. I guess it’s mainly because the PT5 has a full brightness of 500nit only.
To give you a rough idea, the PT5’s maximum brightness is slightly over the Canon EOS C70’s display, which is also hard to view in bright daylight conditions.
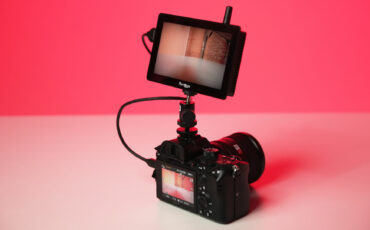
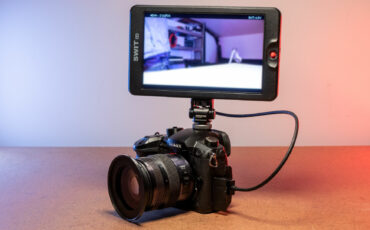
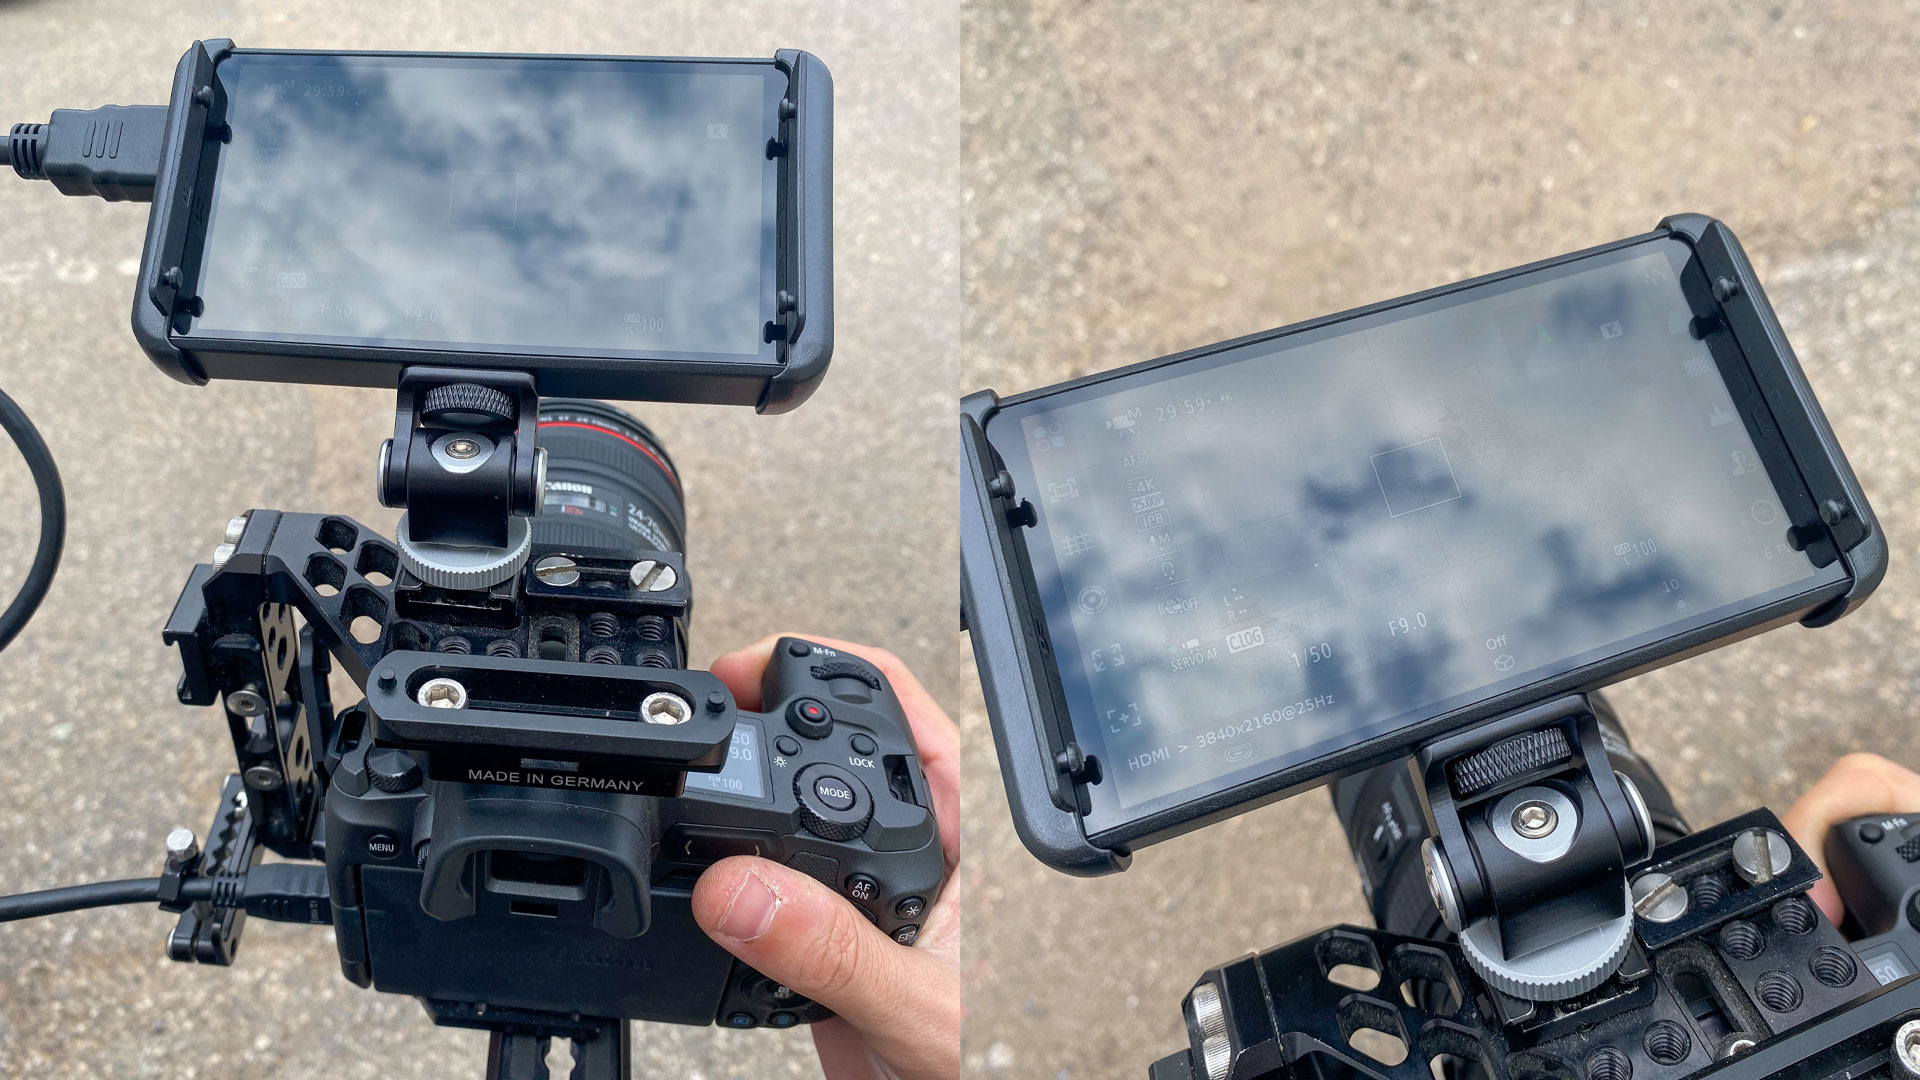
Field test
As I already mentioned, the screen is hard to see if you’re shooting outdoor. But, on a cloudy day, it can get the job done with the included sun hood.
However, I think that the Portkeys PT5 is more suited if you’re often shooting inside. For example, during corporate/interview shoots inside, it’s an excellent low-cost option that I had a blast using.
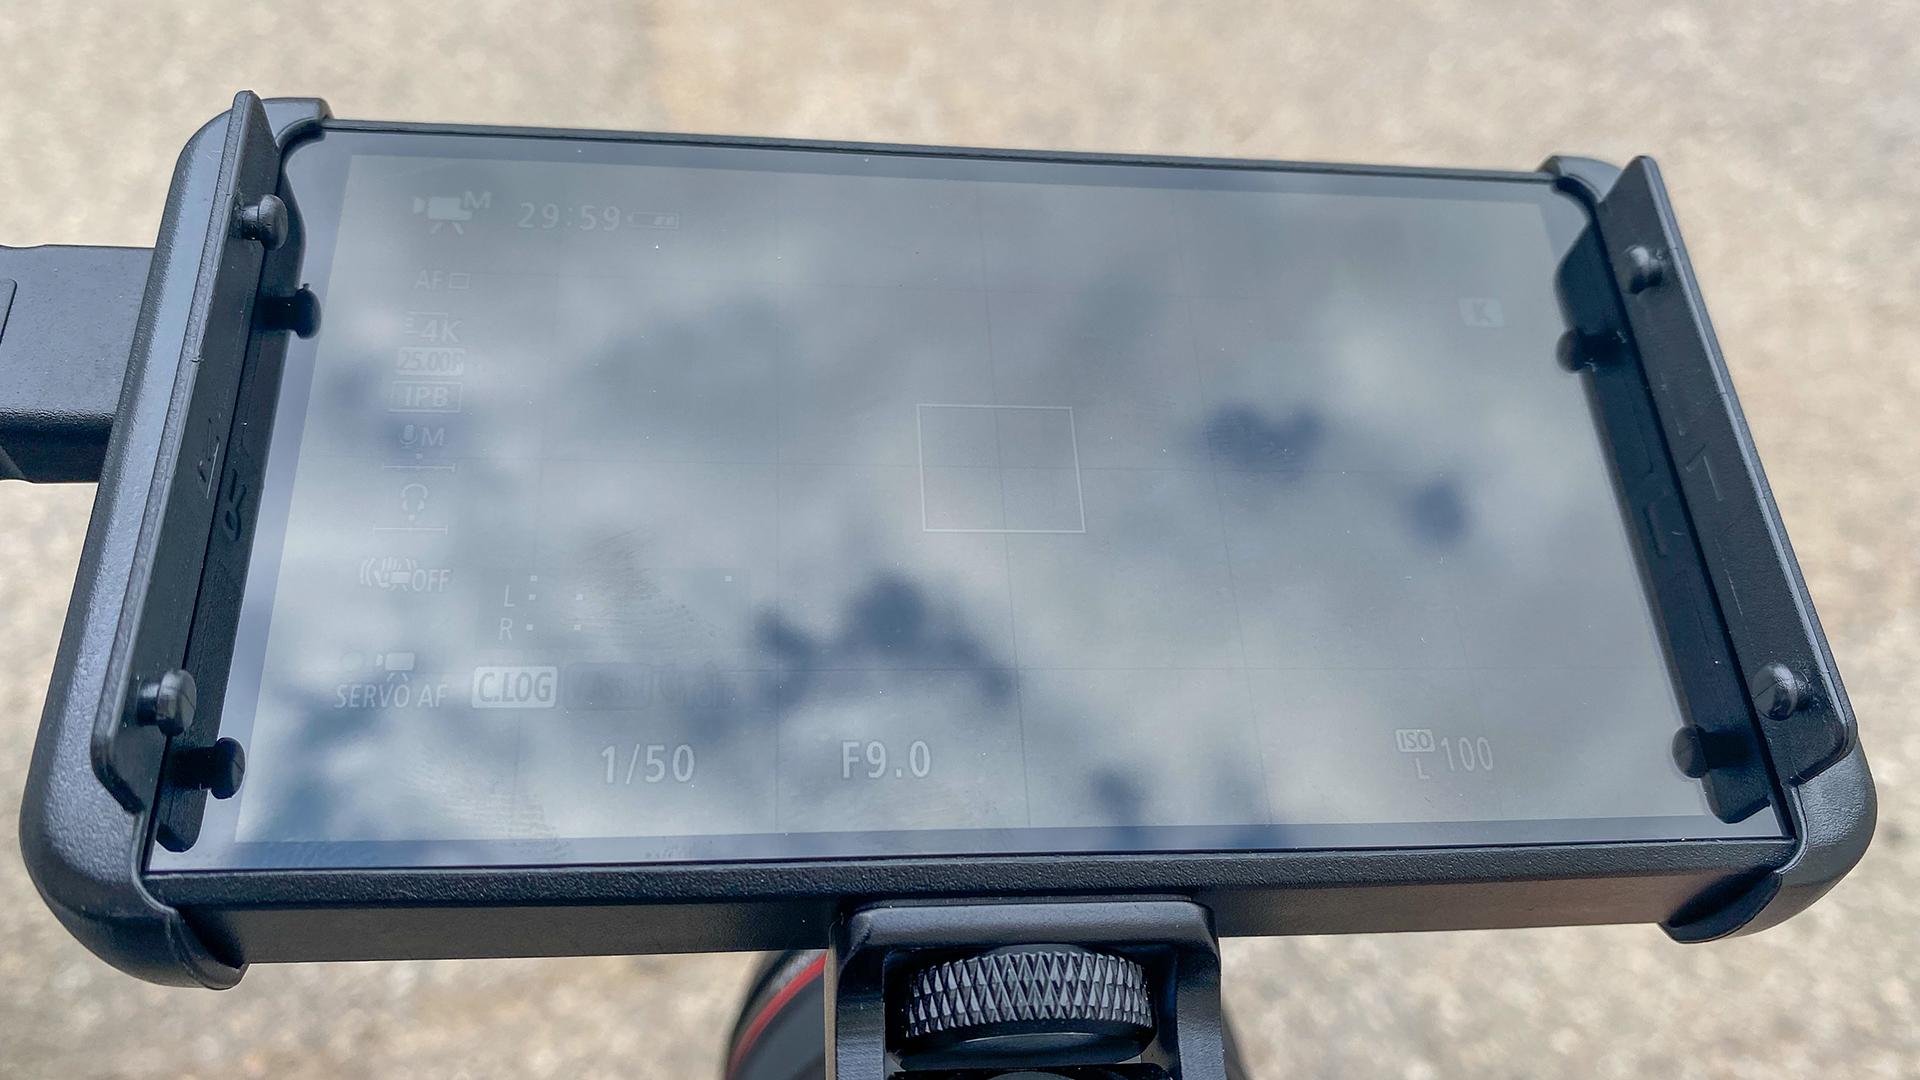
Also, one thing that I found annoying is that the display catches fingerprints quickly. It means that you need to clean your monitor very often, which can be annoying.
I loved how lightweight the PT5 is; it weighs nothing with a Canon LP-E6 at the back, so your camera rig stays easy to operate handheld.
In a lot of ways, the Portkeys PT5 reminds me a lot of the SmallHD 501, which is still to this day my favorite 5″ on-camera monitor. It’s compact, lightweight, with good battery life, and it just feels like it’s part of your camera. The good thing is that the PT5 is a fraction of the SmallHD 501’s price, and it even has a way better battery life, but it doesn’t have SDI input/output ports. So you can’t have the cake and eat it too.
You got it; I love when I’m working with and not against an on-camera monitor. A third-party monitor should feel like a natural addition to your rig and not an add-on that you don’t want to bring/mount on your camera.
Competitors
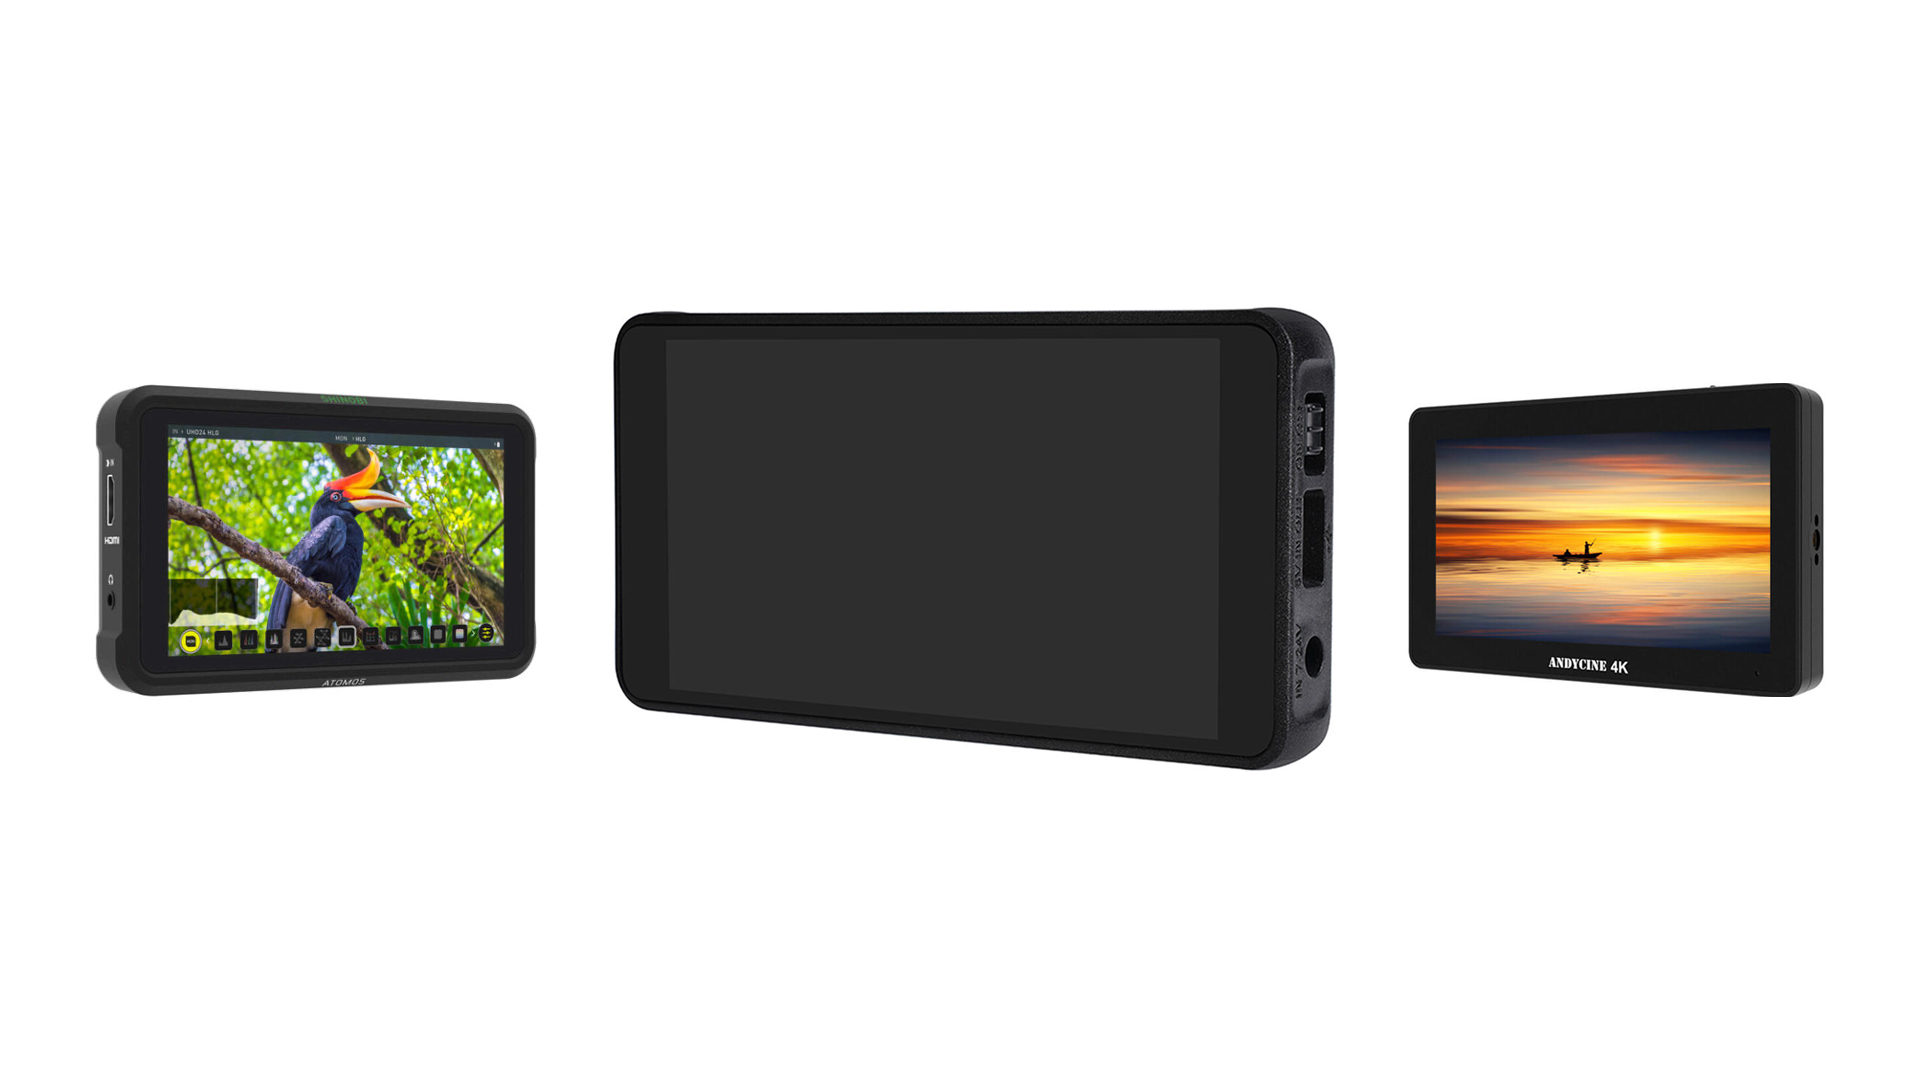
There are many 5″ on-camera monitors available on the market, with different price ranges depending on features you need/want. So I decided to compare the Porkeys PT5 ($169) to the Atomos Shinobi that retails for a $299 price tag ($130 more expensive) and the FeelWorld F5 that is $149.
| Portkeys PT5 | Atomos Shinobi HDMI | AndyCine A6 Plus V2 | |
| Display Size | 5″ | 5.2″ | 5″ |
| Display Resolution | 1920 x 1080 | 1920 x 1080 | 1920 x 1080 |
| Maximum Brightness | 500nit | 1000nit | 450nit |
| Contrast Ratio | 1000:1 | N/A | 1000:1 |
| Display Technology | WLED | IPS | IPS |
| Touchscreen | Yes | Yes | No |
| Bit-Depth | 10 bit (8+2 FRC) | 10 bit (8+2 FRC) | 8 bit |
| HDMI Input | Yes: it supports a signal up to DCI 4K (4096×2160) at 24fps or HD video at up to 60fps | Yes: it supports signal up to DCI 4K (4096×2160) at 30fps or HD video up to 60fps | Yes: it supports signal up to DCI 4K (4096×2160) at 24fps or HD video at up to 60fps |
| HDMI Output | Yes: DCI 4K at 24fps or HD video at up to 60fps. | No | Yes: DCI 4K at 24fps or HD video at up to 60fps. |
| SDI Input/Output | No | No | No |
| Headphone Jack | Yes: 3.5mm jack | Yes: 3.5mm jack | Yes: 3.5mm jack |
| 3D LUT Support | Yes | Yes | Yes |
| Monitoring Tools | Yes | Yes | Yes |
| Powering | Sony NP-F Battery or Canon LP-E6 batteries | Sony NP-F battery | Sony NP-F Battery or Canon LP-E6 batteries |
| Other Power Inputs | Yes: USB type-A port via a power bank, and 7.4-24V power input/output port | Yes: comes with AC power supply and supports AtomX or other powering options | Yes: 12V DC-input port. |
| Power Output | Yes: 7.4-24V power input/output port | No | Yes: 8.4V DC output |
| Camera Control | No | No | No |
| Image Calibration | N/A | Yes: via an optional Xrite i1 Display Pro prob | No |
| Weight | 130 grams / 4.5oz | 196 grams / 7oz | 142.5g / 5oz |
| Size | 136 x 72 x 17mm | 151 x 91.5 x 31.5mm | 136 x 75.7 x 25.2mm |
| Construction | ABS plastic | Polycarbonate ABS | Polycarbonate ABS |
| Mounting Points | 1 x 1/4-20″ at the bottom | 2 x 1/4-20″, one at the top one at the bottom | 2 x 1/4-20″ and one cold shoe |
| Mounting Bracket Included | Yes | No | Yes |
| Price | $169.00 | $299.00 | $148.99 |

Final thoughts
All in all, I was amazed by this aggressively priced 5″ monitor from Portkeys, which is the company’s “entry-level” monitor. The image coming out of the PT5 is great for the price, and it offers all the tools you need to monitor your signal properly.
Who is this monitor for? I think it can be a fantastic addition to your kit if you don’t need a daylight-viewable monitor nor the built quality of a product you can rent. For owner-operators that are shooting inside most of the time, or people that are making live streams, you can’t go wrong with the Portkeys PT5.
Price and availability
The Portkeys PT5 retails for $169/€149, and it is available now.
For more information, please visit Portkeys’ website here.
What do you think about this entry-level on-camera monitor from Portkeys? Do you want to learn more about a camera monitor and want us to review it? Don’t hesitate to let us know in the comments below!