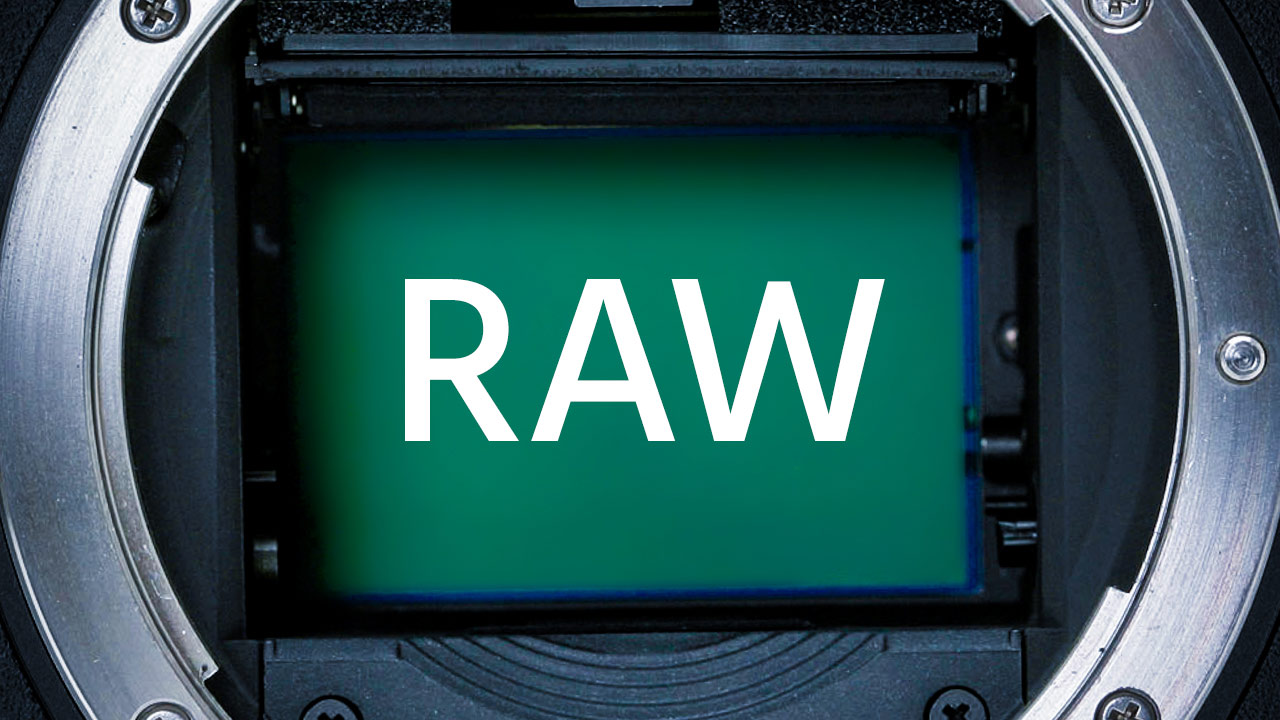
In this guest post, Stewart Addison explains what shooting RAW really means, the different kinds of RAW, and when and how to implement a RAW workflow.
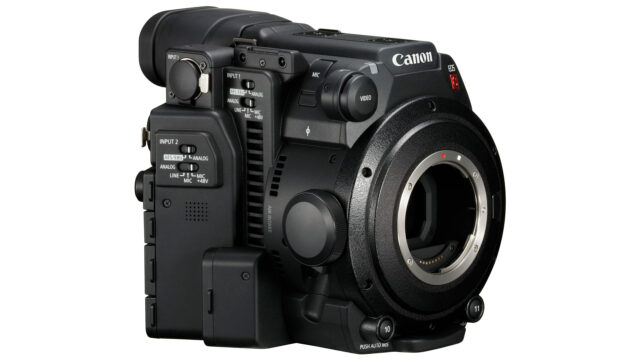
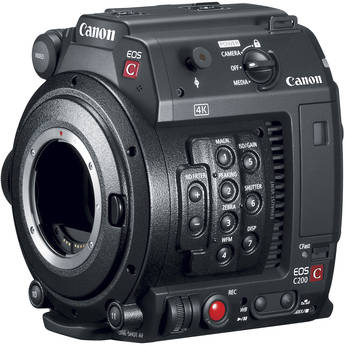
In case you missed it, Canon recently announced the C200, it’s first sub-$10,000 cinema camera to shoot RAW. As with every announcement for a RAW camera, folks on the Internet have been quick to point out how simply untenable RAW file sizes and workflows are for a large swathe of filmmakers. While it is true that shooting RAW is tricky, time consuming, and hard drive-filling, the benefits absolutely outweigh the costs. Even for quick-turnaround shooters, the precision, image-richness, and future-proofing RAW shooting options provide make it a must-have feature for anyone buying a cinema camera today.
What is “RAW”, really?
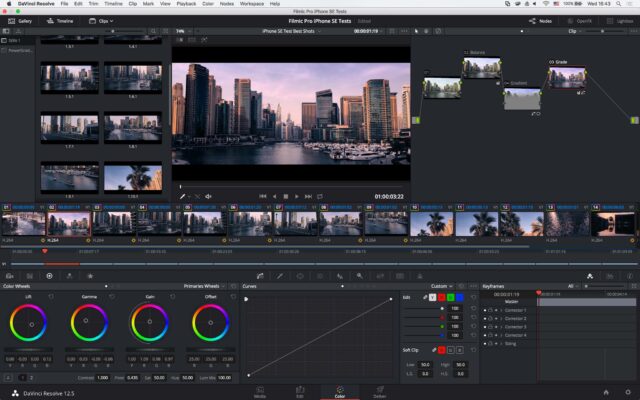
Put simply, RAW footage is the plain, unprocessed, data from your camera sensor. To edit RAW footage as a moving image, it has to be processed in post with programs like Blackmagic Resolve, RED Cine-X Pro, ARRIRAW and in a limited capacity Adobe Premiere Pro. When shooting in other formats, the camera (or external recorder) will process what the sensor ingests into said format, losing sensor data in the process. With RAW, all of the data collected in the sensor is available to use in post.
Shooting in H.264 on a Canon 5D MKIII, for instance, compresses the file size to 1/18th of its uncompressed stream by only fully recording one full frame per half second, and taking in only visible changes to cover the other 13 frames (in 24fps) that aren’t being fully captured. Pair this with the baked-in picture profiles you recorded with and you’re left with very little data to play with in post. Any exposure fixes or color changes you need could prove difficult and might result in your image breaking down.
Even with a larger codec, those risks persist, though to a lesser degree. Uncompressed video, which processes the footage into video but doesn’t apply any block, wavelet, or temporal-based compression is a great way to get a lot of information, but you still lose bit-depth (color information). Uncompressed video usually comes in at 10-bit, giving you 1024 possible tonal values, whereas 12-bit RAW has 4,096 possible values.
Moreover, RAW data doesn’t bake in ISO and Kelvin (white balance) data, allowing you to change it in post. To sum up the RAW experience, I will call on a fantastic quote from Kurt Lancaster.
“To shoot RAW means to thicken the color of your images, making them more dense—a lot more data provides more headroom to push and pull footage in post, to correct errors made during shooting, as well as to shape the look and feel of your film.”
The advantages are plenty and aren’t nearly as costly as they seem.
Storage varies
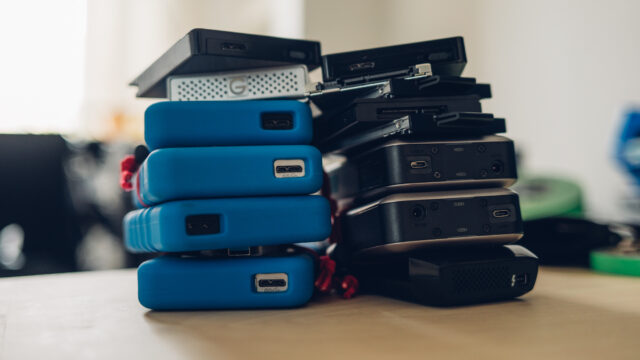
Yes, storage space fills up quickly when you shoot RAW. An hour of 16:9 ARRI Alexa ARRIRAW footage will eat up about 605 gigabytes, the URSA Mini Pro takes up about 648 gigabytes in 4.6k RAW (CinemaDNG RAW), and the C200 comes in at around 512 gigabytes per hour. It’s a lot, especially if you want to keep a backup or your RAW video. If storage is a problem, however, you have solutions.
When you shoot RAW, you make your major color/exposure changes before you process the footage, meaning that you can vastly condense your file sizes to fit your needs before anything is added to your hard drive. Your camera still needs hefty storage options, but backing up your footage to your computer becomes as friendly as you need it to be.
Moreover, you still have resolution and camera choices at your disposal. The C200 offers a Cinema RAW Light format that’s considered 3 to 5 times smaller than traditional RAW formats. But wait, there’s more!
Not all RAW cameras shoot truly uncompressed RAW, giving you additional options.
If 12-bit color depth covers what the human eye is able to see, and truly RAW sensor data comes in the form of uncompressed RAW files, then the standard for pure RAW output would be 12-bit uncompressed RAW files. The ARRI Alexa XT can internally record RAW data this way at the price of nearly one terabyte per hour of footage. If that sounds like a lot to you (yes, it’s a lot), there are other options.
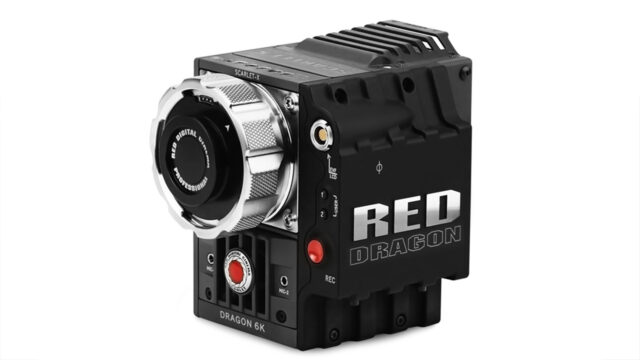
RED approaches RAW differently. REDCODE RAW (.R3D files) uses a variable bitrate wavelet technique that can compress RAW files at various levels for smaller storage space, and has improved from 12-bit to 16-bit over the years. RED .R3D files have also been optimized for different workflows, allowing filmmakers to preview and work with footage at lower resolutions while retaining the information of the full resolution image.
According to RED, wavelet compression at 3:1 is mathematically lossless, while 5:1 and 8:1 are visually lossless. This compression can allow you to shoot RAW with smaller file sizes than shooting ProRes, which is some achievement. This isn’t a purist’s RAW recording, but for many the differences are negligible and they are overwhelmed by the benefits. As technology advances, more cameras will likely take the RED .R3D model, and many already have.
Sony’s CineAlta cinema cameras offer varying degrees of compressed RAW using external recorders, with the benefit being the ability to record at high frame rates and with high resolution. As noted above, the C200 takes a similar approach to compressed RAW with Cinema RAW Light. However, the first iteration of RAW for Canon’s cinema cameras, the one in the C500 and C700, is very different though.
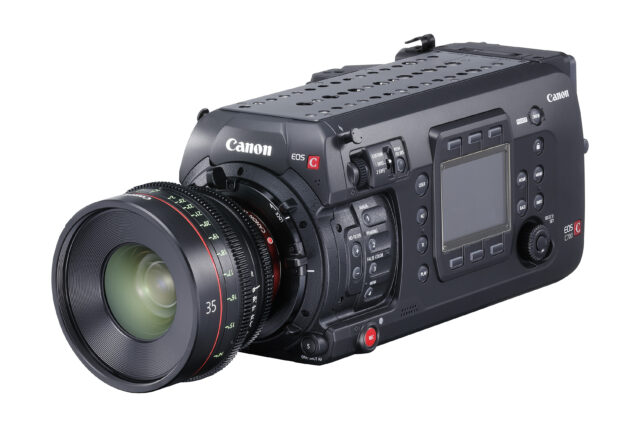
With the Canon C700 camera, Canon joins ARRI as having the closest to a purely RAW output, with 12-bit depth. The Canon C500 records 10-bit external instead of ARRI’s 12-bit (or Sony and RED’s 16-bit). Canon Cinema RAW (.RMF) files pridefully contain no processes applied to the data coming out of the image sensor. These are huge 4k files, bigger than 4:3 ARRIRAW at 2.8k. Cinema RAW Light (compressed RAW) looks like a different direction for Canon it remains to be seen whether the company maintains its RAW purity with its flagship line.
Finally, RAW recording isn’t all internal, shifting the gear up, external RAW recording adds cost to your bottom line. The C200 offers truly economical RAW options because it offers lower file sizes and records internally (as opposed to the C500, which requires an external recorder). The same goes for RED and post-Alexa classic ARRI cameras (internal RAW recording). Sony, on the other hand, only offers RAW via external recorder on its cameras. While that adds money and hassle to your bottom line, external recorders often provide the extra horsepower to add features otherwise unavailable internally, so they make sense for certain filmmakers.
The point is, RAW is not a singular, unfriendly, codec. Its benefits are available to filmmakers with varying needs and workflow priorities, you just have to do your homework first. Speaking of workflow priorities…
Not as much time as you think
It seems impossible to come across a review for a RAW camera that doesn’t mention how RAW isn’t an option for quick turnaround shooters. First of all, what is quick turnaround? Two days? One day? Six hours? Yes, I’ll concede that time-sensitive news coverage has little benefit for RAW video, but a lot of filmmakers who work in quick turnaround environments aren’t on such a short leash. RAW workflows are possible if you know what you’re doing, especially when shooting RED .R3D RAW which has native support in Adobe Premiere Pro, you can drag the .R3D files straight to the timeline.
First of all, each batch of RAW footage is not some new, unexplored, color playground. You can monitor through different LUTs and color spaces while shooting, and have them ready in your project settings for processing. With a little pre-production organization, you can know the look you’re going to get before you step on set and get the footage processing the minute your card has been filled up.
No time for specialized settings for each new project? Find a color outcome you like and make it your default for every project. You not only get the rich images RAW provides, but you’ve also tuned the colors to your taste.
Finally, processing time doesn’t have to be lost time. I’ve found that, for most projects, a day of shooting would yield 2-3 hours of total processing time. That’s time that can be cut into chunks on-set if you have a DIT, or it’s time that can be spent while you’re busy with other obligations. If you’re organized, processing doesn’t have to drastically alter your completion time.
You don’t HAVE to shoot RAW
Unless you’re shooting on a Digital Bolex (R.I.P) or RED DSMC1 camera, your RAW-shooting camera has other recording options. When you get a project where RAW isn’t right for that project, don’t shoot with it! When you get a project where RAW is beneficial, you’ll be very glad to have all of that flexibility in post-production.
It’s worth it
With RAW, you not only get rich, beautiful colors and the ability to correct mistakes and adjust ISO and Kelvin (white balance) after the fact, you get creative freedom you aren’t afforded with any other codec. You can find the exact look you want without compromise and, if you change your mind, you can go back and reprocess that footage for an entirely different look later. RAW footage is the digital version of a film negative. Once you have that at your disposal, you definitely won’t want to go back.
How prevalent is RAW footage in your day-to-day work? What particular challenges do you find in working with it? Let us know in the comments below!
