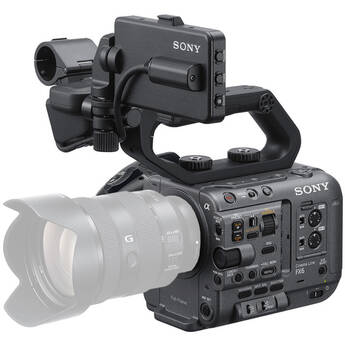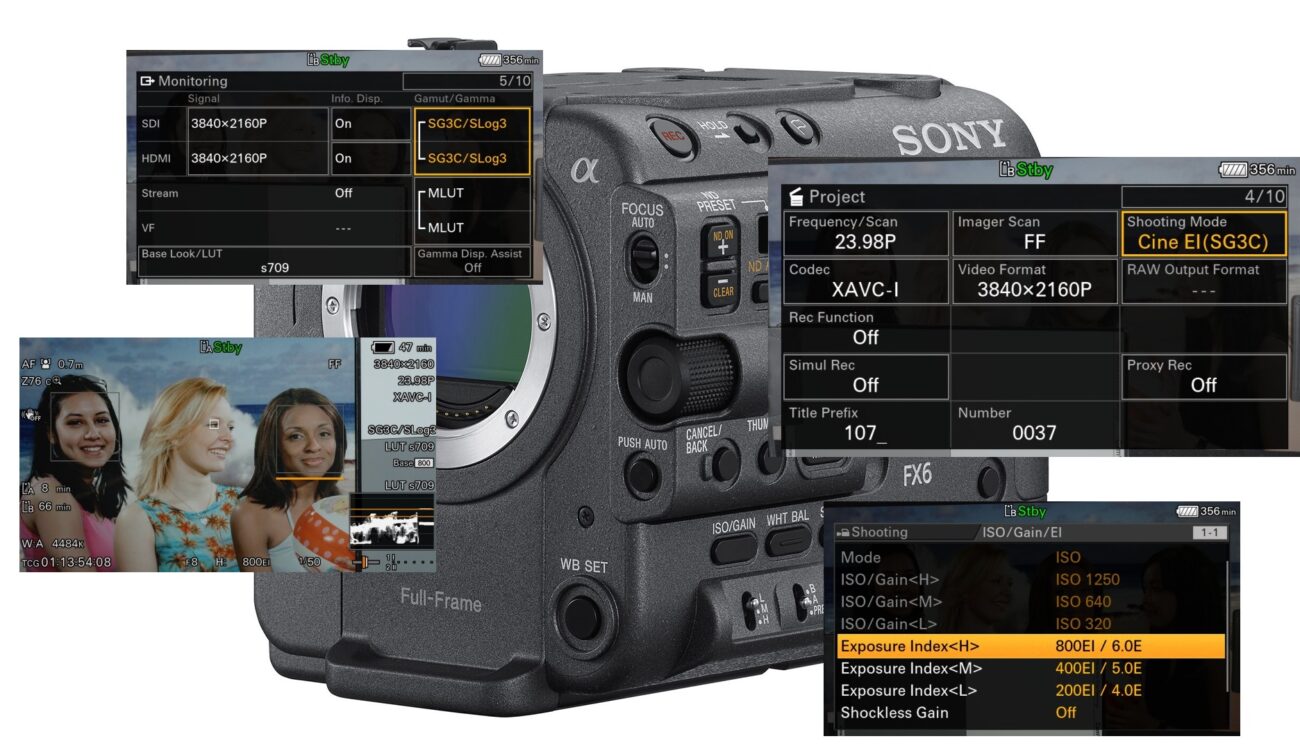
Sony Independent Certified Expert Alister Chapman wrote a guide for the Sony FX6 CineEI mode on his blog XDCAM-USER. He dives deep into the camera’s settings while explaining the proper use of LUTs, Zebras, and EI (exposure index) in order to expose correctly with the FX6.
When it comes to Sony’s professional cameras, I think it is safe to say that the Sony Independent Certified Expert Alister Chapman has a lot of technical knowledge. You might remember that shortly after the Sony FX9 was released in late 2019, Alister Chapman held a “deep-dive” workshop about the camera during Vocas Sony FX9 days in the Netherlands. The resulting 3.5 hours video is a valuable resource for all FX9 operators in my opinion. Alister also created a free PDF Reference Guide for the FX9.
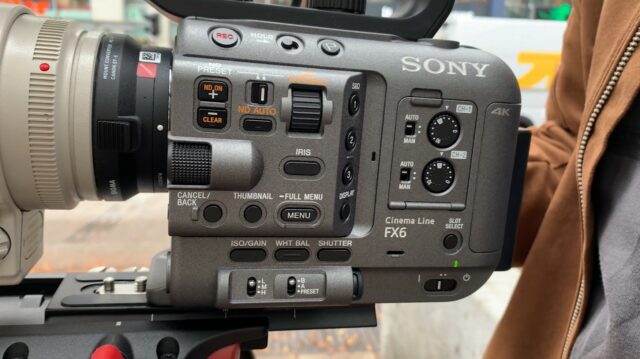
FX9 guide first, now it’s the FX6’s turn
Since its announcement in November 2020, the Sony FX6 caught a lot of attention as it offers very interesting specs in a compact body for a reasonable price. You can check Nino’s FX6 first-look review here in case you haven’t yet. Recently, Alister Chapman wrote an article called guide for the Sony FX6 CineEI mode on his online blog XDCAM-USER. The article explains a lot of technical settings and features of the CineEI mode and I think it is a valuable resource for FX6 operators.
Sony FX6 CineEI Mode Guide
Just like Sony’s older models FS7 and FX9, the latest Sony FX6 offers two main shooting modes – Custom and CineEI. The Custom Mode basically makes the camera record the footage “as displayed” on the screen, any change to ISO means the image immediately adjusts.
The CineEI mode, on the other hand, is designed for S-Log3 or raw shooting to get maximum dynamic range. The camera always records with one of two base ISOs (800 or 12,800) in the CineEI mode. Any values in between cannot be selected. Monitoring the recording in CineEI mode is done with the use of LUTs (Look Up Tables).
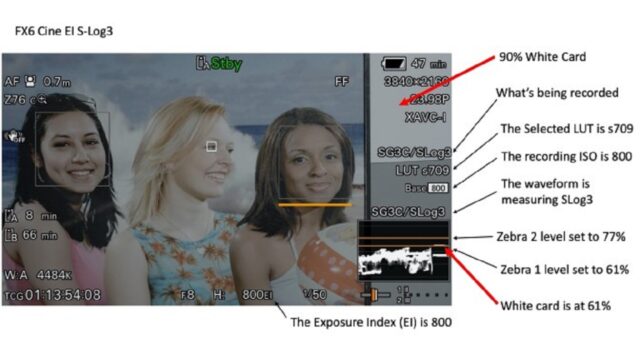
In his article, Alister writes about the three built-in LUTs in the FX6 and about the possibility to load custom user LUTs. He writes in-depth about how to expose when recording and monitoring with the LUTs. It is important to say that in UHD 4K, the Sony FX6 only shoots 8-bit when using the Long-GOP XAVC-L codec, so it is better to use XAVC-I which is always 10 bit 4:2:2 and/or raw.
Furthermore, Alister gives useful tips on how to adjust EI (exposure index) levels with both base ISOs in order to get the best results. He also goes through zebras settings for different LUTs and how these will assist the best to expose correctly.
Finally, Alister also mentions what to pay attention to when playing back the recorded clips. The FX6 supports applying the desired LUT to the clip in playback, but the camera currently switches an EI offset assigned to the L/M/H gain/ISO switch back to front. That makes the recorded clips look brighter or darker than they actually are. Hopefully, Sony will address this behavior in a future firmware update.
Do you use the Sony FX6 for your work? How do you like the camera so far? Let us know in the comments below the article.
Source: XDCAM-USER
