In this guest post, Yossy Mendelovich dives deep into the editing process, and explains how to face the technical and psychological challenges of this stage of filmmaking.
Sometimes, shooting is the easiest part. You just have to press that red button and the images start flowing onto the camera’s sensor and are then captured onto the memory card. The problem comes later when, after an intensive few days of shooting, you find yourself faced with thousands of clips and hours of footage that need to be transformed into a story. Someone will have to edit that eventually, and, being an independent filmmaker, that someone is most probably going to be you.
This is why having a vast knowledge of the video editing discipline is one of the most important capabilities you can have. In this article, I’ll try to build a methodology around this challenging editing phase.
Step 1 – Shoot for the Edit
A good edit starts before even pressing the “Record” button. Being able to “see” the final film during production in order to shoot relevant material can really give you the upper hand and make editing easier during the post stage.
Step 2 – Make sure you have enough material (footage + sound)
It is quite frustrating to open your editing application and import the media only to discover that you don’t have enough material.
Step 3 – Make a backup
Backup your media to at least three copies, and verify the all the sources are located at different locations.
Step 4 – Watch and arrange clips into folders
This is where the post-production stage begins. You should watch all your clips and organise them, whether this is done in folders within your operating system, or in bins inside your editing application. Oh, and yes… you must watch ALL your clips! It is also recommended to do this after each shooting day, as this will often help you discover if there are any missing shots. If your have more shooting days ahead of you, then that gives you a chance to get those necessary shots.
Also, make sure you watch all your clips even if you’re certain they’re terrible. You may be amazed to find a little diamond among the rubbish — a fraction of a second of outstanding footage that could make a big difference in your film.
At this stage, let’s suppose you have about 1000 clips derived from ten shooting days. Now it is the time to build your first timeline: the rough cut.
Step 5 – Open you favorite editing application
It’s important to note that your editing application, or Non-Linear Editor (NLE), is just a tool. That said, there are three major editing NLEs: Final Cut Pro X, Adobe Premiere and Avid Media Composer. They are all considered professional tools, and you could easily edit a whole film with each one of them. Many will defend one particular software over another, leading to an ongoing battle about which NLE is the best, but it’s really not that relevant. After watching a film, you can’t tell what system it was edited on, so just choose the right tool for you. And what is the right tool? The tool you know the best.
Step 6 – Filter junk footage
Now it is time for “throwing away” all non-relevant footage. Reduce your clip count and discard anything that you consider is non-worthy cinematographic footage. Note: DO NOT DELETE – just re-locate those discarded clips to their own dedicated folder.
Step 7 – Transcoding
Let’s suppose that from the 1000 original clips, you are left with 750 that are usable. These are the clips that need to be transcoded. The transcoding process is very important since it allows you to achieve fast playback with no app lag or dropped frames, and is particularly essential if the timeline is to be complex, e.g. one that is composed of dozens of video and audio tracks.
Step 8 – Start building your story (=timeline)
Watch all your clips (again) and “drag and drop” them into the timeline to start creating your rough cut. The rough cut is your very first timeline, and is maybe the most painful part of editing. At first, you may have the impression that everything looks good, any you may want every last piece of footage to be in the film. However, eventually you are going to have to make hard choices and filter, cut, delete and drop expensive footage. The goal during this first timeline stage is to allow you to not say goodbye to your beloved footage just yet.
Step 9 – Create more cuts (more timelines)
Now it is time to continue with the hard emotional choices and cut, trim, delete, and drag and drop parts from that rough cut into more reduced timelines that are more relevant to the story. DO NOT FALL IN LOVE WITH YOUR SHOTS ! You will need at least two more passes into new timelines until you get to the desired final cut, at least in terms of footage, and there will be a few more stages after that until you finalize the final cut, which includes the soundtrack, sound effects, filters, grading and more.
Step 10 – Build your story until the final cut
Let’s talk a little bit about how to cut. How do editors know what is the right sequence of shots, assuming there isn’t a storyboard which can help yout focus in the story-creating process? Assuming you are a one-man-band, in most cases you will have to finalize your timeline yourself.
Is there a right way to organize all the remaining clips in the timeline to make this process a bit easier? Well, there is.
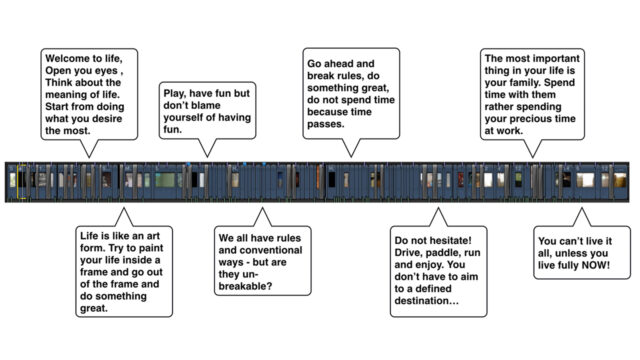
Let’s analyze the last film I made, which was not a paid gig but a birthday present for my wife’s 40th birthday. The goal of the film was to demonstrate the importance of not wasting time doing things you don’t want in your life. I personally wanted the film to look very dynamic, fast, engaging and stimulating. The final result is below:
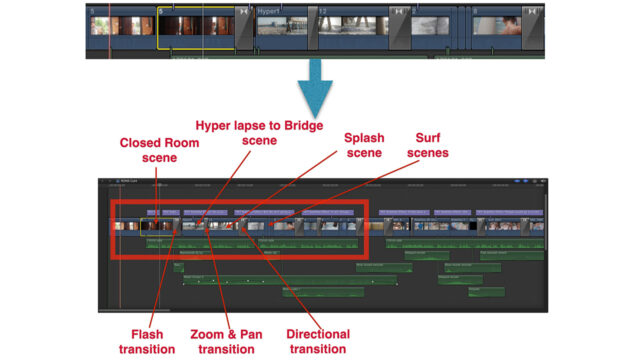
Out of the many hundreds of clips I ended up filming, I decided to use the open door scene for the opening shot. Why? Because it’s logical. Opened door = opening scene = logical starting point. The next step was to throw the audience right into the action by using the hyperlapse shot. That shift from a closed room was achieved by combining a flash transition and cropping into the light to make this shift fast and surprising — like waking up from a dream.
There is a concept here: from closed room to the fresh air of the sea, straight to the shot of Santa Monica Pier, all at a fast pace. In order to emphasize speed, I shot the hyperlapse from under the lifeguard’s booth, which made the shot seem a lot faster due to the booth acting as a physical layer. The camera was pointed directly at a bridge, symbolizing in my opinion a new direction in life.
After the hyperlapses, I edited a few shots of water splashes just underneath the bridge with a combination of two transitions: Zoom & Pan, and Fade-In. These transitions are good to switch between shots in action in an elegant way, so I decided to stitch those two together in the timeline.
The next shots were those with my son surfing. Here I used two directional transitions corresponding to the direction of the waves in the shot — again to create organized motion. It was also a logical choice due the physical connection between the bridge in the ocean and the surfboard in the sea, which leads to a conceptual connection: Closed room → open the door → go to the bridge of life → leave everything behind and surf. There is some very spiritual continuity here.
Let’s take a look at this part of the timeline:
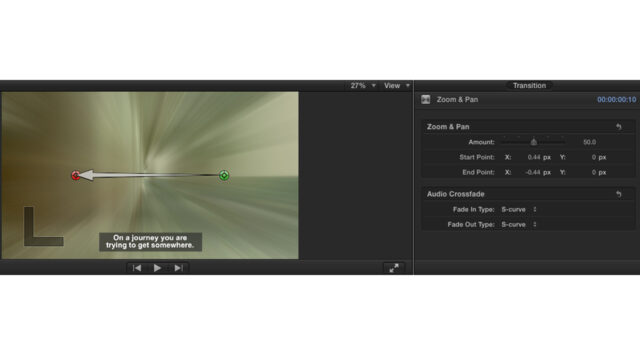
Here is an example of the Zoom & Pan transition which was used in the surf scene:
The waves were moving from right to left, so it was logical to make the Zoom & Pan transition the same in order to create continuity and flow in the video.
The next step was to edit the end of the video. Why? Because I already knew how the video would end — it was already in my mind. It’s definitely OK to start editing from the end! You don’t necessarily have to start editing from the beginning – just edit what is in your mind and stitch it together according to the story. Think of it like taking an exam: if you don’t know the answer to the first question, move onto the next one. It’s the same with editing: when you feel stuck with your creativity, just DO NOT STOP. Go to the next part of the story and try to produce more artistic ideas.
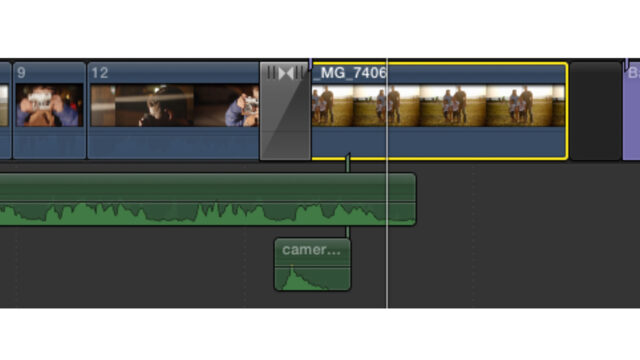
I knew that I wanted the scene of my son taking a picture to be the end of the video, so I made this cut right after the first part above was finished.
This is how that scene looked in the timeline:
Logical Construction in Editing
Although there aren’t any defined rules on how to edit, there has to be some logic derived from the story you are willing to tell.
As mentioned above, I wanted a spiritual, motivational, artistic and dynamic look and feel, which led me to cut and stitch frames that had some sort of logical connection between them.
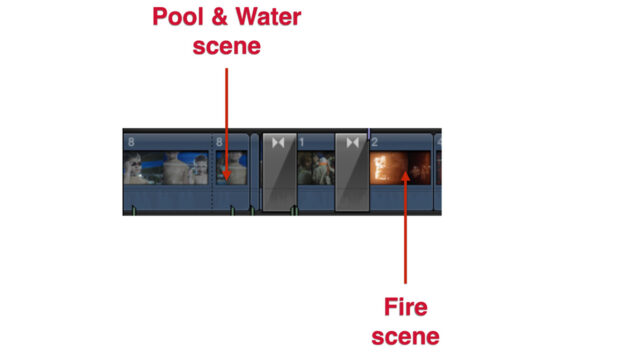
Let’s take a look at some examples.
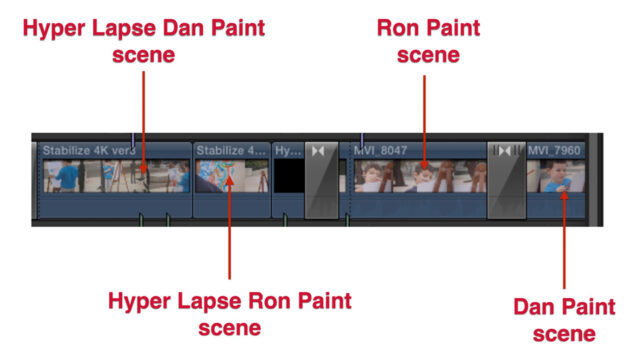
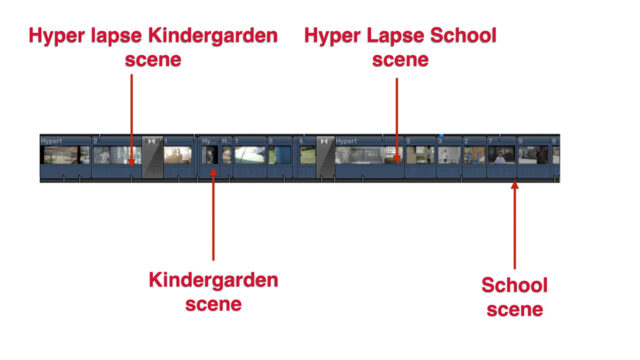
Hyper Lapse Connection:
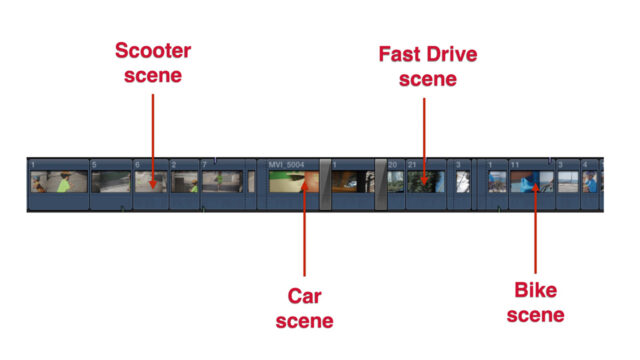
Flow and going forward:
The tools above can give you a few starting points to help you start building the story in your timeline. Now it’s a good time to nail those points according to the story and create a destination – like building a path that leads to something meaningful.
Let’s analyze my video’s timeline in terms of logical flow.
Story Timeline Analysis:
Step 11 – LUTs, grading and filters
The methodology of color correction and grading is beyond the scope of this article and will not be discussed here — but bear in mind that this is one of the most important stages of editing. It is a good time to implement the relevant 3D LUTs (Look-Up Tables). The reason you don’t want to implement LUTs during previous stages is because LUTs lead to complex calculations for every clip, taxing the processor and possibly causing the application to slow down or lag. You still need to cut and trim the timeline and preview footage, so you need that speed.
Step 12 – Sound design
50% of a film is sound, so it is an extremely important element. Make sure you INVEST IN SOUND: build an extensive sound library and use it wisely. Also, remember that the audio must be derived from and serve the story you are willing to tell.
After adding the audio, there are Mixing and Mastering processes in order to verify that the sound stays clear and clean.
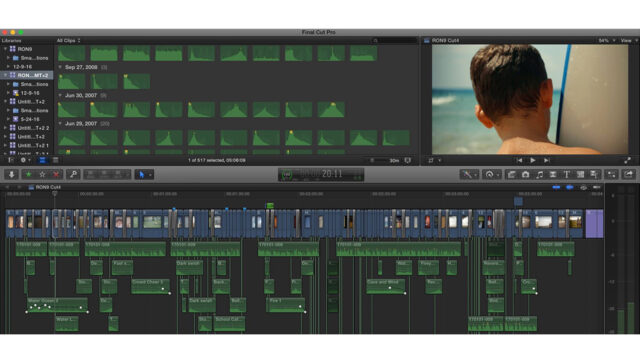
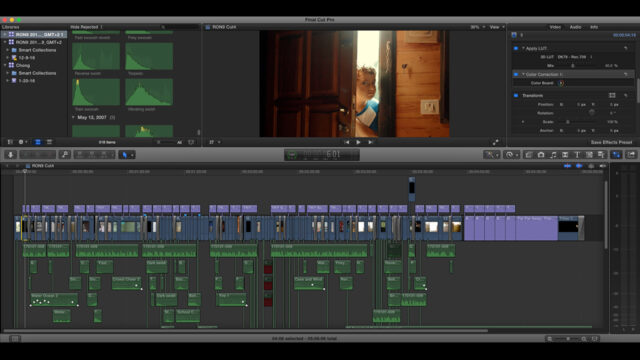
A timeline can even feature dozens of layers of sound effects and music (the green clips in this screenshot), so make sure you invest in audio.
Step 13 – Export the master
Last but not least is the final process of exporting the final cut in all required deliverable formats.
Conclusion: Editing is like a mental fight
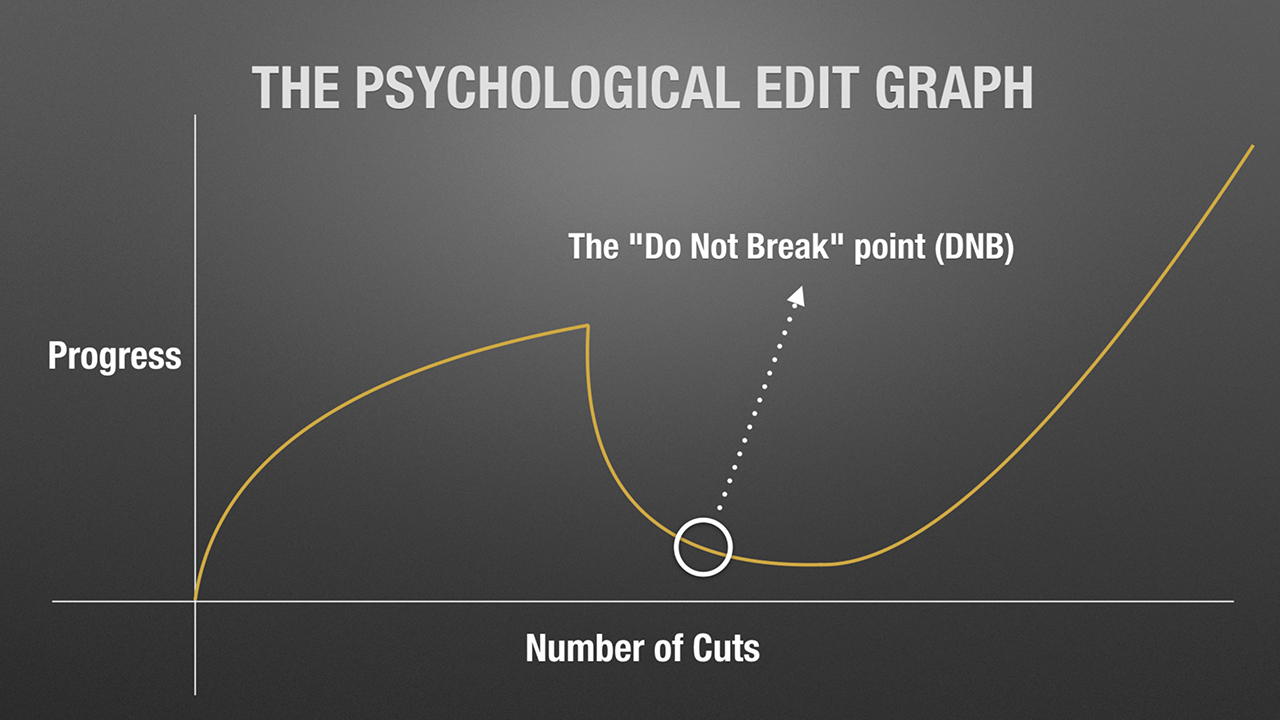
There are some stages that are harder then others from a psychological point of view. The evolution of going from a rough cut to more advanced versions is a very frustrating process: sometimes you may get the feeling that you’re stuck and there is no light at the end of the tunnel. At this point, you must remember that it is purely a psychological thing. Advanced editors are experienced enough to recognize this phenomenon, which I call the “Do Not Break” point.
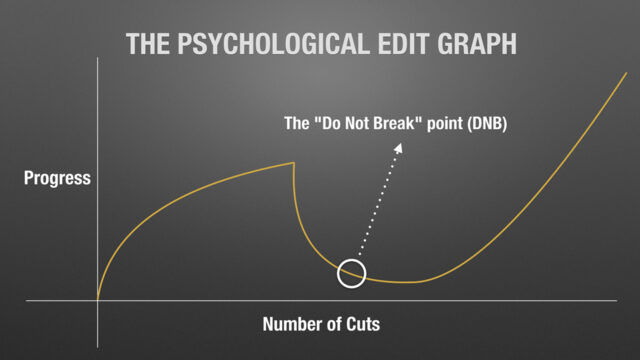
The DNB point is the stage when a real editor lifts himself mentally to make the edit move along and create the story. The good thing is that the DNB acts only as a “psychological point” after which everything in the edit process becomes easier, bringing you closer and closer to your finished film.
Hopefully this article helped break down the editing process into workable chunks. If you have any tips on how to approach this stage of filmmaking, please let us know in the comments section below!

