Anyone who has held a camera in their hands has seen these three letters – ISO. Nowadays, we might even find them in some smartphone apps, like the Blackmagic Camera for iPhone used in the featured image. Most of you are surely aware of common ISO numbers or what happens when you crank this setting up. However, if we dig deeper and touch on “native ISO”, “dual ISO”, and the common misconceptions of “how to set it correctly”, the discussion often becomes vague. No wonder. It’s a complicated topic. So, why don’t we revisit the basics and try to really understand ISO on technical and creative levels.
MZed Pro 1-Year Filmmaking Education
It all starts with the exposure. As filmmakers or photographers, we need to get the correct amount of light in order to produce images that tell our particular story. There is a famous triangle of factors that helps us with that: the lens aperture, the shutter speed, and the ISO. We have already explained shutter speed in detail here. (Exploring the power of aperture is on the list for future texts.) By changing the aperture, you control the amount of light that hits the sensor. By changing the shutter, you control how much time the light will hit the sensor. What about ISO? Well, ISO, on the contrary, doesn’t actually have any influence on the light itself. Why, then, do we talk about it when we talk about exposure?
Tal Lazar, seasoned filmmaker, educator, and author of several MZed courses, including “The Language of Lighting,” kindly took the time to guide us through this subject.
What does ISO actually mean?
ISO stands simply for the “International Organization of Standardization.” It is also often called the camera’s sensitivity—something that you cannot actually physically change. Basically, ISO is an amplification of the signal arriving from the sensor. For a better understanding, Tal Lazar offers a clear and on-point comparison.
The Language of Lighting

Learn to see light like a professional cinematographer and design it to tell a story. What is the purpose of lighting in a scene? What is the difference between lighting on set or on a stage? All these questions and more are answered in this course by master educator Tal Lazar, utilizing demonstrations and many scenes from great films.
Imagine you take a microphone, put it in a room, and record the audio. Later, when you listen to the recording, you can press the + volume button and hear it louder. By doing so, you don’t increase the mic’s sensitivity. You just amplify the audio signal—the same way ISO does with the image.
If you put the microphone in a very quiet room, you won’t hear any sound, right? However, when you come back to your studio and crank the volume up, at some point, you will start hearing a hissing sound. A noise.
So, the ISO is an amplification that takes the signal – which is a very complicated way to say the image – and it increases its brightness. But you pay a price and the price is noise.
Tal Lazar
ISO in the film era
The history of ISO starts with film. If you have ever taken any photos with film, then you may remember the ever-present numbers on the boxes: Kodak ColorPlus 200 or Lomography Color 800. This meant nothing more than the ISO, sometimes also referred to as “film speed.” In the motion picture industry, we would rather see the abbreviation ASA, which stands for “American Standards Association” and is the same measurement. (It is still used sometimes, so don’t let it irritate you).
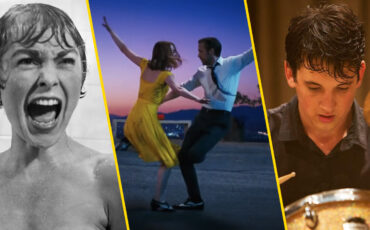
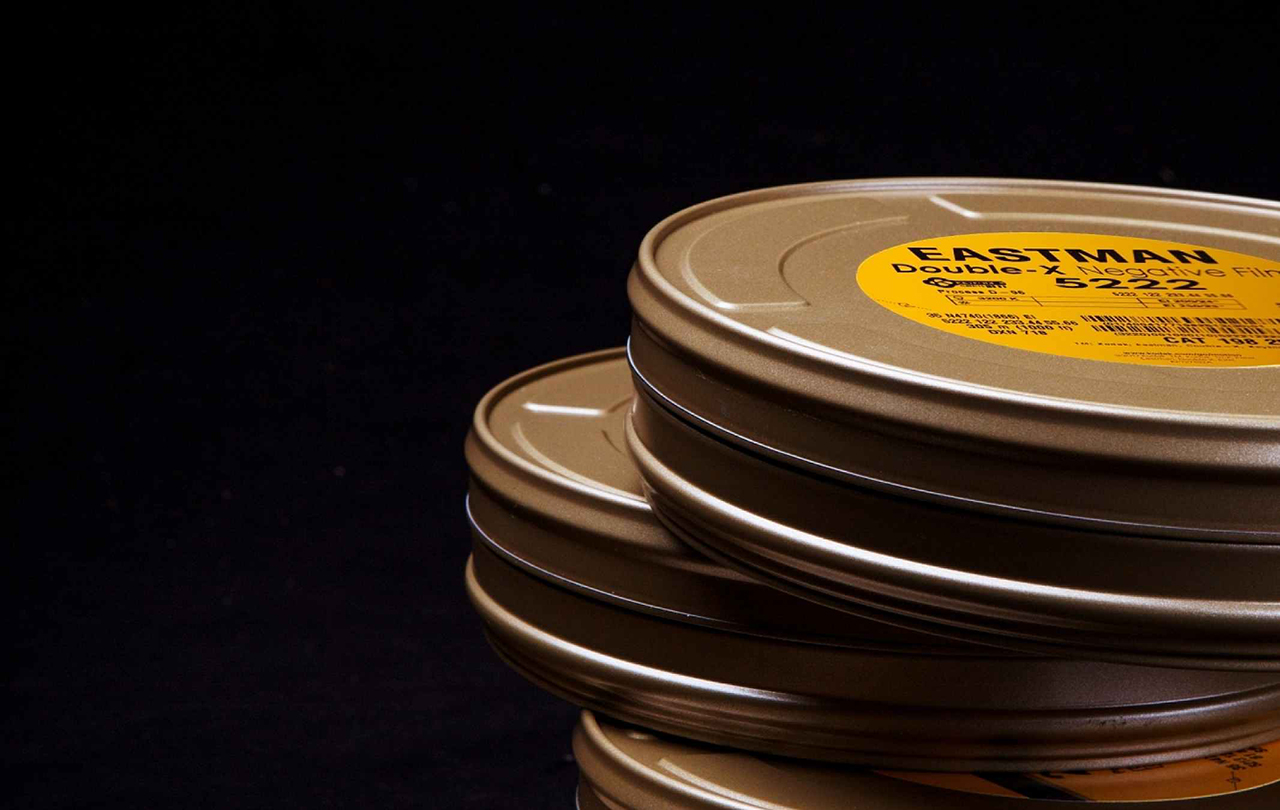
Let’s take the Kodak Eastman Double-X (shown below) as an example, which was used not that long ago for black-and-white sequences in Yorgos Lanthimos’s “Poor Things”. If you go to the Kodak website and open the technical information for this stock, you will see the following exposure indexes: “daylight 250, tungsten 200,” which is the film’s ISO in different lighting conditions.
So, the ISO of a particular film stock is set and can’t be changed, right? Well, there is no button for it in a film camera menu, but if you read interviews with cinematographers, you can come across expressions like “I rated the film 200” or “I rated the film to 50.” What does it mean?
Tal Lazar explains that you can treat the film in all sorts of different ways, under or overexposing it or using the chemical process called “push or pull,” which involves shooting and developing film at a different ISO than what the film was rated for. (Of course, not without changes in the look: Say, if you push it, the film becomes more grainy). This is where an interesting idea comes from: The idea that you can treat sensitivity as a creative choice, and we will dive into it further below.
Translated into the world of digital cameras
But first, let’s take a look at how things advanced when we transitioned into the digital era. After all, now we can simply push the button on the camera to increase or decrease the ISO. However, this still doesn’t change the sensor’s sensitivity.

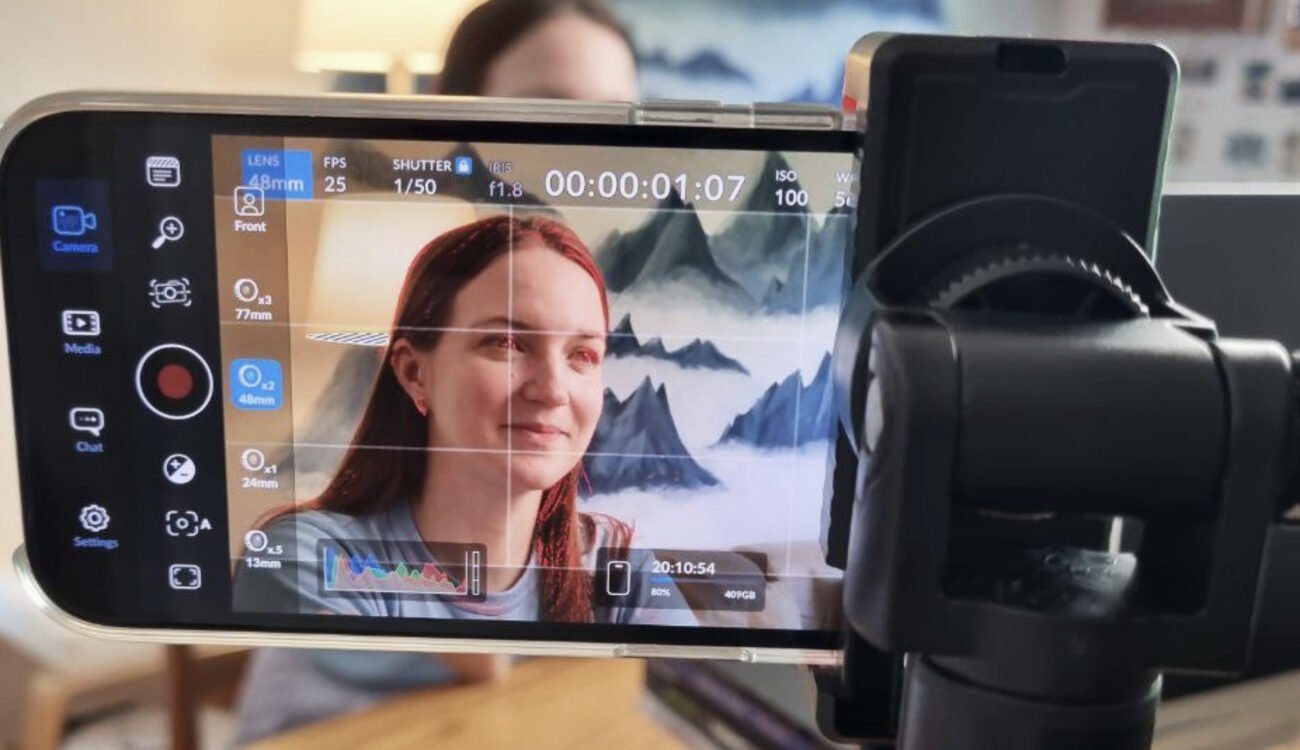
Changing ISO on a digital camera is just a button away. Images source: Philip Bloom’s Cinematic Masterclass/MZed 

Here is another simple and beautiful analogy from Tal Lazar: Imagine a grid of buckets that represent the so-called photo sites of the digital camera sensor. These buckets are filled with a rain of light, and each drop is a photon.
The job of the sensor is silly. All it does, it allows the water to come in; measures, how much water is in the bucket; and then clears it and goes again, and again, and again.
Tal Lazar
When we use this analogy, it’s easier to visualize that we cannot magically increase the size of the buckets so that they catch even more light. Where and when can we amplify the signal, then?
Instead of the water, the sensor actually measures the voltage and puts it on a graph. That graph is later translated into digital data with a device called an “analog to digital converter.” The actual gain of the signal can happen either in the digital realm, turning bits into other bits, or with an analog amplifier that electrically boosts the voltage. So, there are different types of ISO gain used in cameras nowadays. If you have ever worked with RED, for example, you would know that it allows you to increase the ISO setting during post-production without revealing much more noise. Why? Because the changes that the camera makes to the R, G, and B values are only digital.
Understanding the native ISO of a camera
However, a vast amount of cameras have a built-in mechanism that amplifies the signal on the analog side (sometimes there are two of those or even three). This is where we arrive at the term “native ISO.” You will come across it especially often when you google “How to set up the ISO correctly.” Also, you will find it written down in the technical specifications of the camera, like in the screenshot below:

Basically, it’s a zero point defined by manufacturers where the ISO supposedly is as high as they can make it, but the noise is low. It all comes down to noise, after all. We – filmmakers – are “a bit spoiled” and want to get the highest sensor sensitivity with as little noise as possible. So, it has become more like a “competition” for manufacturers. That’s why nowadays, we can see cameras with dual or even triple native ISO (where more than one amplifier boosts the voltage), built-in noise reduction, filtering, and other sorts of things.
However, noise is a subjective matter, as Tal Lazar points out. Who gets to decide how much noise is too much? How much is enough? The noise also depends on other factors, such as image resolution. (You‘re probably familiar with “oversampling” – utilizing a higher resolution image sensor than the camera output image resolution – which makes noise less visible). So, in the end, yes, you can use the so-called “native” ISO of your camera as technical guidance while setting up the gain. It’s a “safe” answer but not always the best choice for your story.
Understanding dual ISO
Let’s look a little longer at the so-called dual native ISO. As explained, it can be understood as two optimal ISO settings recommended by the manufacturer: one for brighter scenarios and one for low-light scenes. (In the case of the Blackmagic camera example above, they are 400 and 3200).
The subsequent video by testcams offers a simple and precise metaphor to understand this principle. Imagine two types of scales: For humans and for letters. The former can handle a large amount of weight, but you won’t be able to weigh paper on it because it lacks precision for small measurement differences. On the contrary, the latter catches the tiny weight details, but you won’t get a human on it. The dual native ISO works similarly. In bright daylight, the sensor uses the equivalent of a human scale, sacrificing fine details in low-light areas. At night – and vice versa.
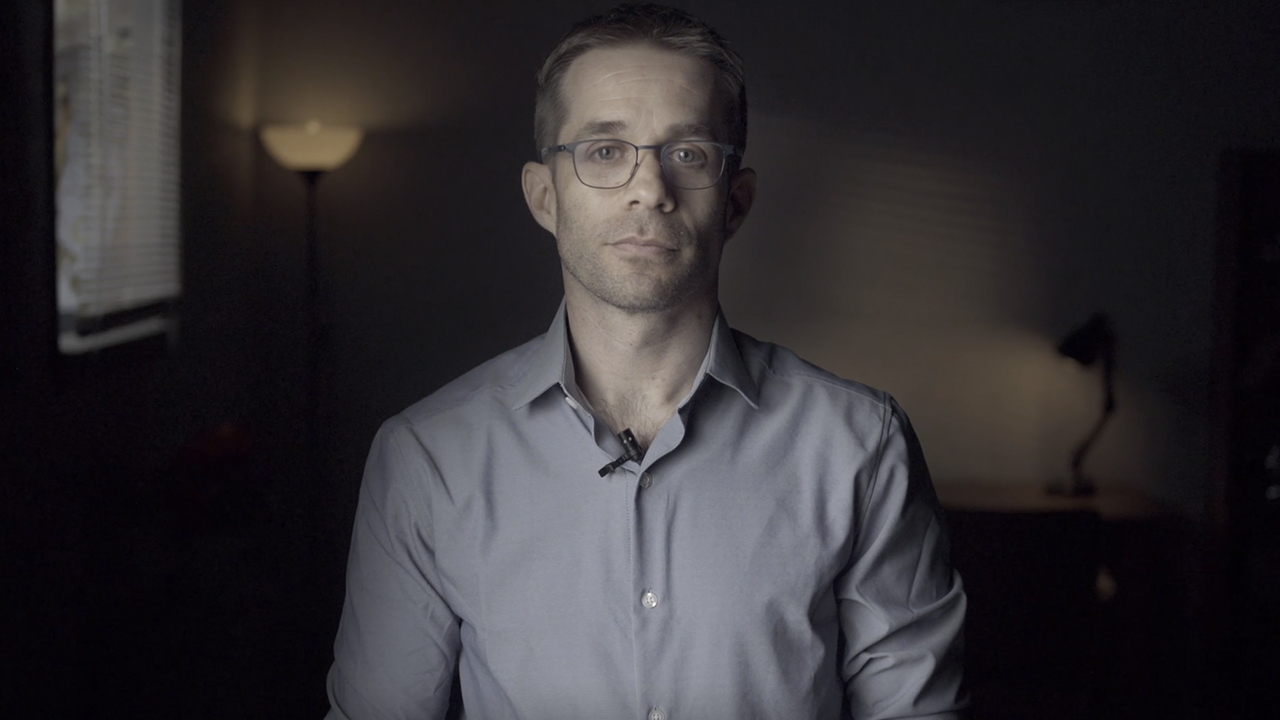
In the video, the creator also conducts an experiment to show the difference in noise, using the camera with a dual ISO. The grain in the shadows looks quite similar at the in-between ISO stops until he reaches the second native ISO 800, where we can witness an enormous drop in noise (even between ISO 640 and 800).

ISO 500. Images source: testcams YouTube channel 
ISO 640 
ISO 800
His experiment also demonstrates that increasing ISO doesn’t add noise to the image, as some may think. No, the additional noise is due to the lower exposure. When you crank up the ISO to an incredible 12800, the scene doesn’t have enough light to produce a reasonable outcome. The less amount of light falling on the sensor, the more noise you get. It’s just that when we increase ISO, we start to see it better (remember Tal’s analogy with the sound volume from the beginning of this article?).
How to set your ISO: the creative aspect
I dare say that there is no such thing as a native or base ISO. There’s only what you want it to be. If you go by the manufacturer’s recommendation, that’s all fine. But does that always guarantee a happy audience? The answer is no.
Tal Lazar
There are indeed stories where noise is not a bad thing per se, explains Tal Lazar. Of course, if you shoot a fashion commercial, you probably want your picture to be as clean as possible. But what if your scene is, say, a documentary about homeless people filmed in dark streets with only available light? Then the gritty look supports the atmosphere, doesn’t it?
There are also a bunch of other things that should be taken into account in your decision-making process. Firstly, if you change your ISO, it will, in many cases, affect the dynamic range. So, the information you have in shadows and highlights will be different. Secondly, it’s important to know what you are shooting for. If it’s the cinema, then the noise will look “so and so.” If your movie will be released on a streaming platform, then the compression might kill your grain and make it ugly.
As a cinematographer, you have to decide. The ISO is not a mathematical equation with just one and only one correct answer. You can always say: “I know that the manufacturer’s recommendation is this, but for this film, the most appropriate number is that.” And how do you do it? Tal Lazar’s answer is by making tests, just like film cinematographers have always done. Film with different ISO parameters in given lighting conditions, watch the footage on a screen, where it will supposedly play, and evaluate the amount of noise and how it looks. There are no shortcuts! You have to understand the technical foundation, but in the end, your choice should be a creative one.
Understanding ISO – any questions?
If you read until the end, thank you for joining me on this journey. And a huge thanks to Tal Lazar for all his expert insights! I hope that the ISO topic is now a bit clearer and, most importantly, that you can use this information in your work.
What do you think? Do you have any other questions to better understand ISO? What else is important to properly understand how to use it? Do you handle ISO as a creative choice, or is it a mere technical setting for you? Let’s continue in the comments below!
Feature image credit: Mascha Deikova/CineD
Full disclosure: MZed is owned by CineD.